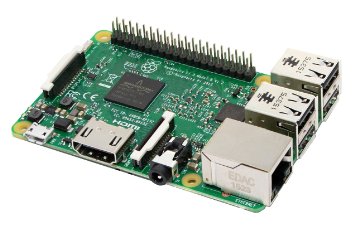
My project over the 2016 holiday season was to take the Raspberry Pi 3 I’ve had sitting around the house idling for the previous nine months and turn it into a RetroPie-ified gaming emulator.
RetroPie is a phenomenal bit of software that combines the work of several projects into a single package that was primarily designed to be deployed on Raspberry Pis, but which can also be set up on a regular ol’ PC. If you’re using a Raspberry Pi, it’s built on top of the Raspbian OS, so all the commands familiar to you will still be available.
I have to say up front: the folks with RetroPie have done an amazing job. The documentation was excellent, and while I’ll walk through the installation and configuration here, with only one notable exception everything went exactly as prescribed.
RetroPie
Assuming you have all the needed hardware, installing the RetroPie OS on your Pi is pretty straightforward.
- Use some sort of imaging software to write the RetroPie image to an SD card (I used ApplePi Baker without any problems, but you could also just use the
ddcommand in the Terminal, which directly moves bytes from one place to another). - Insert the SD card into your Pi.
- Boot! I had a few false-starts that were the result of the SD card not being fully inserted, so nothing came up.
If all goes well, you should see the wonderful Raspbian logo.
![]()
Configuring RetroPie
The first thing you’ll need to do when RetroPie boots is to configure whatever controller you’re going to use. I went out and purchased some standard-issue Logitech USB gamepads and they seem to be functioning very well. You can also use your keyboard if you want for this, but it pretty much has to be something that can be connected via USB directly to the Pi.
A few pointers in this step:
- To skip a particular button configuration, just press and hold any button for a second.
- If you make a mistake in configuring a button, you have to get all the way to the bottom before you can scroll back up and fix it.
- It took me 5-6 tries to get this completely right. Just go back and do it again if you mess something up.
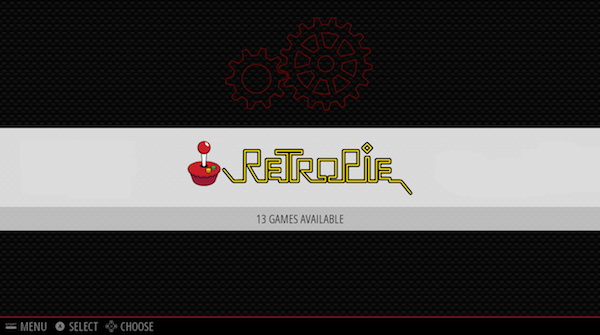
EmulationStation
Once you successfully configure a gamepad, you’ll be taken to the main landing page: EmulationStation.
Where are teh gamez0rz?!1, you might be saying. Well, since ROMs are a legal gray area, you’re kinda on your own there. BUT! We have something else we need to do first anyway: set up a network configuration.
Network Configuration
If you have a Raspberry Pi 2 or earlier, your network choices are limited to an ethernet connection. With the advent of Raspberry Pi 3s, suddenly wifi is an option! Turns out, I have a 3, and it is this wifi that caused me a couple hours’ grief until I figured out what was going on.
Go to the wifi configuration in EmulationStation. You’ll be taken to a network selection screen–protip, the Pi 3 cannot connect to 5GHz networks–where you can select your wifi network.
You’ll then need to type in the wifi password. Provided you get it right, that should be it! You’re all set to go!
If you find yourself entering your password again…and again…and again…and again…and can’t figure out why it’s failing, read on.
Keyboard Layout
For whatever reason, my keyboard was misconfigured–the layout was set to English (U.K.), resulting in some special characters being remapped. However, since the Raspbian password interface echoes stars * back, I had no idea I was typing a completely wrong password until I fired up a command prompt.
Luckily, once you diagnose this issue, it’s fairly easy to fix. Raspbian has a utility built-in for changing your keyboard layout. You just have to navigate in EmulationStation to the option that gives you a command prompt.
In my case, once I had a working network connection, I just used SSH to perform any other operations on the Pi (e.g. uploading new games). The default username/password for RetroPie is pi/raspberry, which I suggest you change either from the EmulationStation main menu, or after your first SSH login.
Moonlight on Raspberry Pi
You should have a working RetroPie at this point, so that’s cool!
However, as awesome as the Pis are, they’re not exactly brimming with horsepower. As such, if you try running N64 or PS2 emulators, you may find as I did that anything requiring 3D shaders gets very jittery, to the point of unplayable. RetroPie has detailed configuration options for every emulator to help you get the absolute most out of your Pi, but there are some things a tiny CPU with an embedded stock GPU just can’t do, and one of those is render 3D shaders the way they were meant to be.
So what? Give up? Nay!

Moonlight Embedded is the open source version of NVIDIA’s GameStream as used by the NVIDIA Shield. Basically, it’s a way of streaming the output of an NVIDIA GPU to another input, like a TV.
In this case, we’re basically turning our Pi into a glorified Chromecast–it’ll take the output from a dedicated GPU and stream it directly to the TV it’s connected to. Yes, this means you’re not actually playing games on the Raspberry Pi–you’re playing them on whatever computer has the GPU in it (oh and it has to be an NVIDIA GPU, GTX 650 or higher)–but all Moonlight requires is Raspbian, which is what RetroPie is built on!
I found this installation guide perfect (make sure you download the latest versions of everything!), with the lone exception that, just before downloading and installing Moonlight itself, I also needed to install one more library:
sudo apt-get install libenet-devInclude that with the other libraries installed just before Moonlight, and everything else should just work. The rest of the instructions take you through configuring the gamepads so they correctly send their input back to the GPU (so, y’know, you don’t have to sit at your computer while staring at your TV).
Happy Fun Times!
Yes, lots of happy fun times. But also HappyFunTimes!
If you’re really into the party games, installing this gaming server may be the best thing ever. It’s a brilliant setup: gamepads are HTML5 canvases that run on smartphones, essentially mimicking controllers so everyone with a smartphone can play. The games range from stupidly simple to shockingly sophisticated. I may post configuration for that later, but I figure: if you’re building the Ultimate Gaming Pi, why not include that, too?
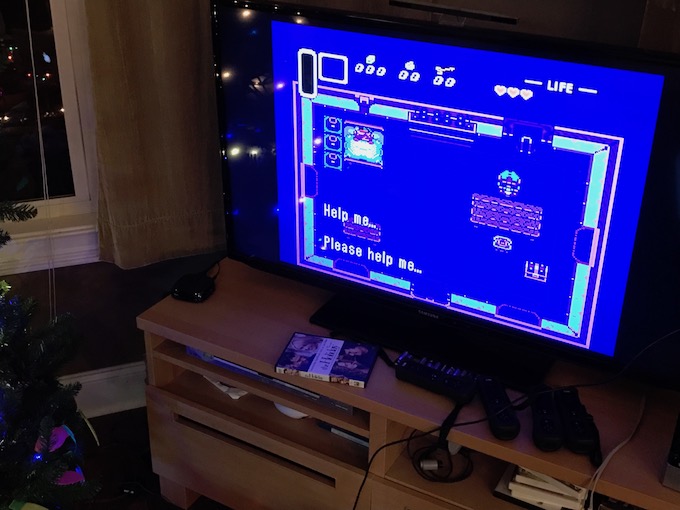
And with that, I give you the results at our house: