I built my first desktop from components when I was 15, a sophomore in high school. With the exception of my college workstation (laptops hadnt’t quite reached ubiquity yet), I’ve assembled every desktop I have ever owned since then.
It’s a skill and a pasttime I deeply enjoy, but one which I don’t have the opportunity to explore very often. Even though “every desktop since age 15” sounds impressive, in real numbers it amounts to just a handful:
- age 15: my family’s home computer
- age 19: a server for my dorm room
- age 22: my graduate desktop
- age 25: the lab’s new workstation during a rotation (not mine, per se)
- age 29: my “first real job” home desktop
- now: the one in this blog post!
There were certainly upgrades throughout that timeline—I swapped hard drives and memory in and out of that dorm server many times; my first “real job” desktop saw at least one GPU upgrade; my graduate desktop was a true exercise in frustration as I spent the first two years diagnosing an intermittent and nigh-irreproducible freezing—but it’s actually rare I get brag to folks that I’m “assembling my new computer from parts.”
So I figured: for this round, I’d go all out with full documentation in the form of a blog post 😁
Let the record show: the reader was warned of the length of the post that follows.
Hardware
The first step in any desktop build: the hardware! I’ve been scoping out the major components off and on for over a year now, using resources like GamersNexus reviews and Tom’s Hardware to get a feel for what CPUs / motherboards I should look into.
As an example: I’d spent 11 of the past 12 months with the latest Intel processor locked in, but changed my mind at the [relative] last second when all the head-to-head CPU benchmarks showed the latest AMD Ryzen 9 processors going toe-to-toe with Intel on multithreaded applications (i.e., my work’s bread and butter). That, coupled with AMD’s shocking advantage in power draw and smaller advantage on price made it an immediate no-brainer to switch.
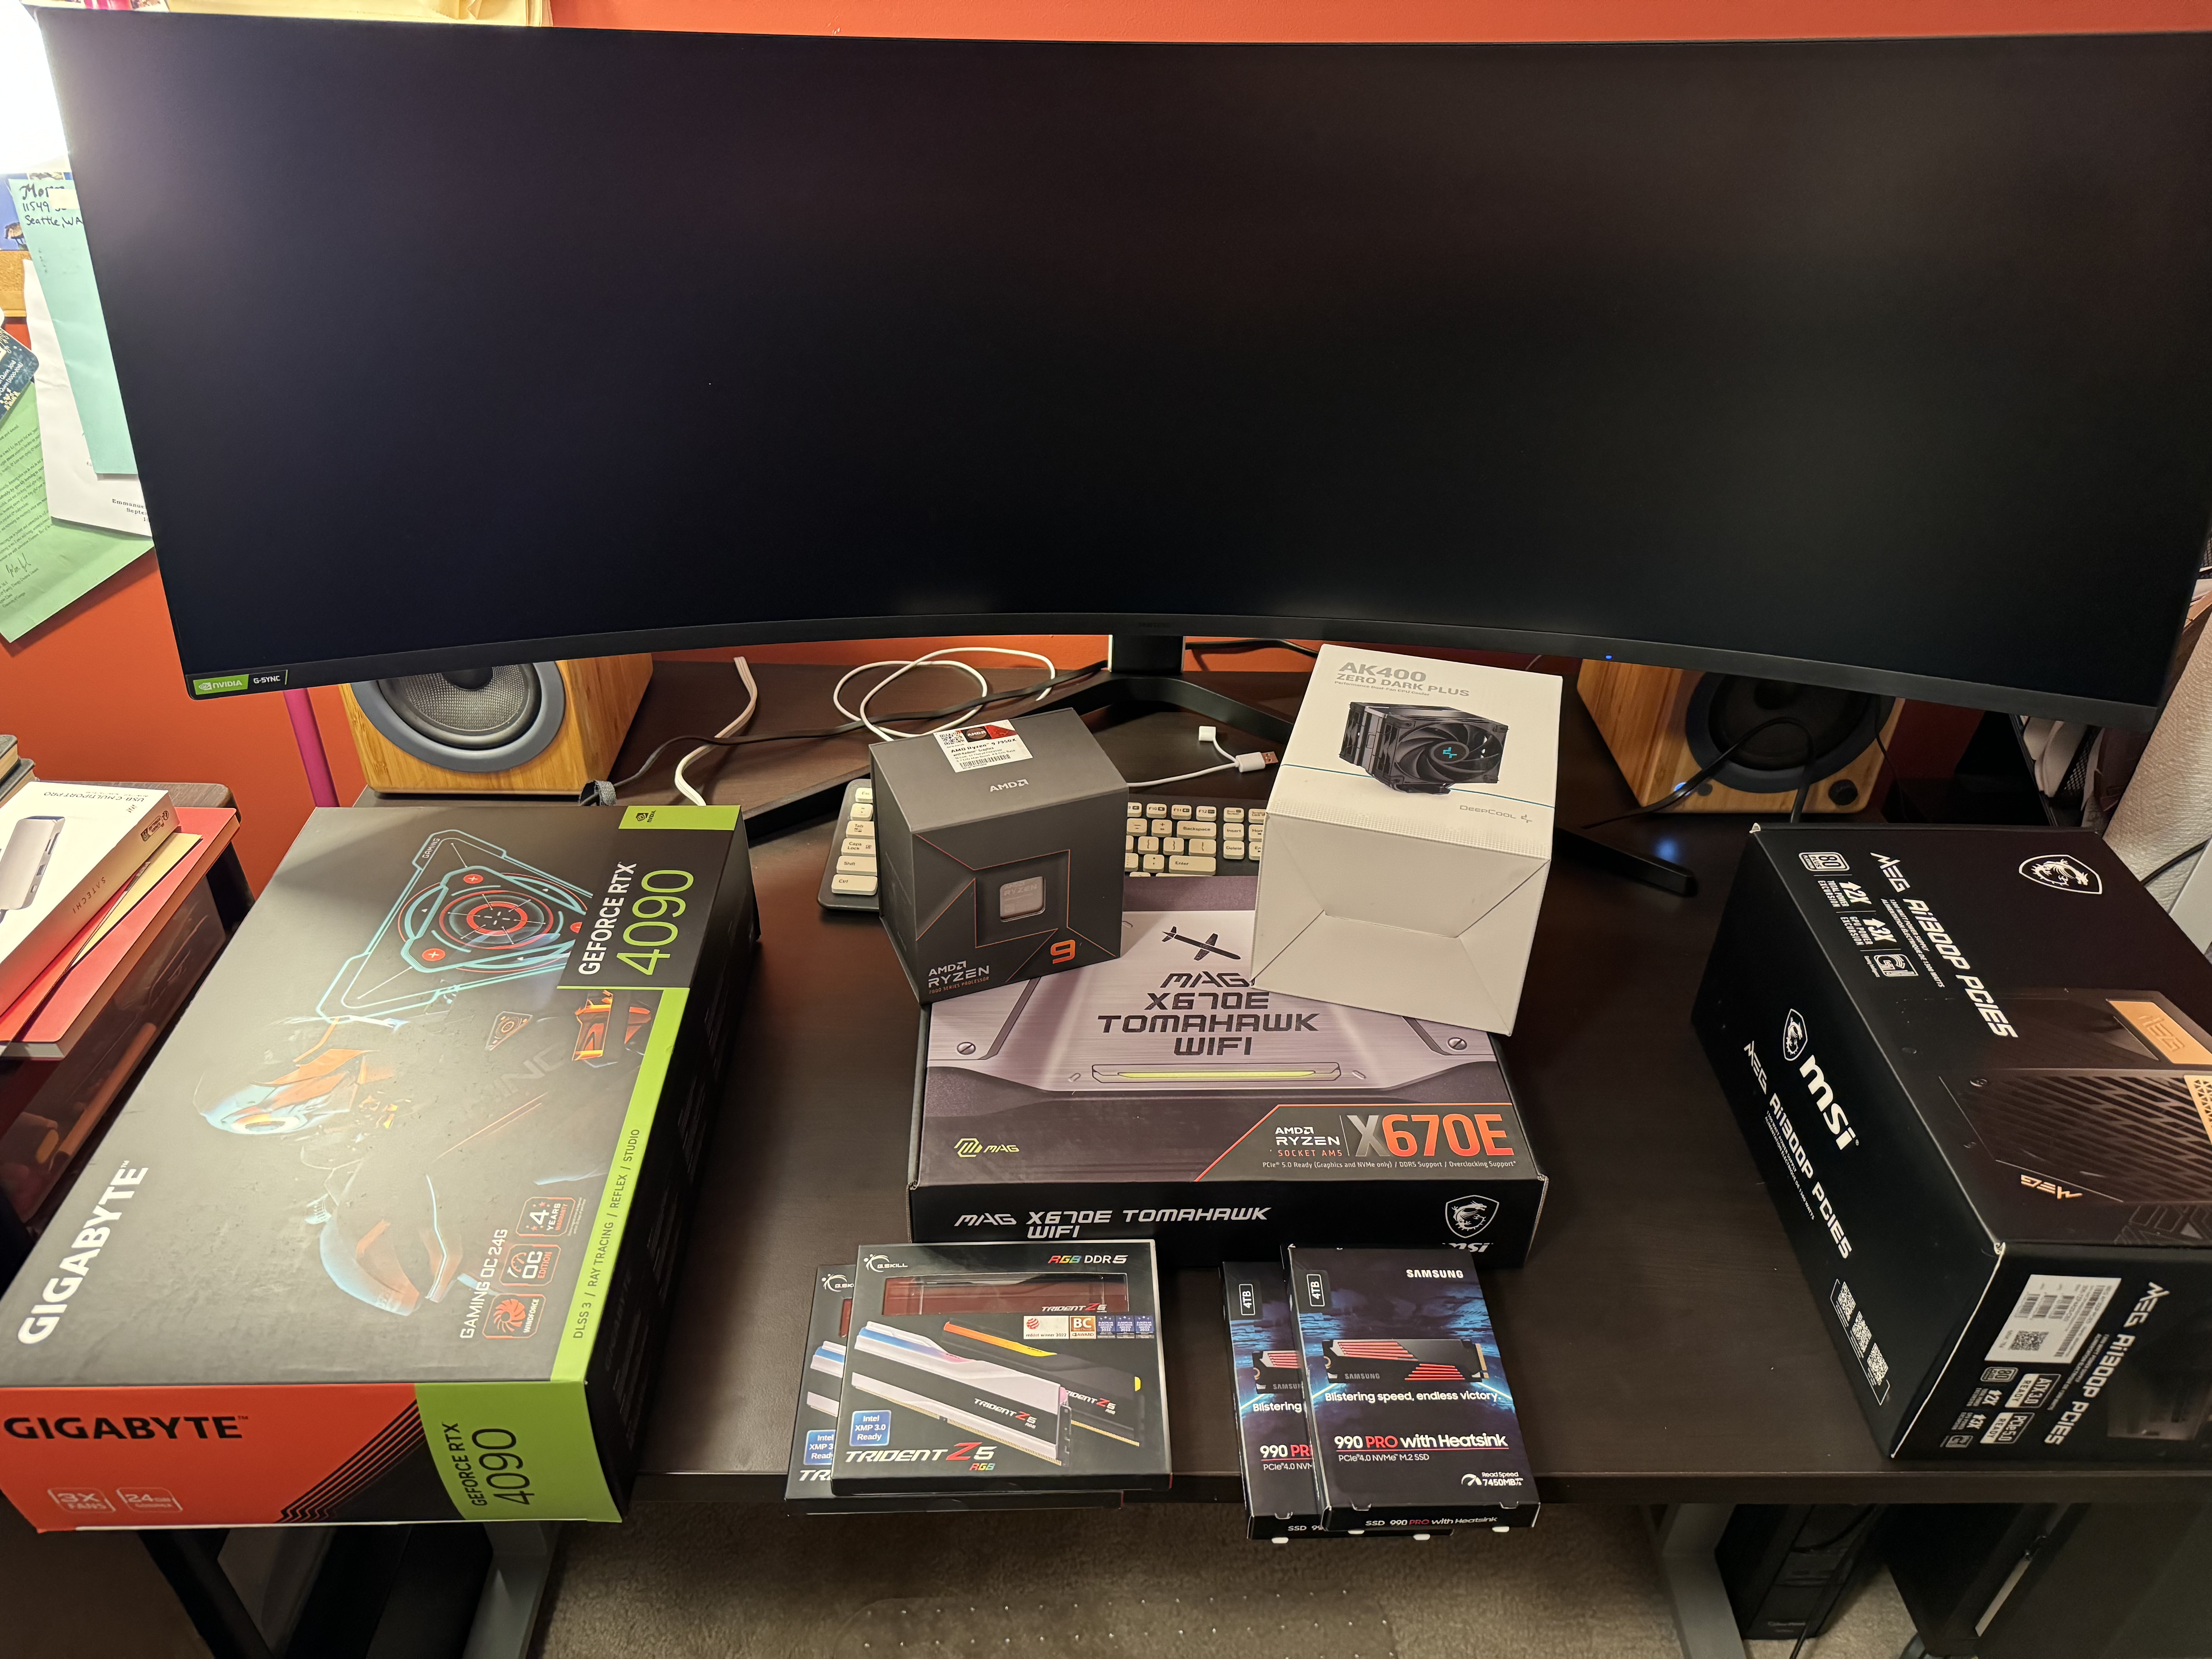
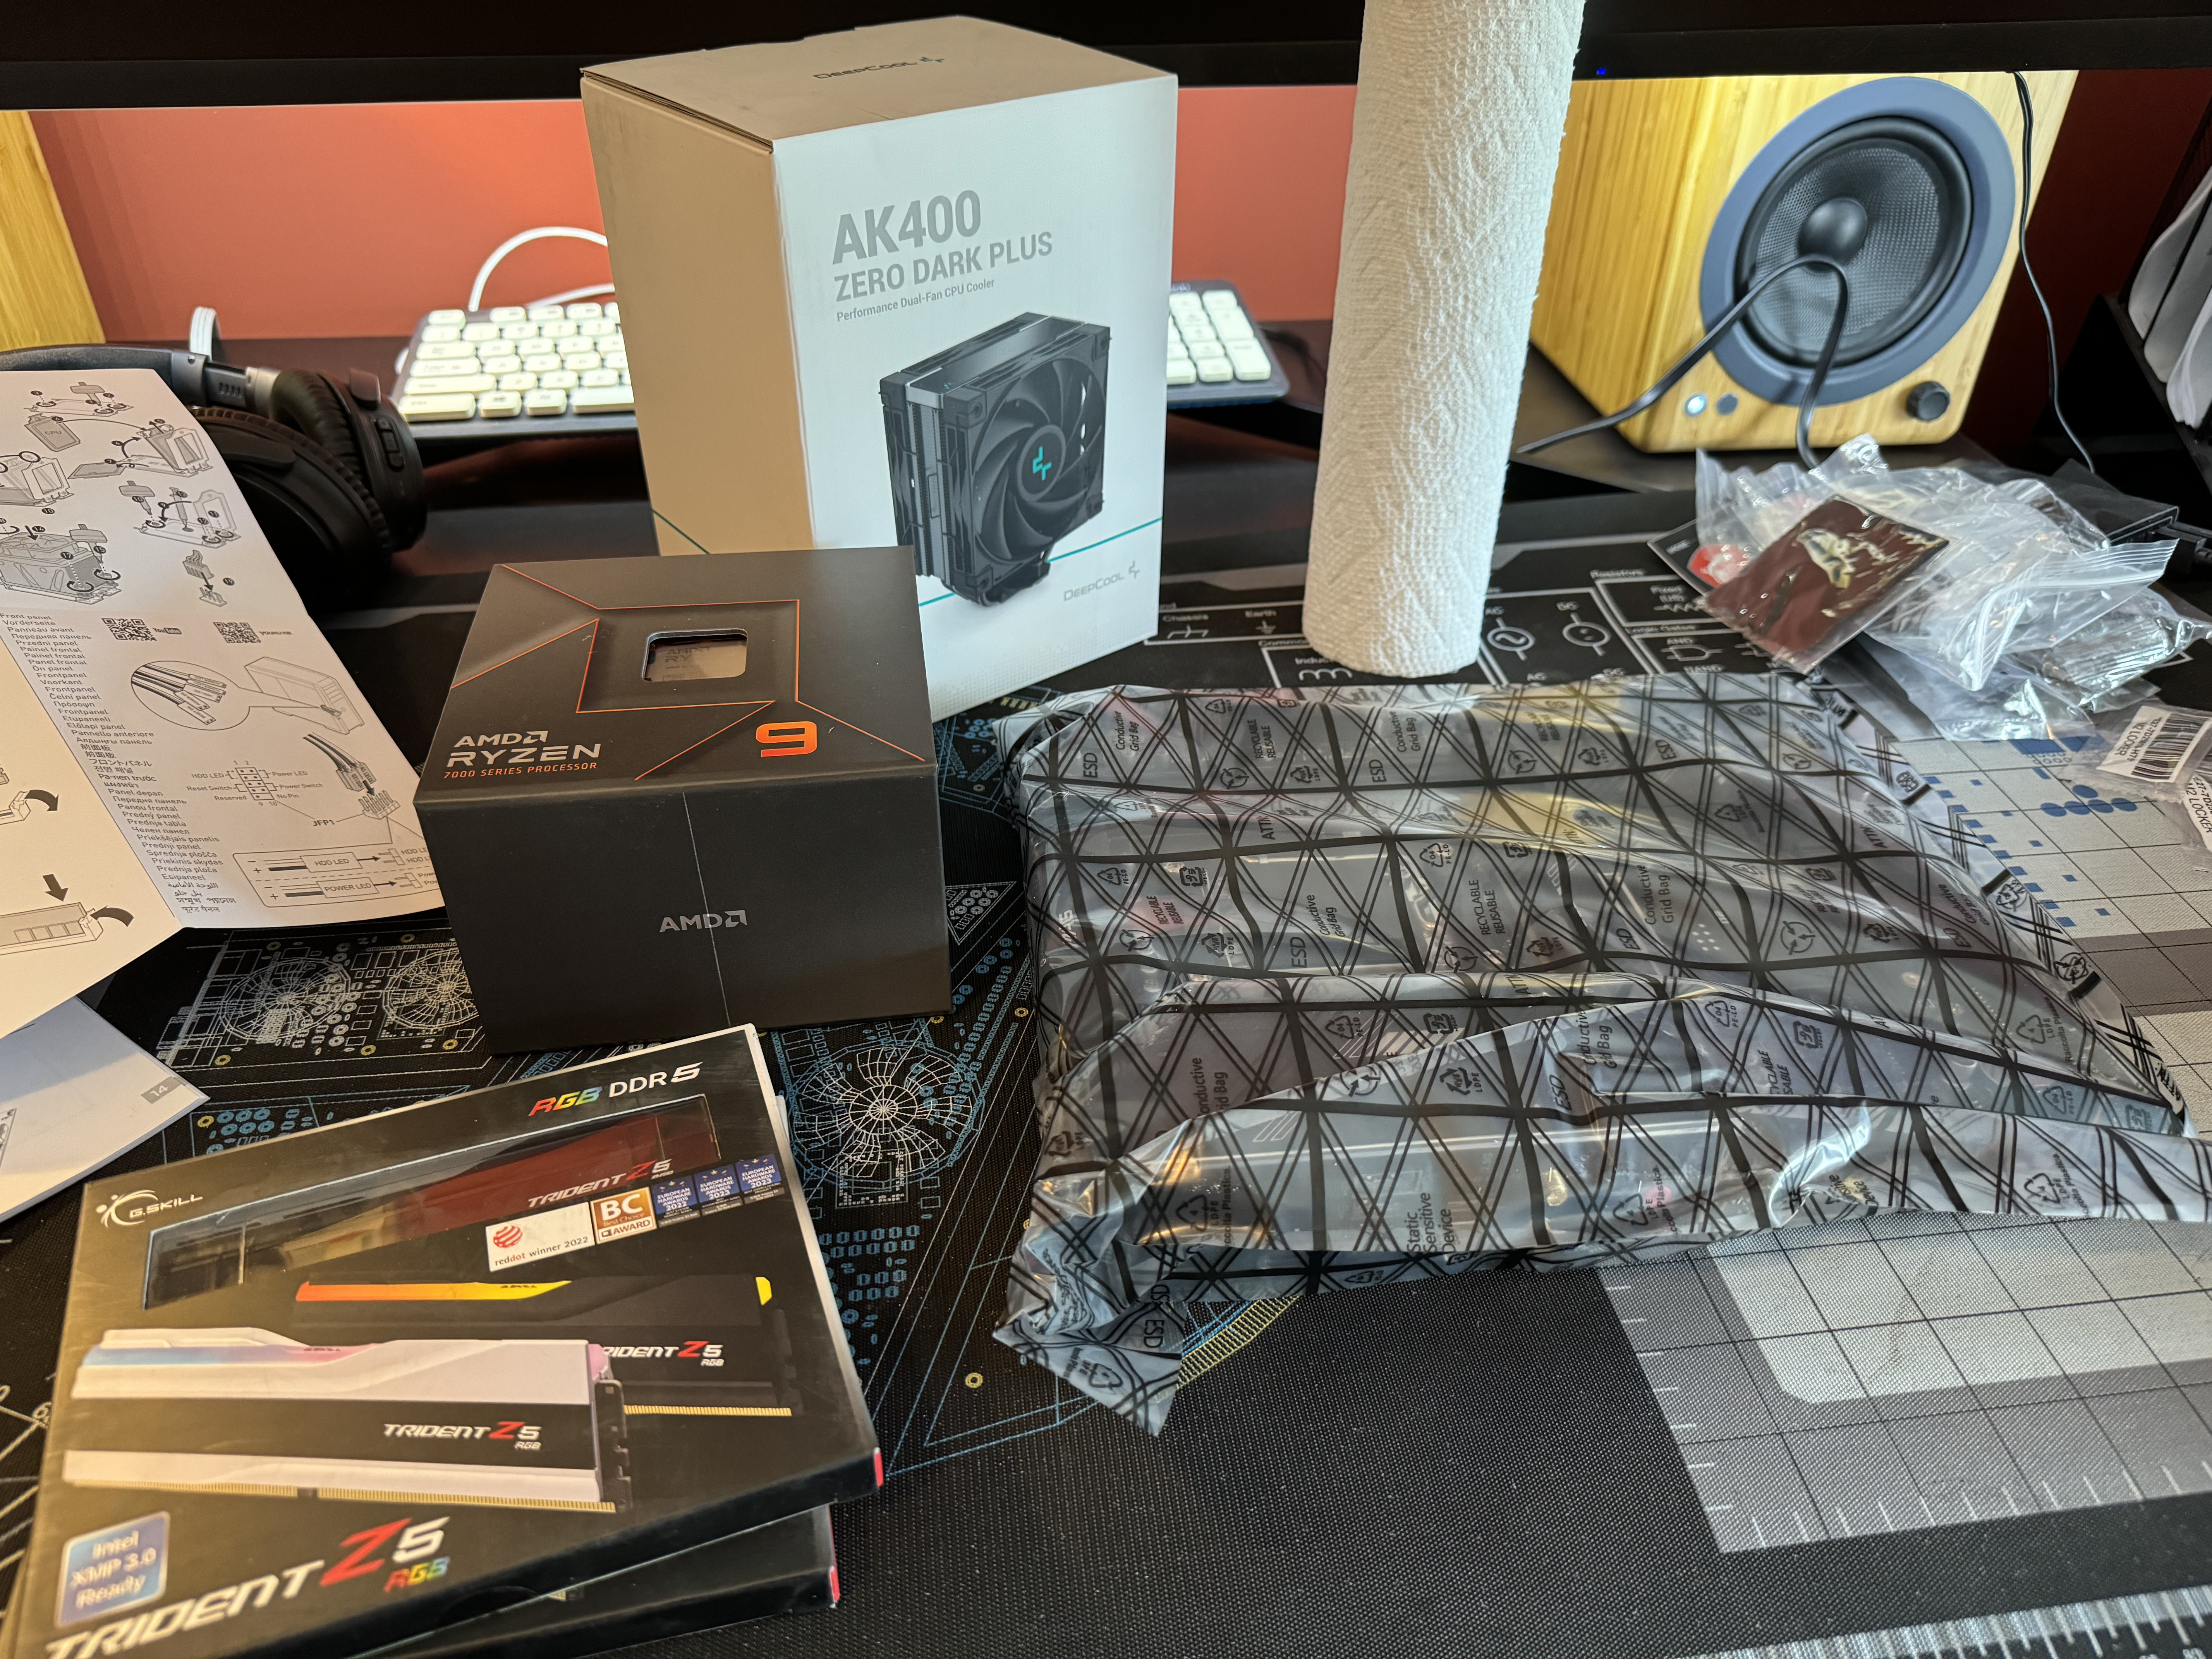
For the curious, here’s the full list of hardware I ended up going with:
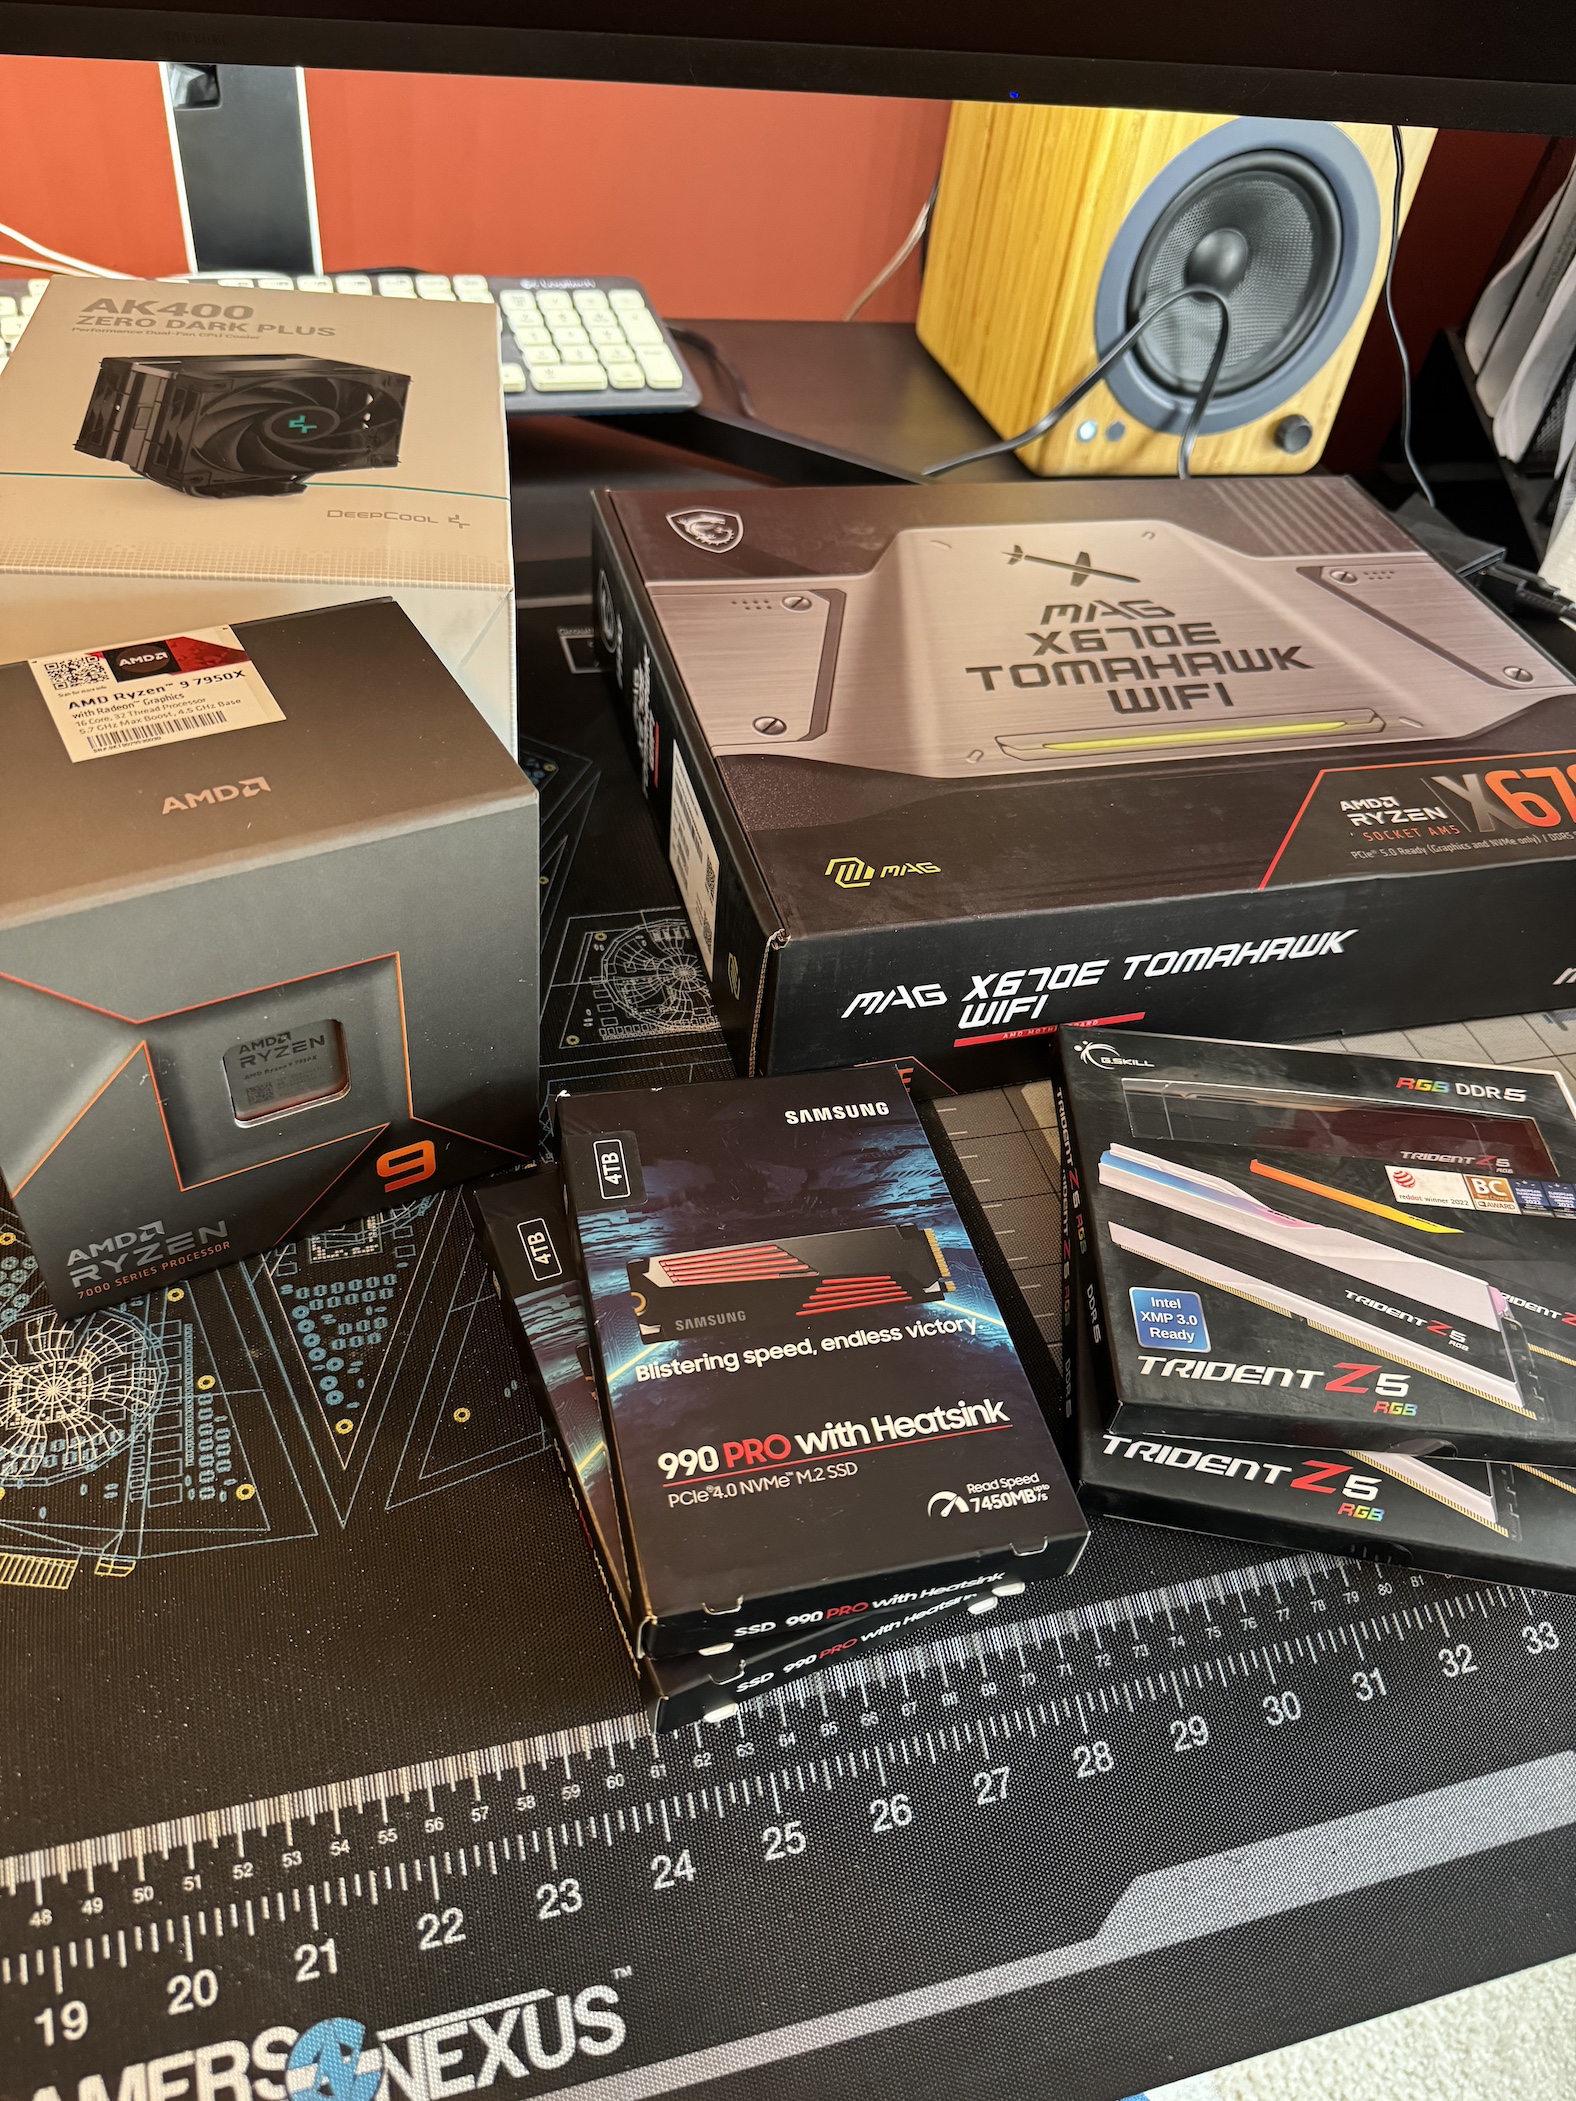
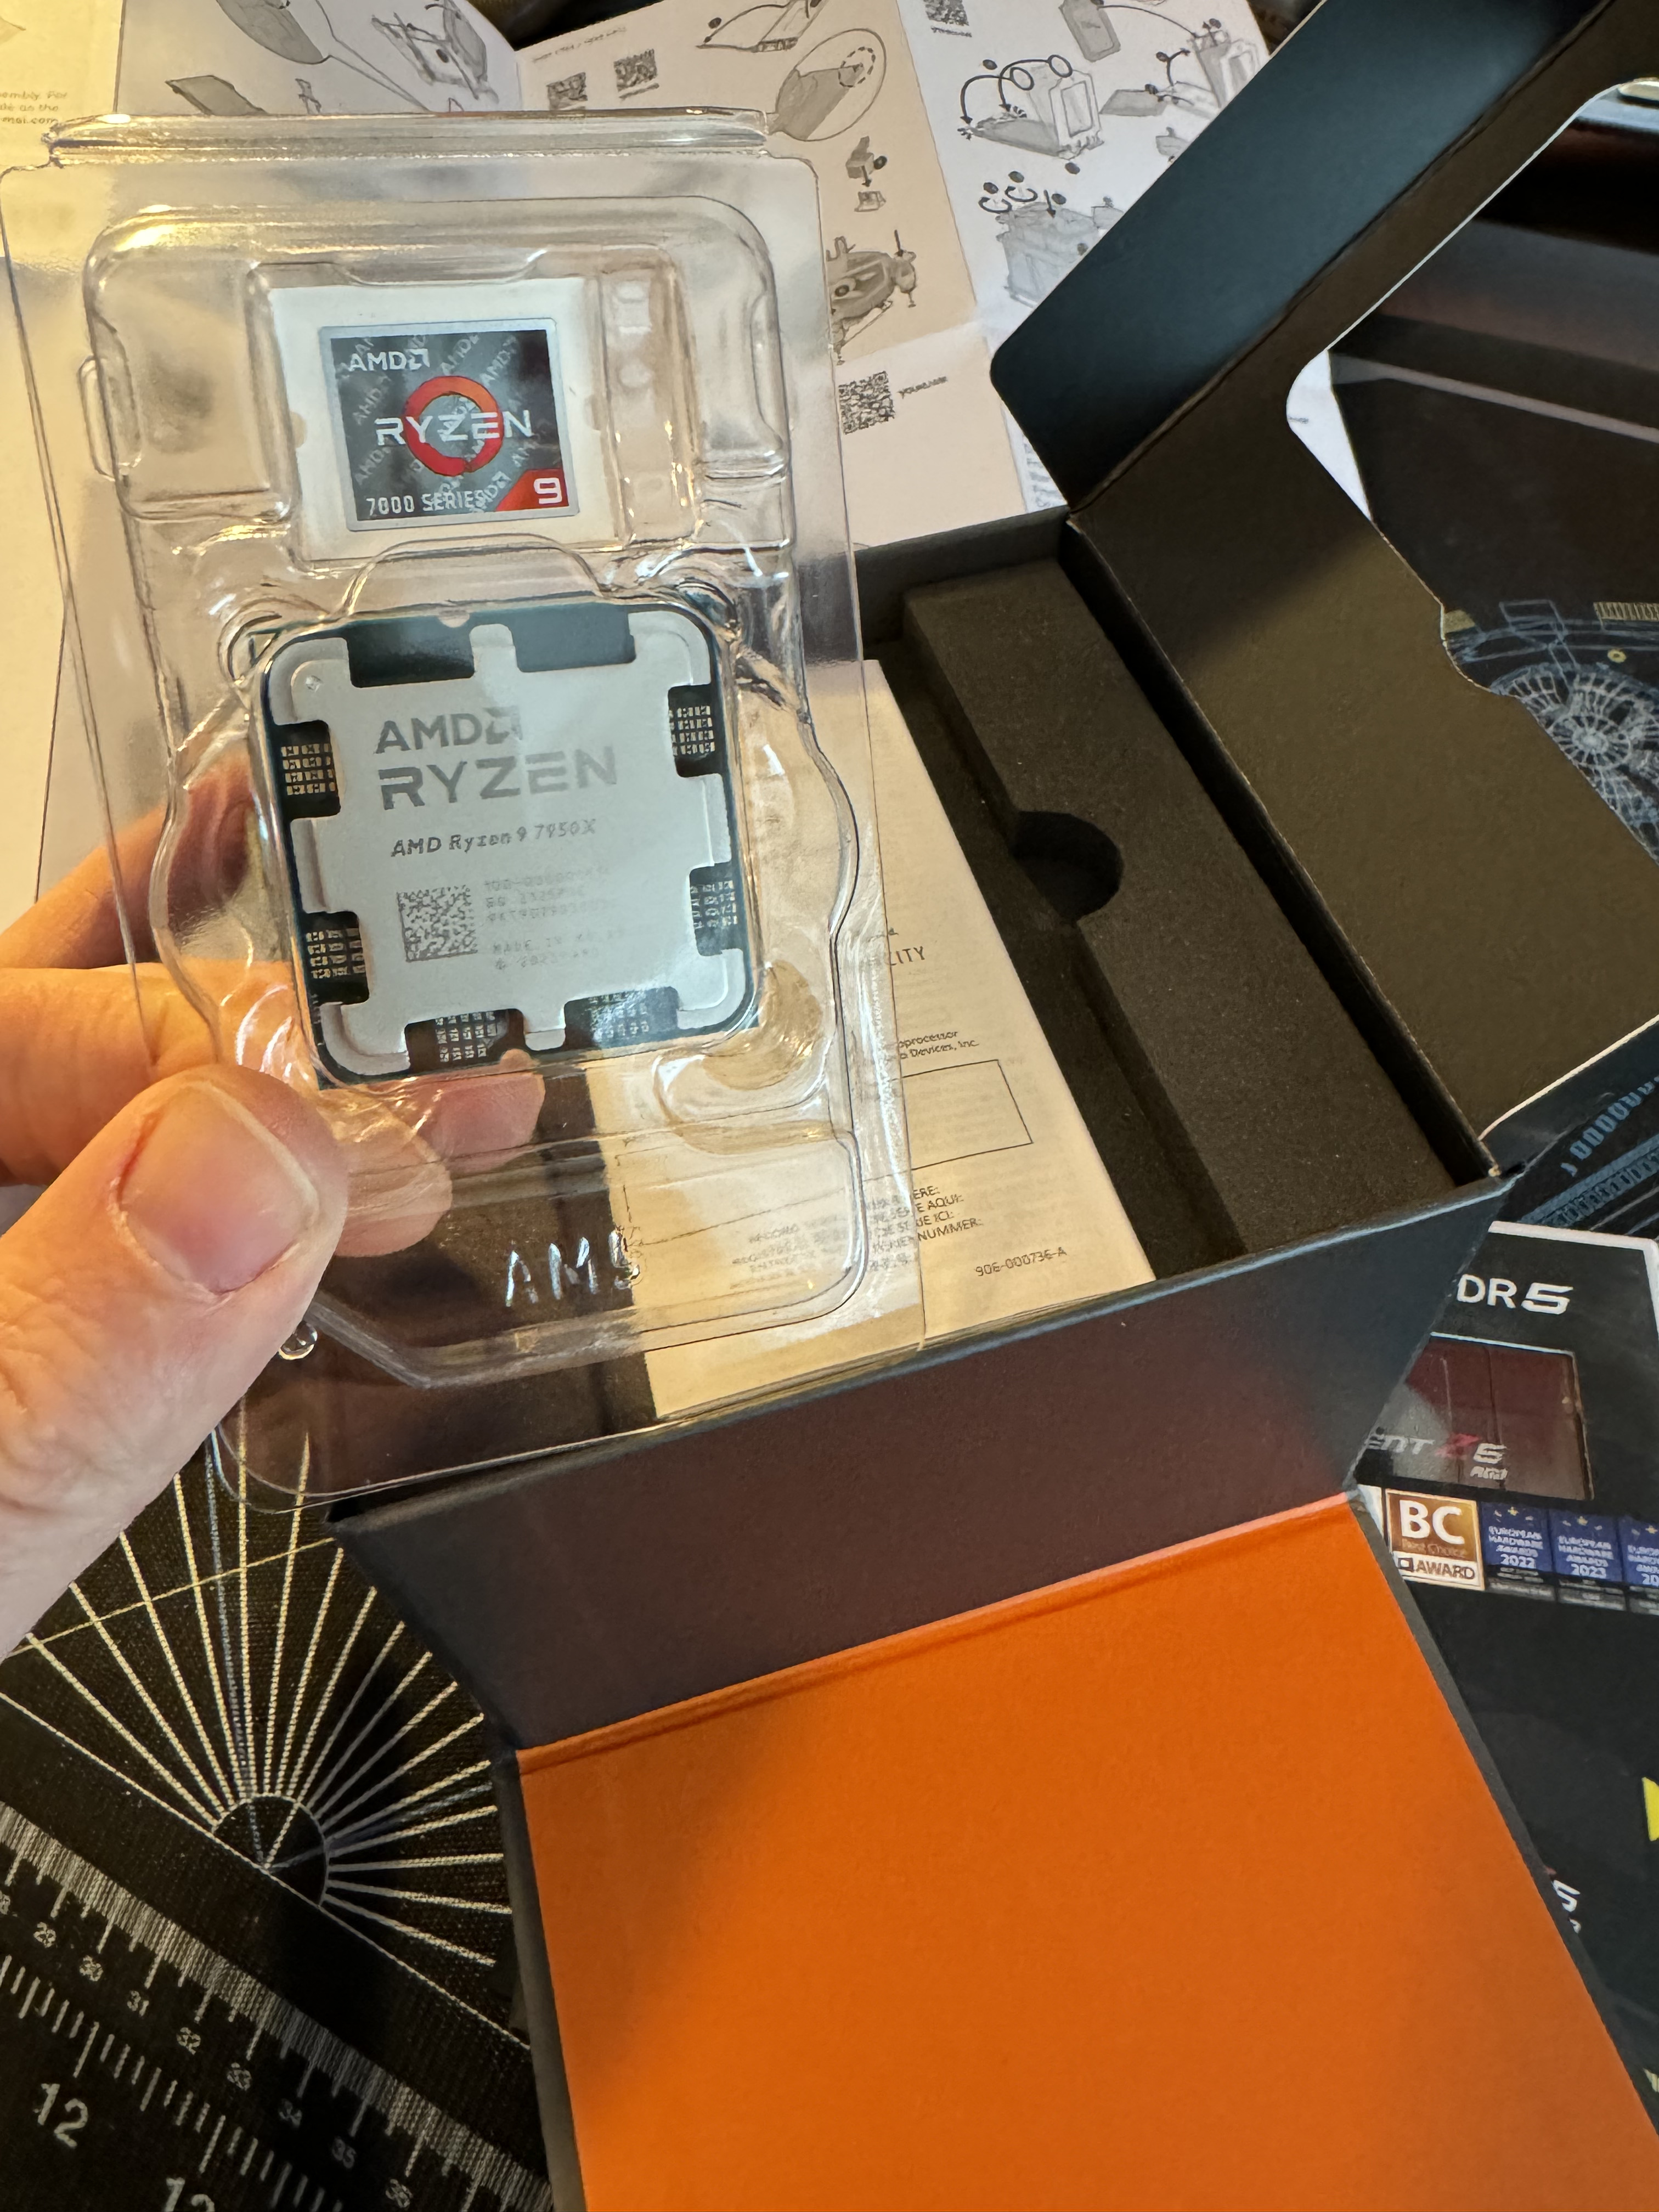
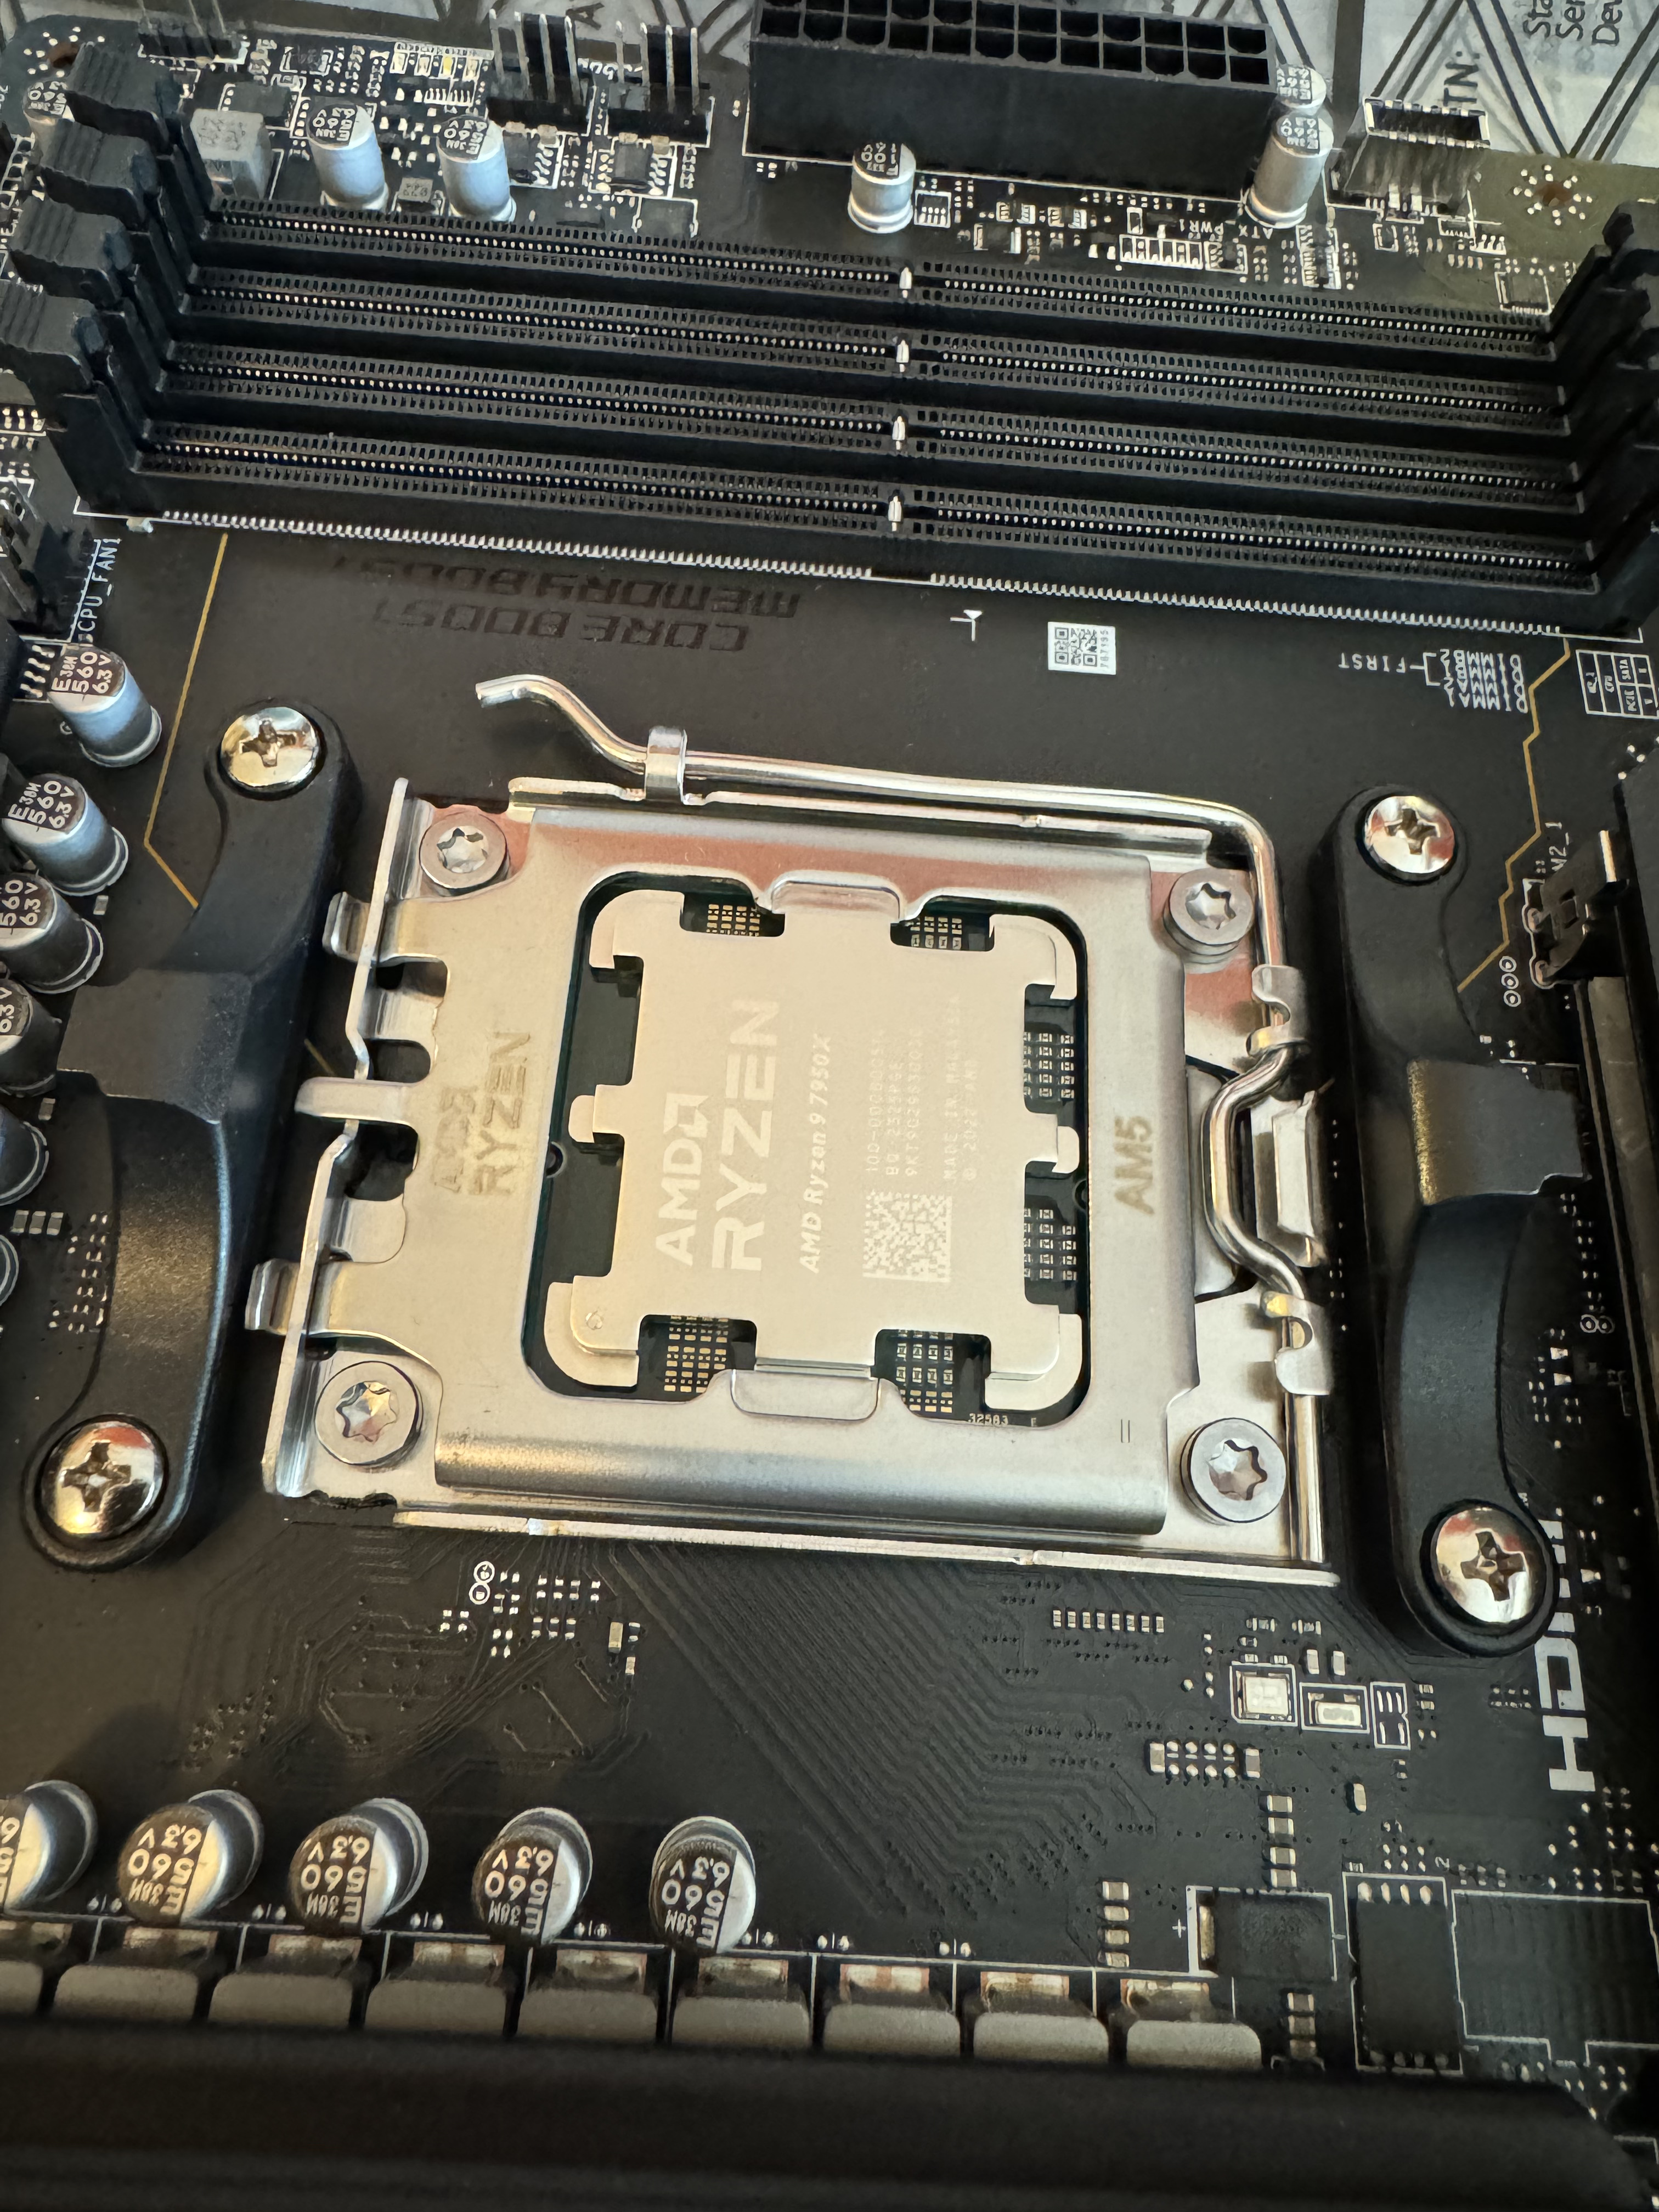
- CPU: AMD Ryzen 9 7950X
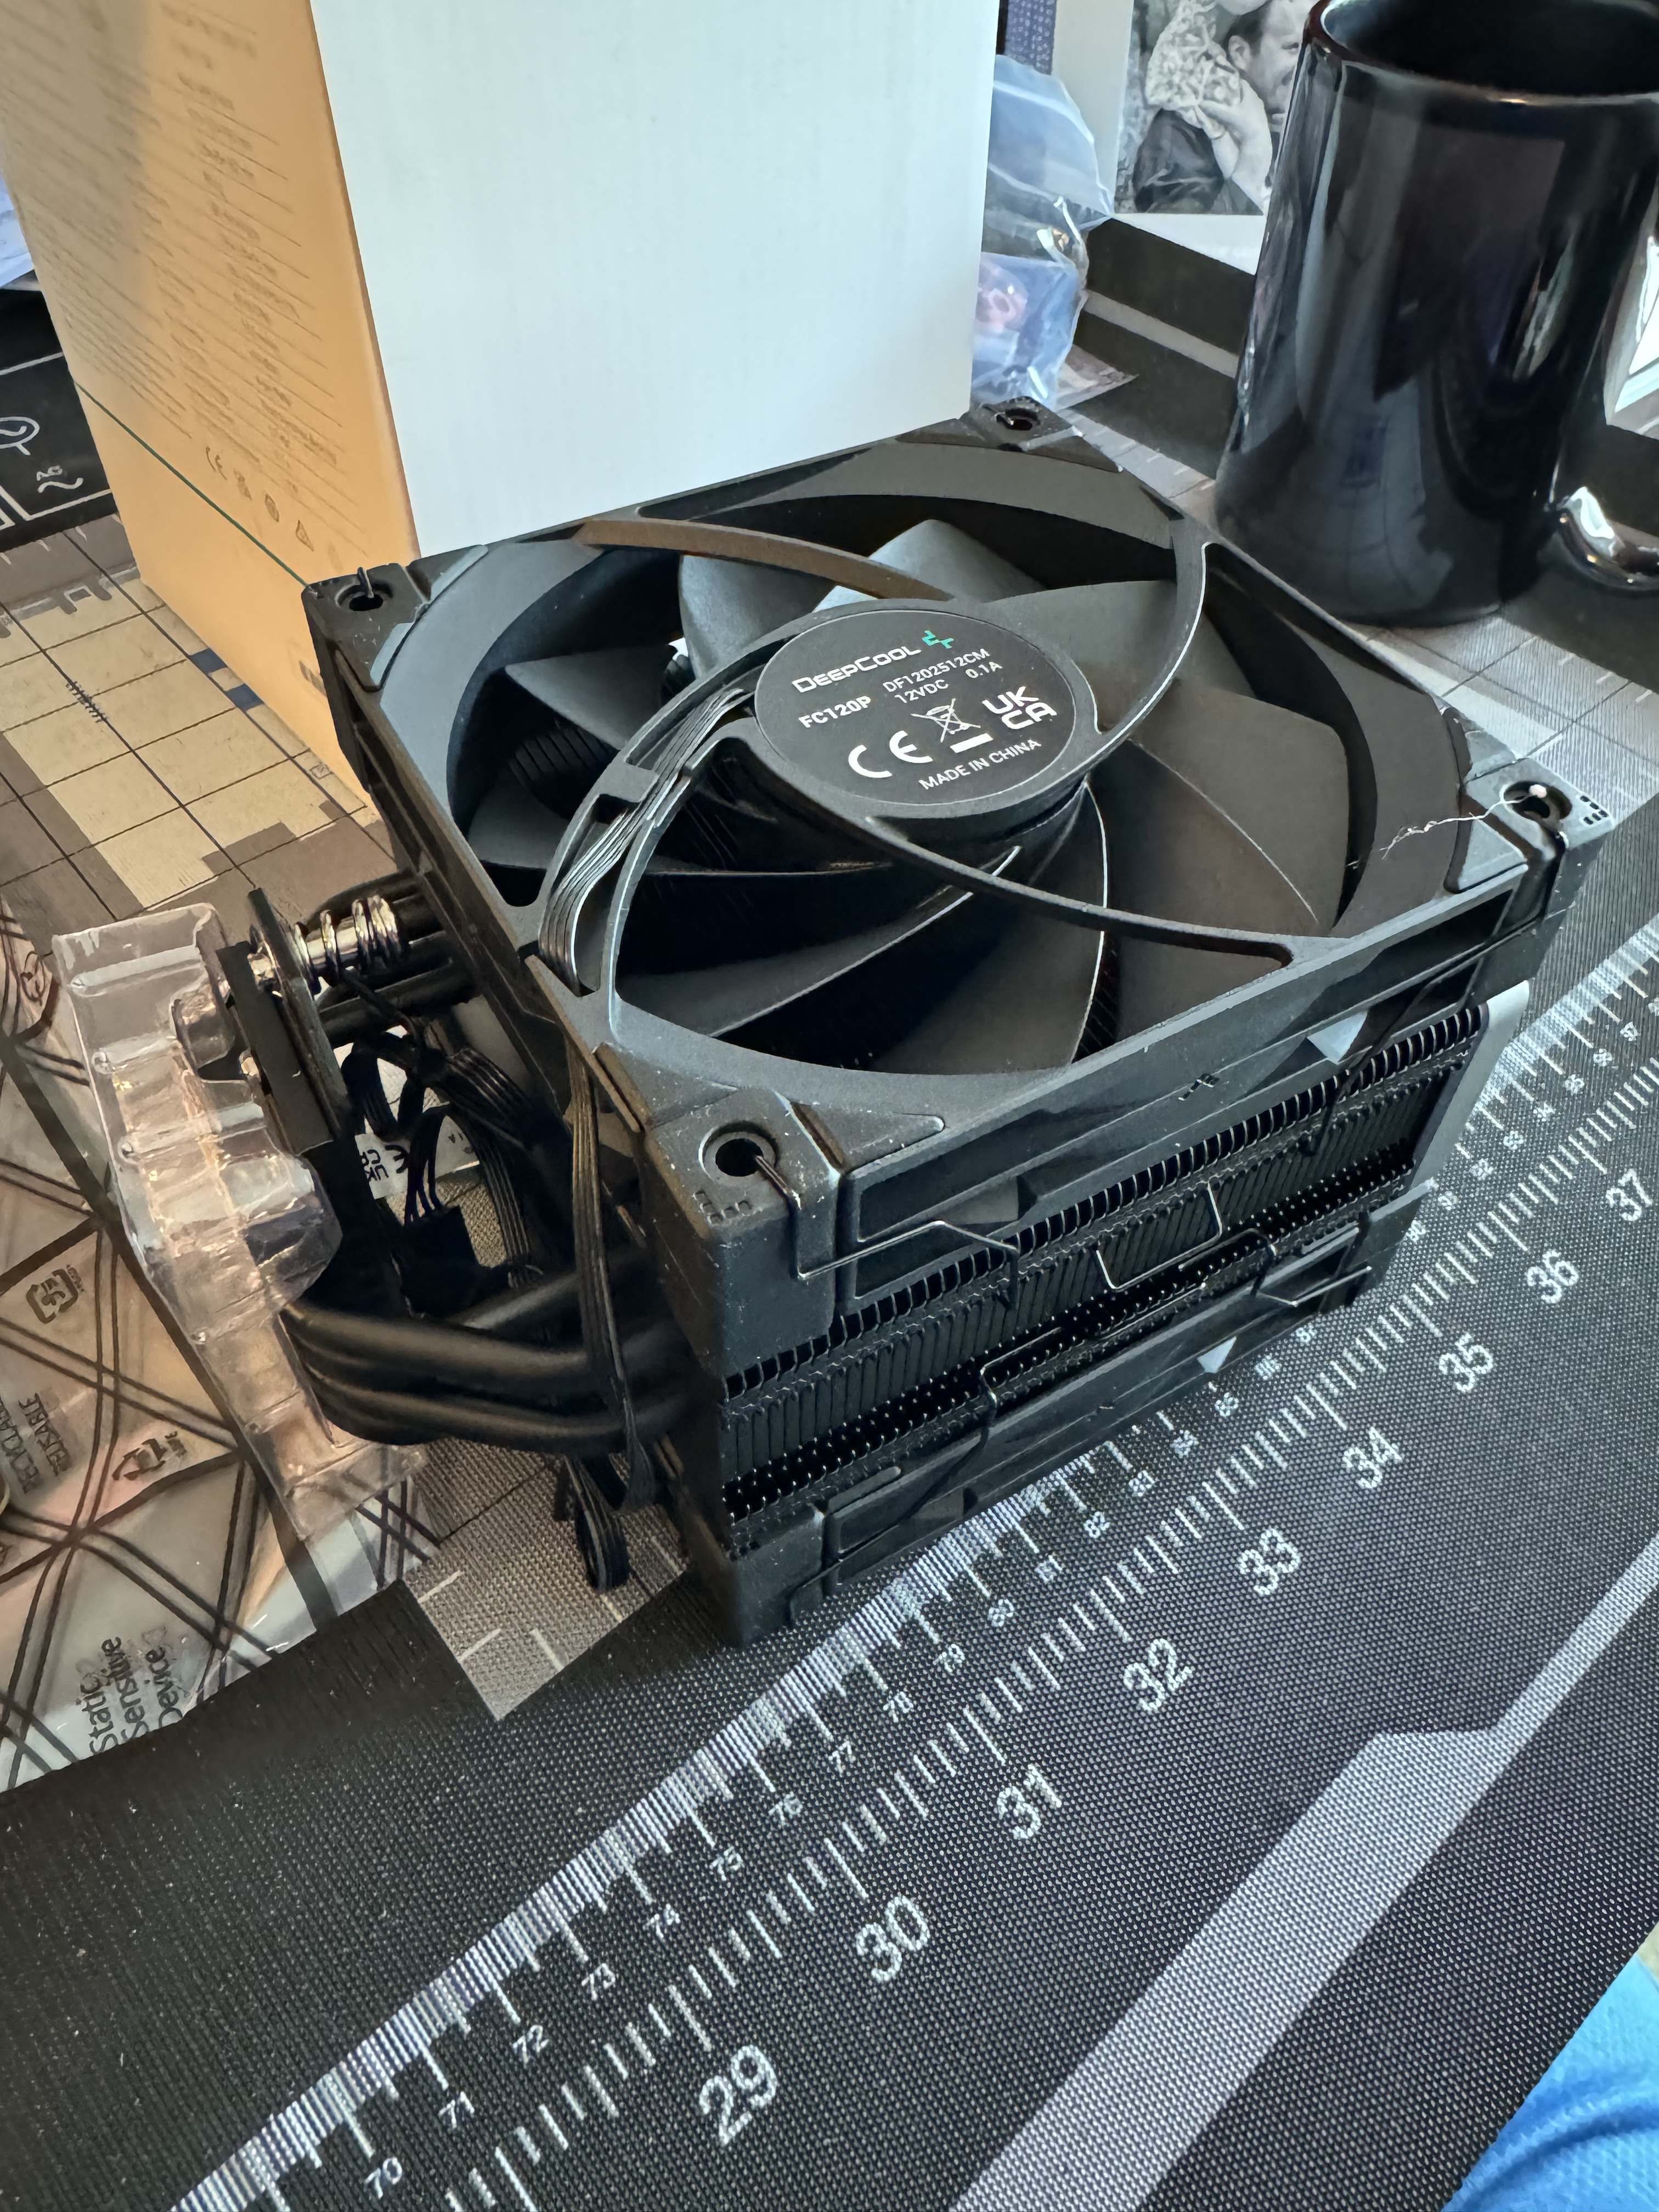
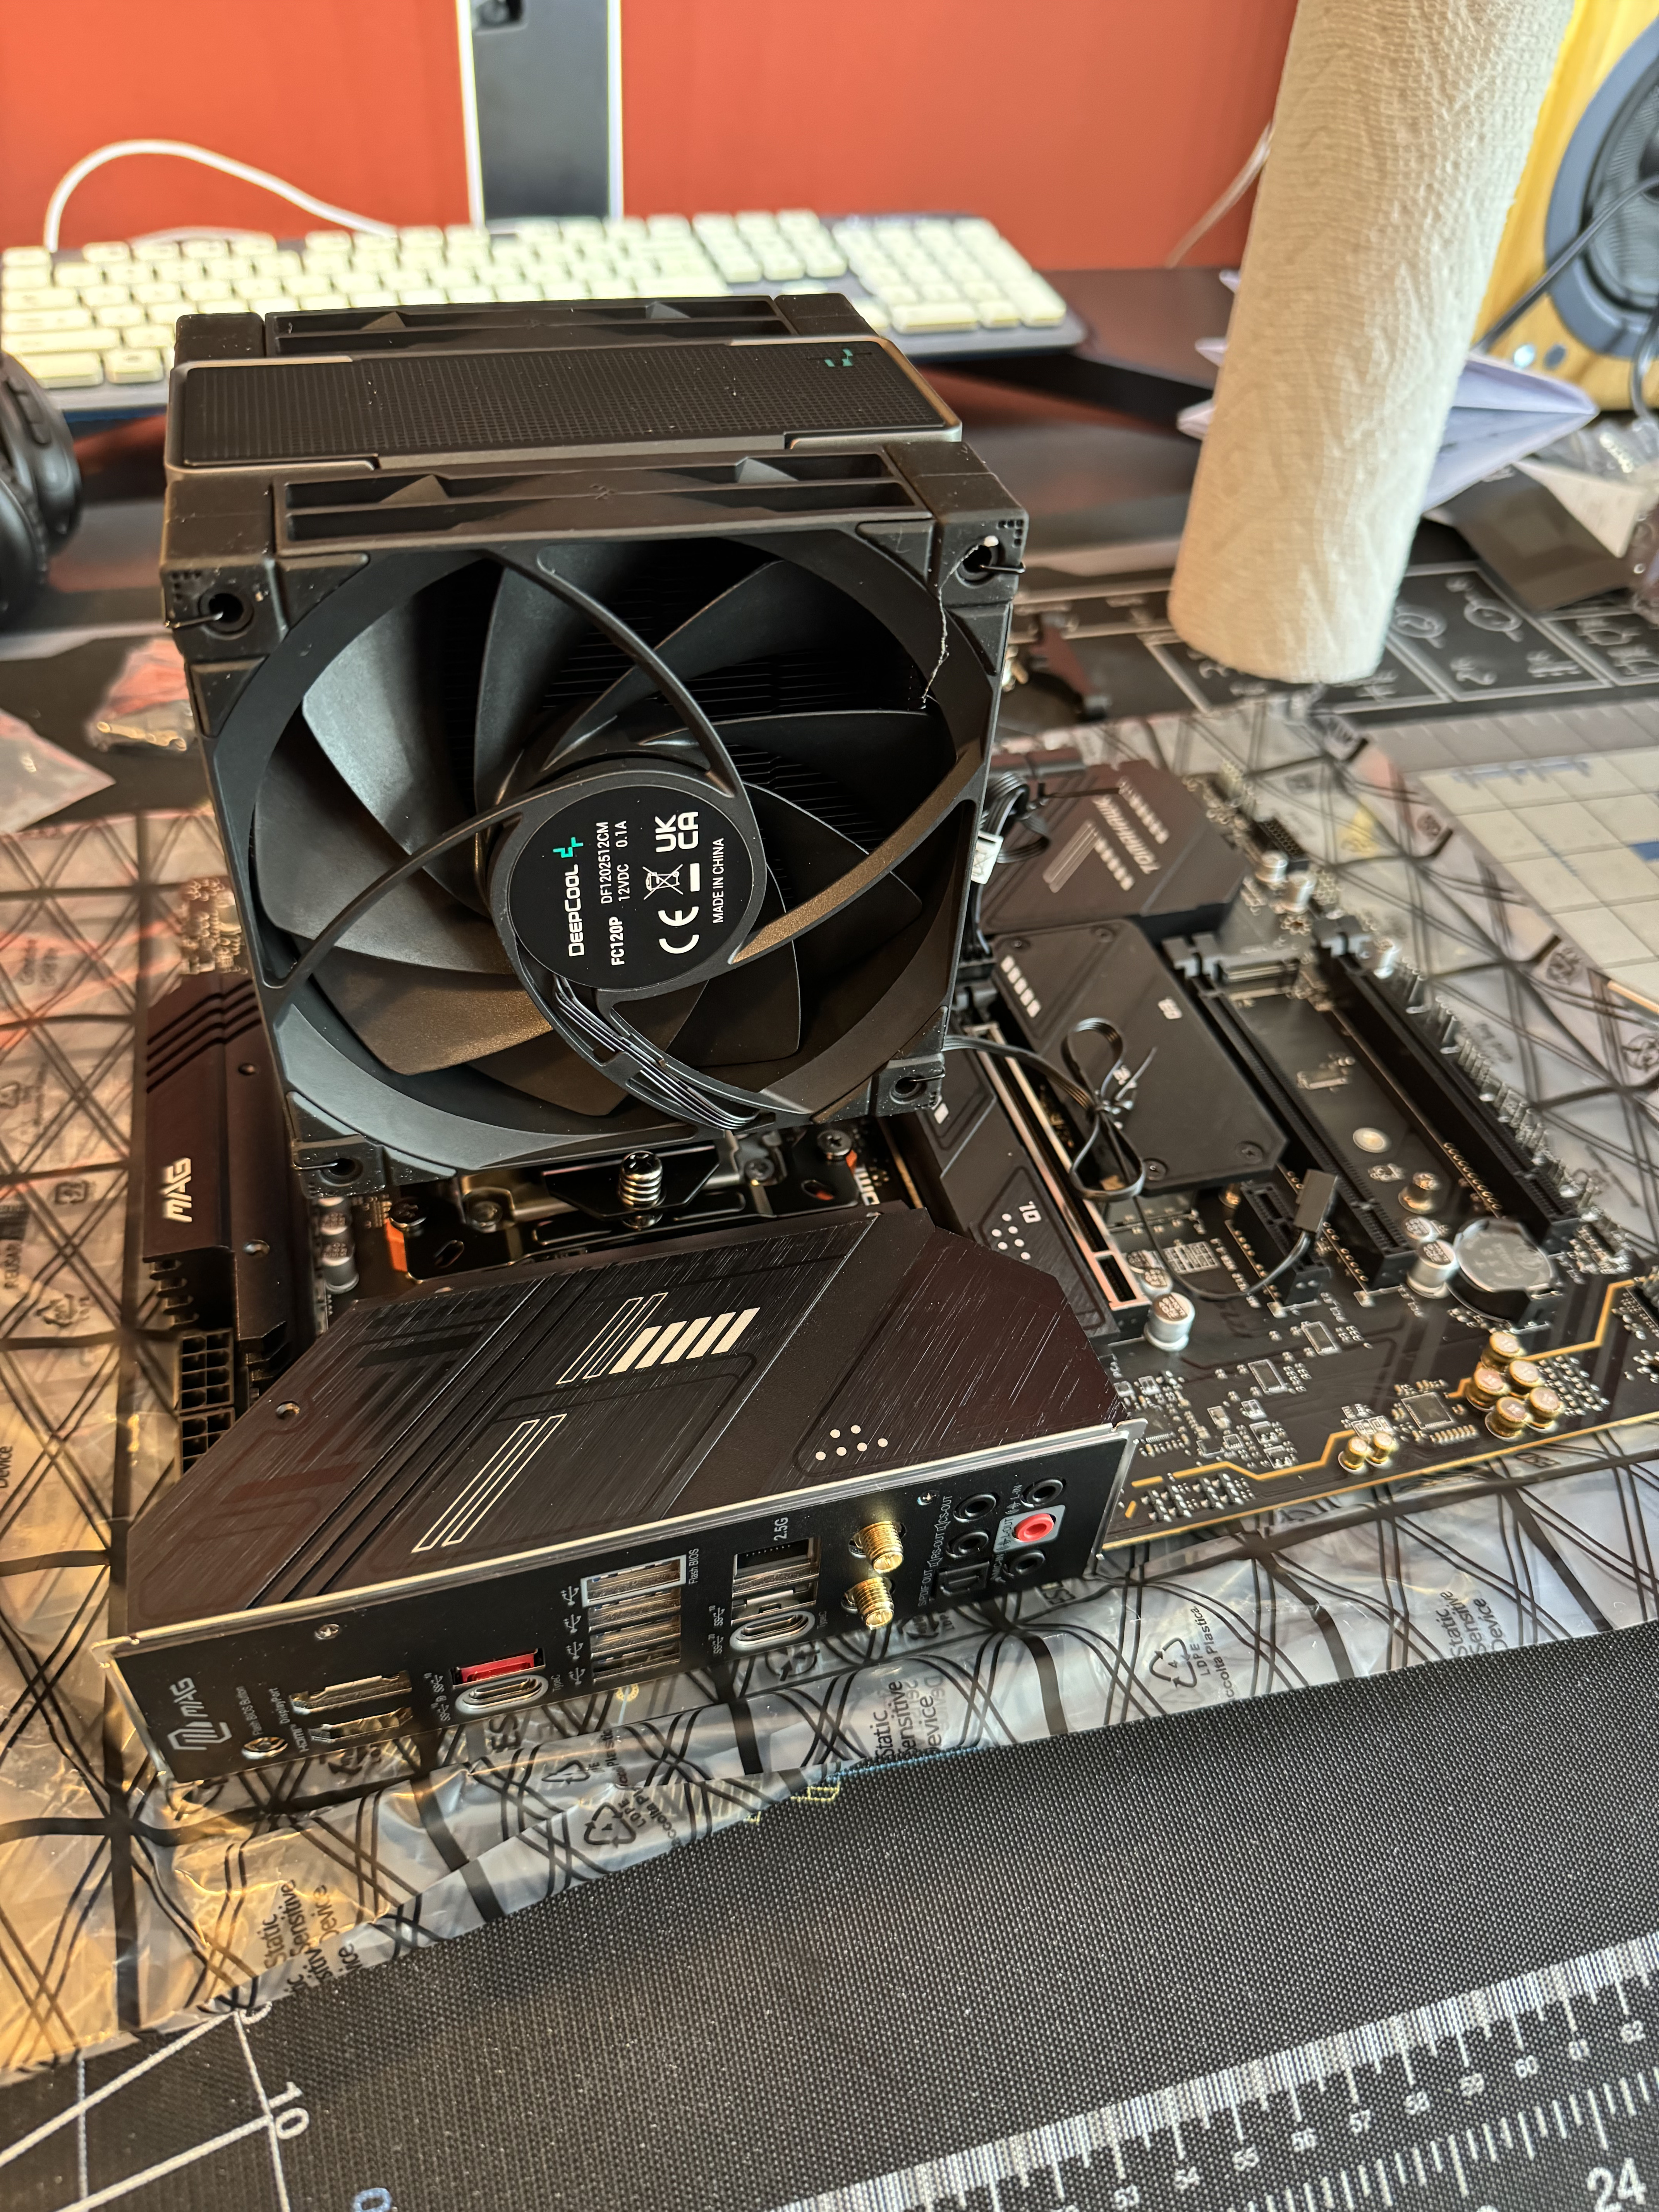
- Cooler: DeepCool AK400 Zero Dark Plus 120mm
- Motherboard: MSI MAG X670E Tomahawk AM5 ATX
- Memory: G.SKILL Trident Z5 48GB 288-pin PC RAM DDR5 6800 PC5 54400 (4x)
- GPU: NVIDIA RTX 4090
- PSU: MEG Ai1300P PCIE 5 1300W
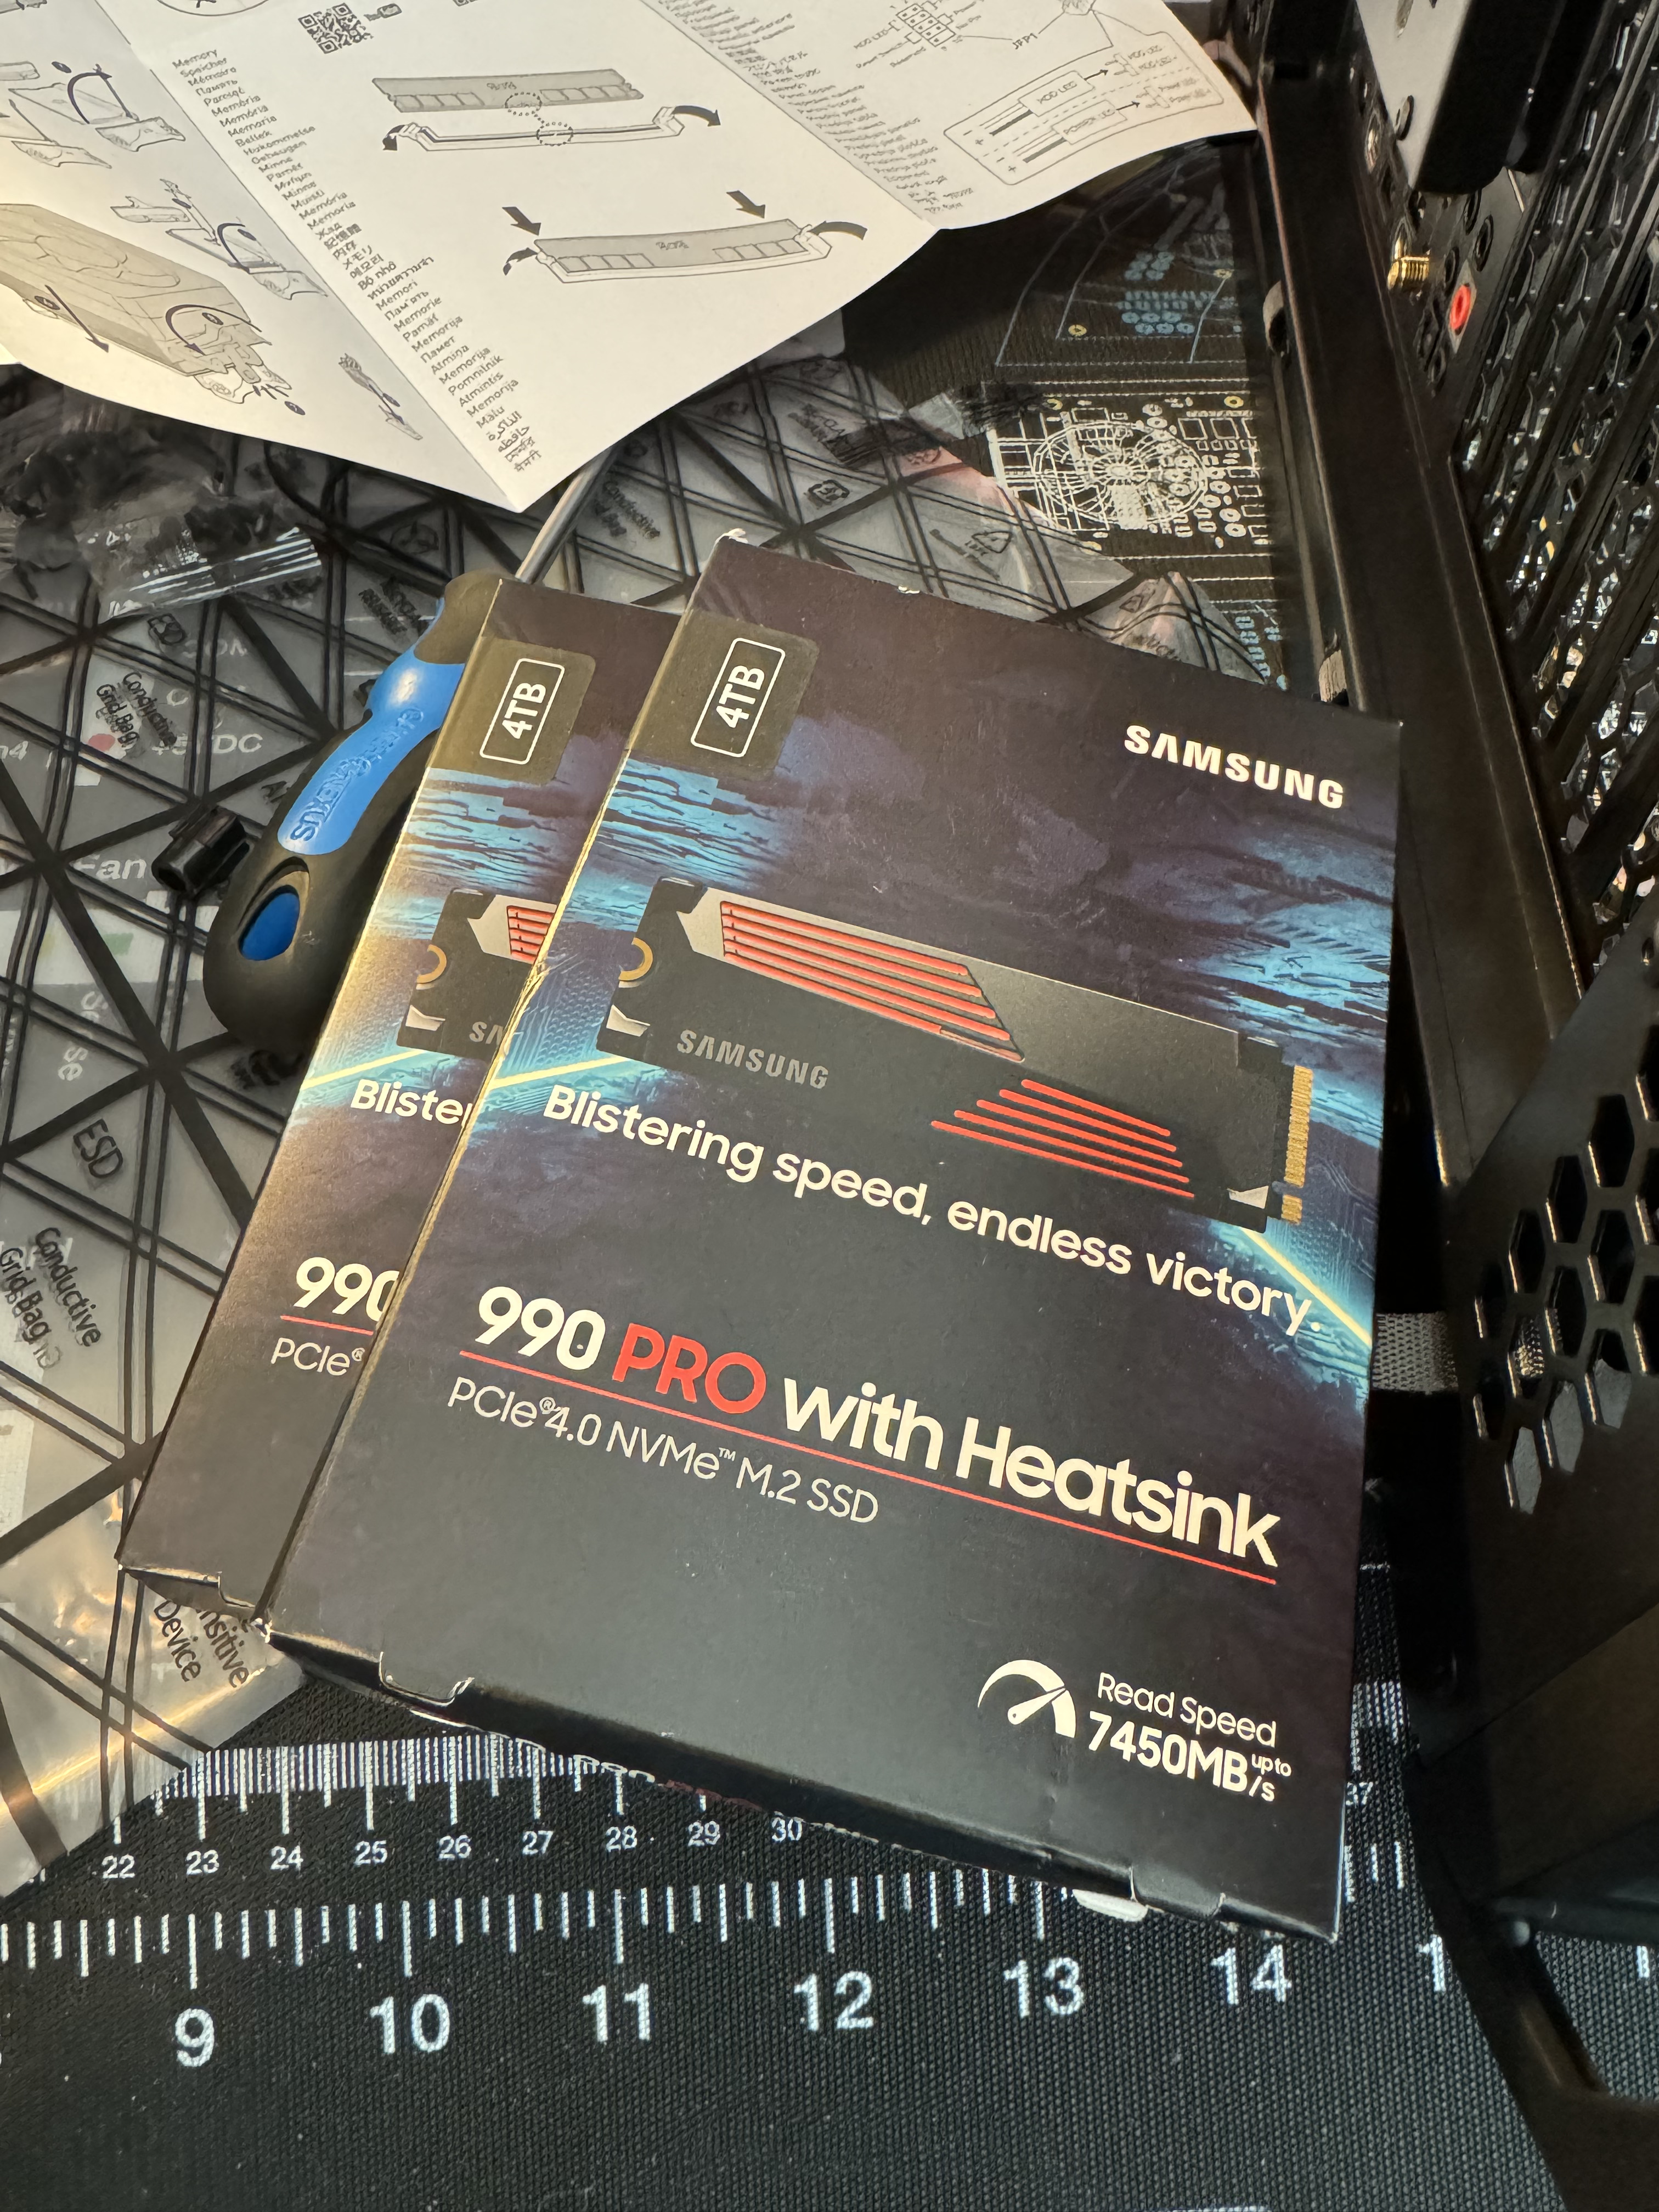
- Storage: Samsung SSD 990 PRO 2TB M.2 2280 (2x)
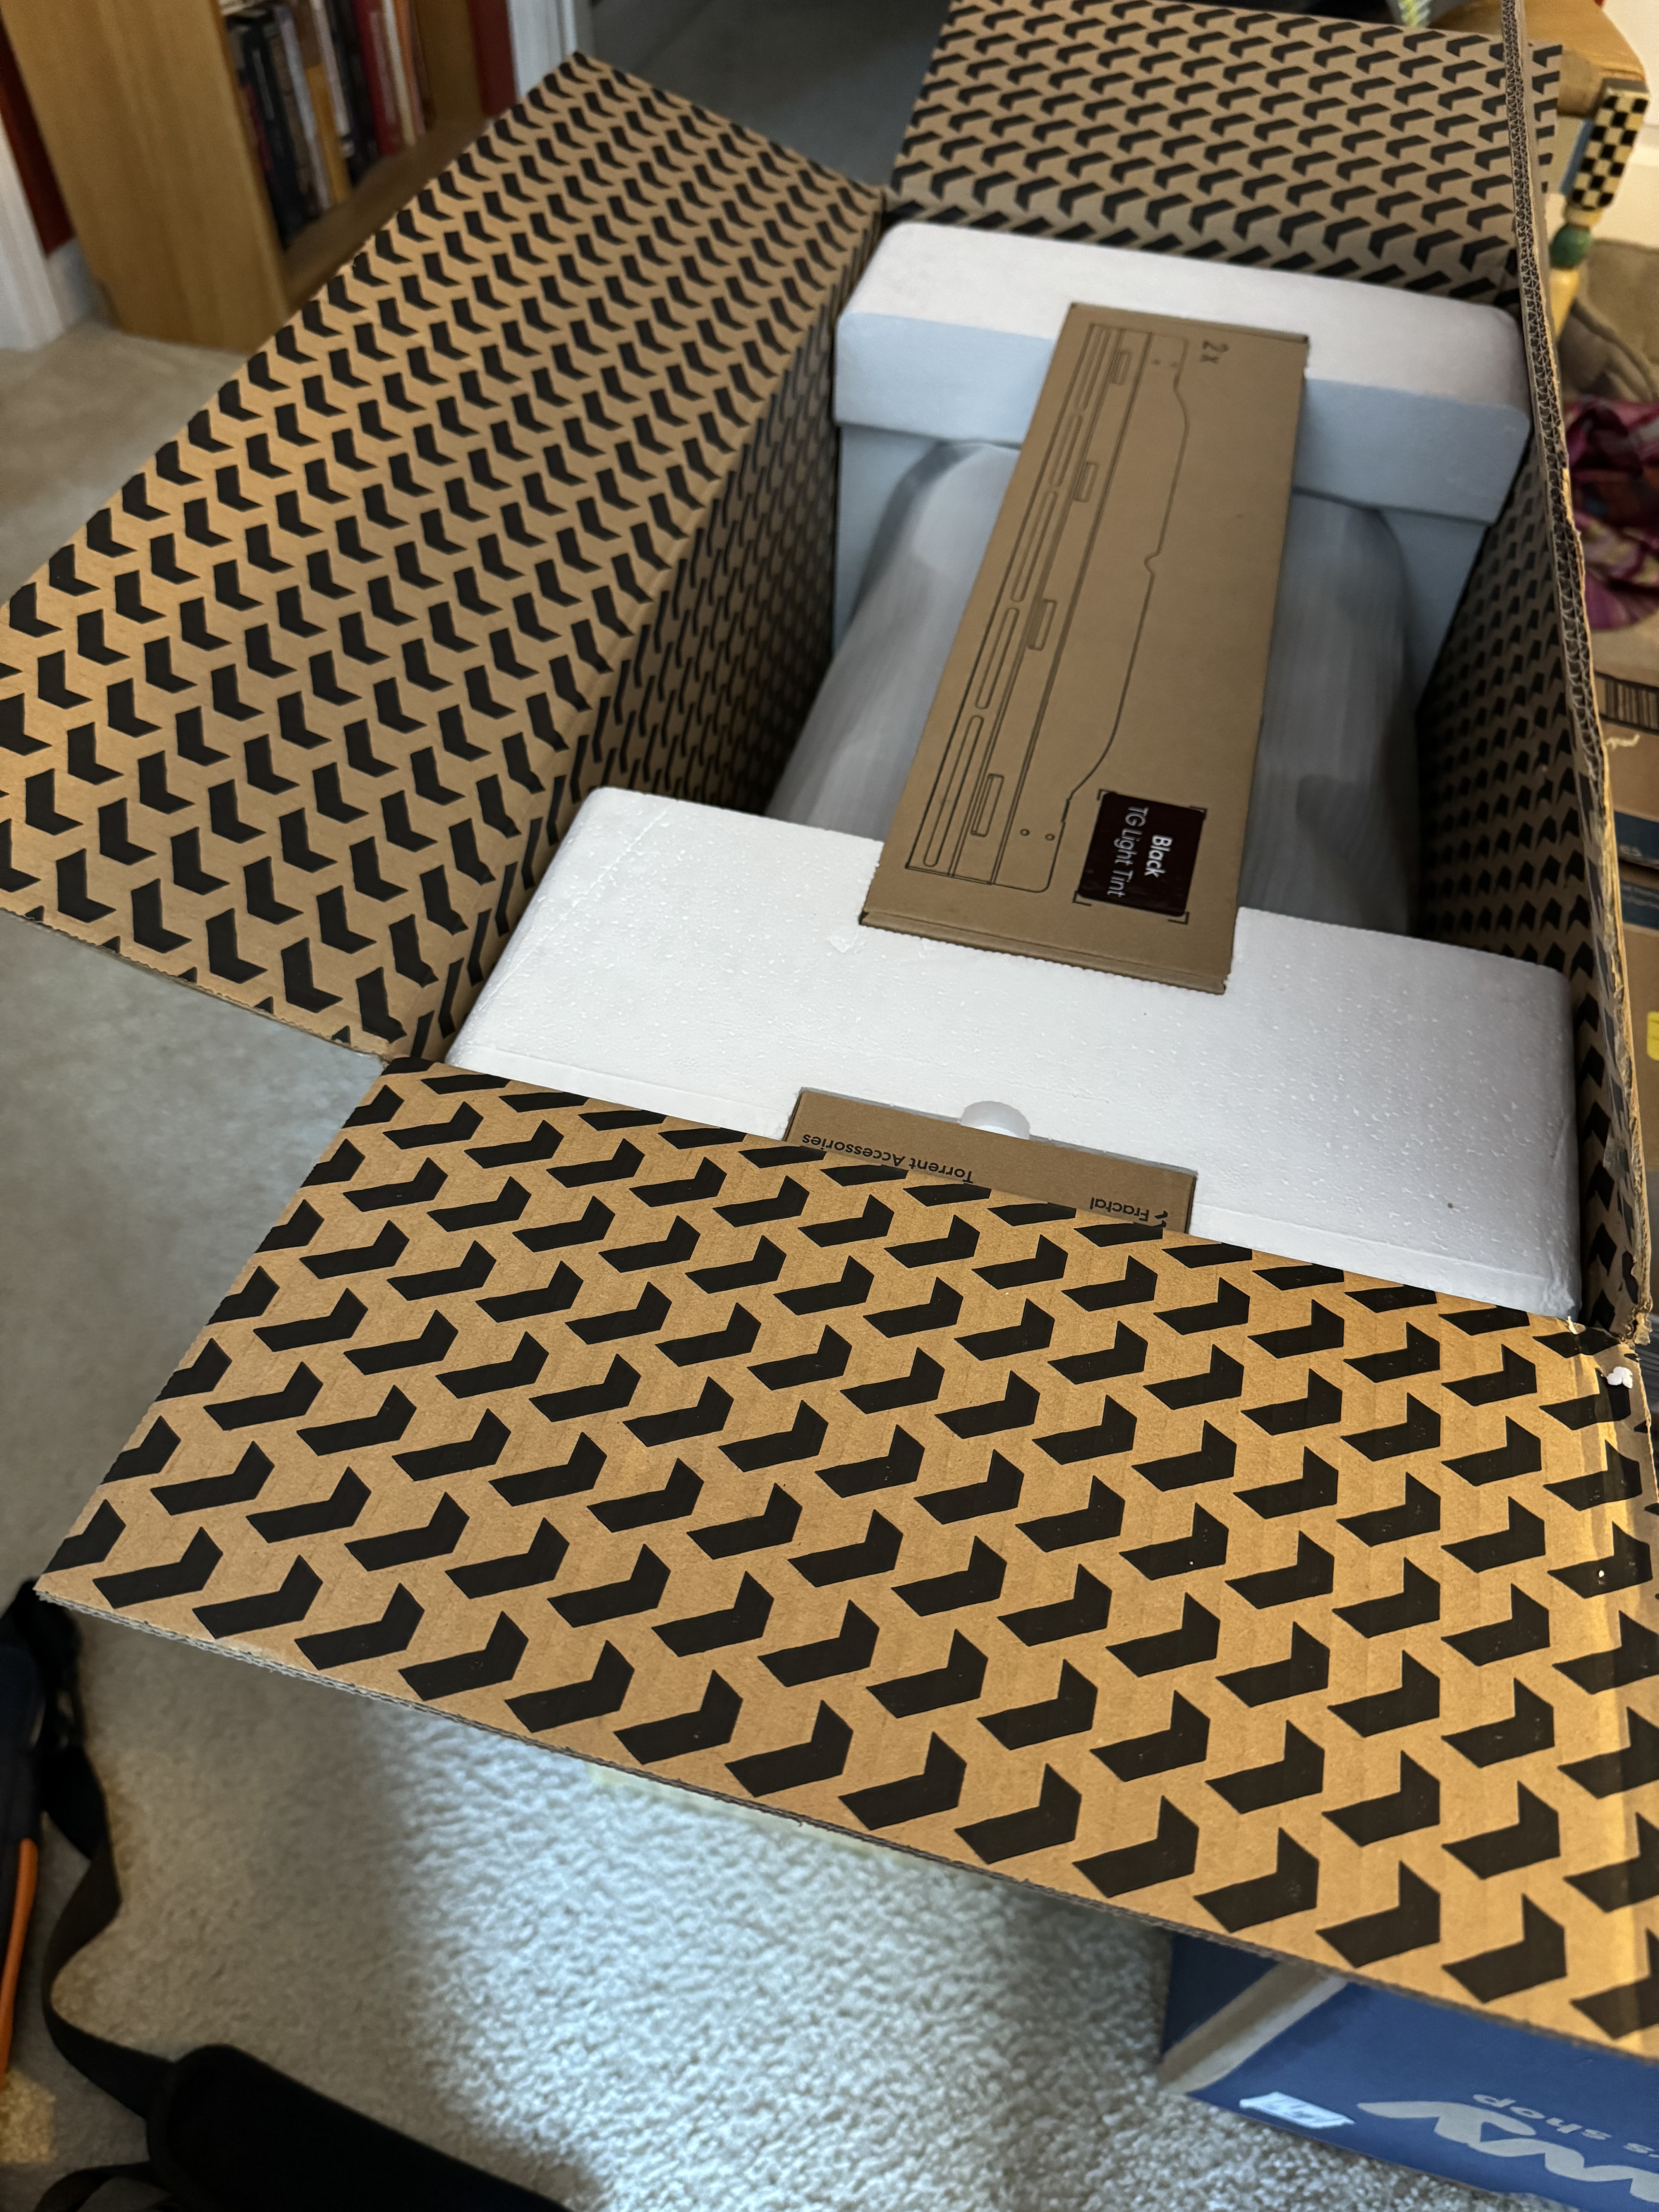
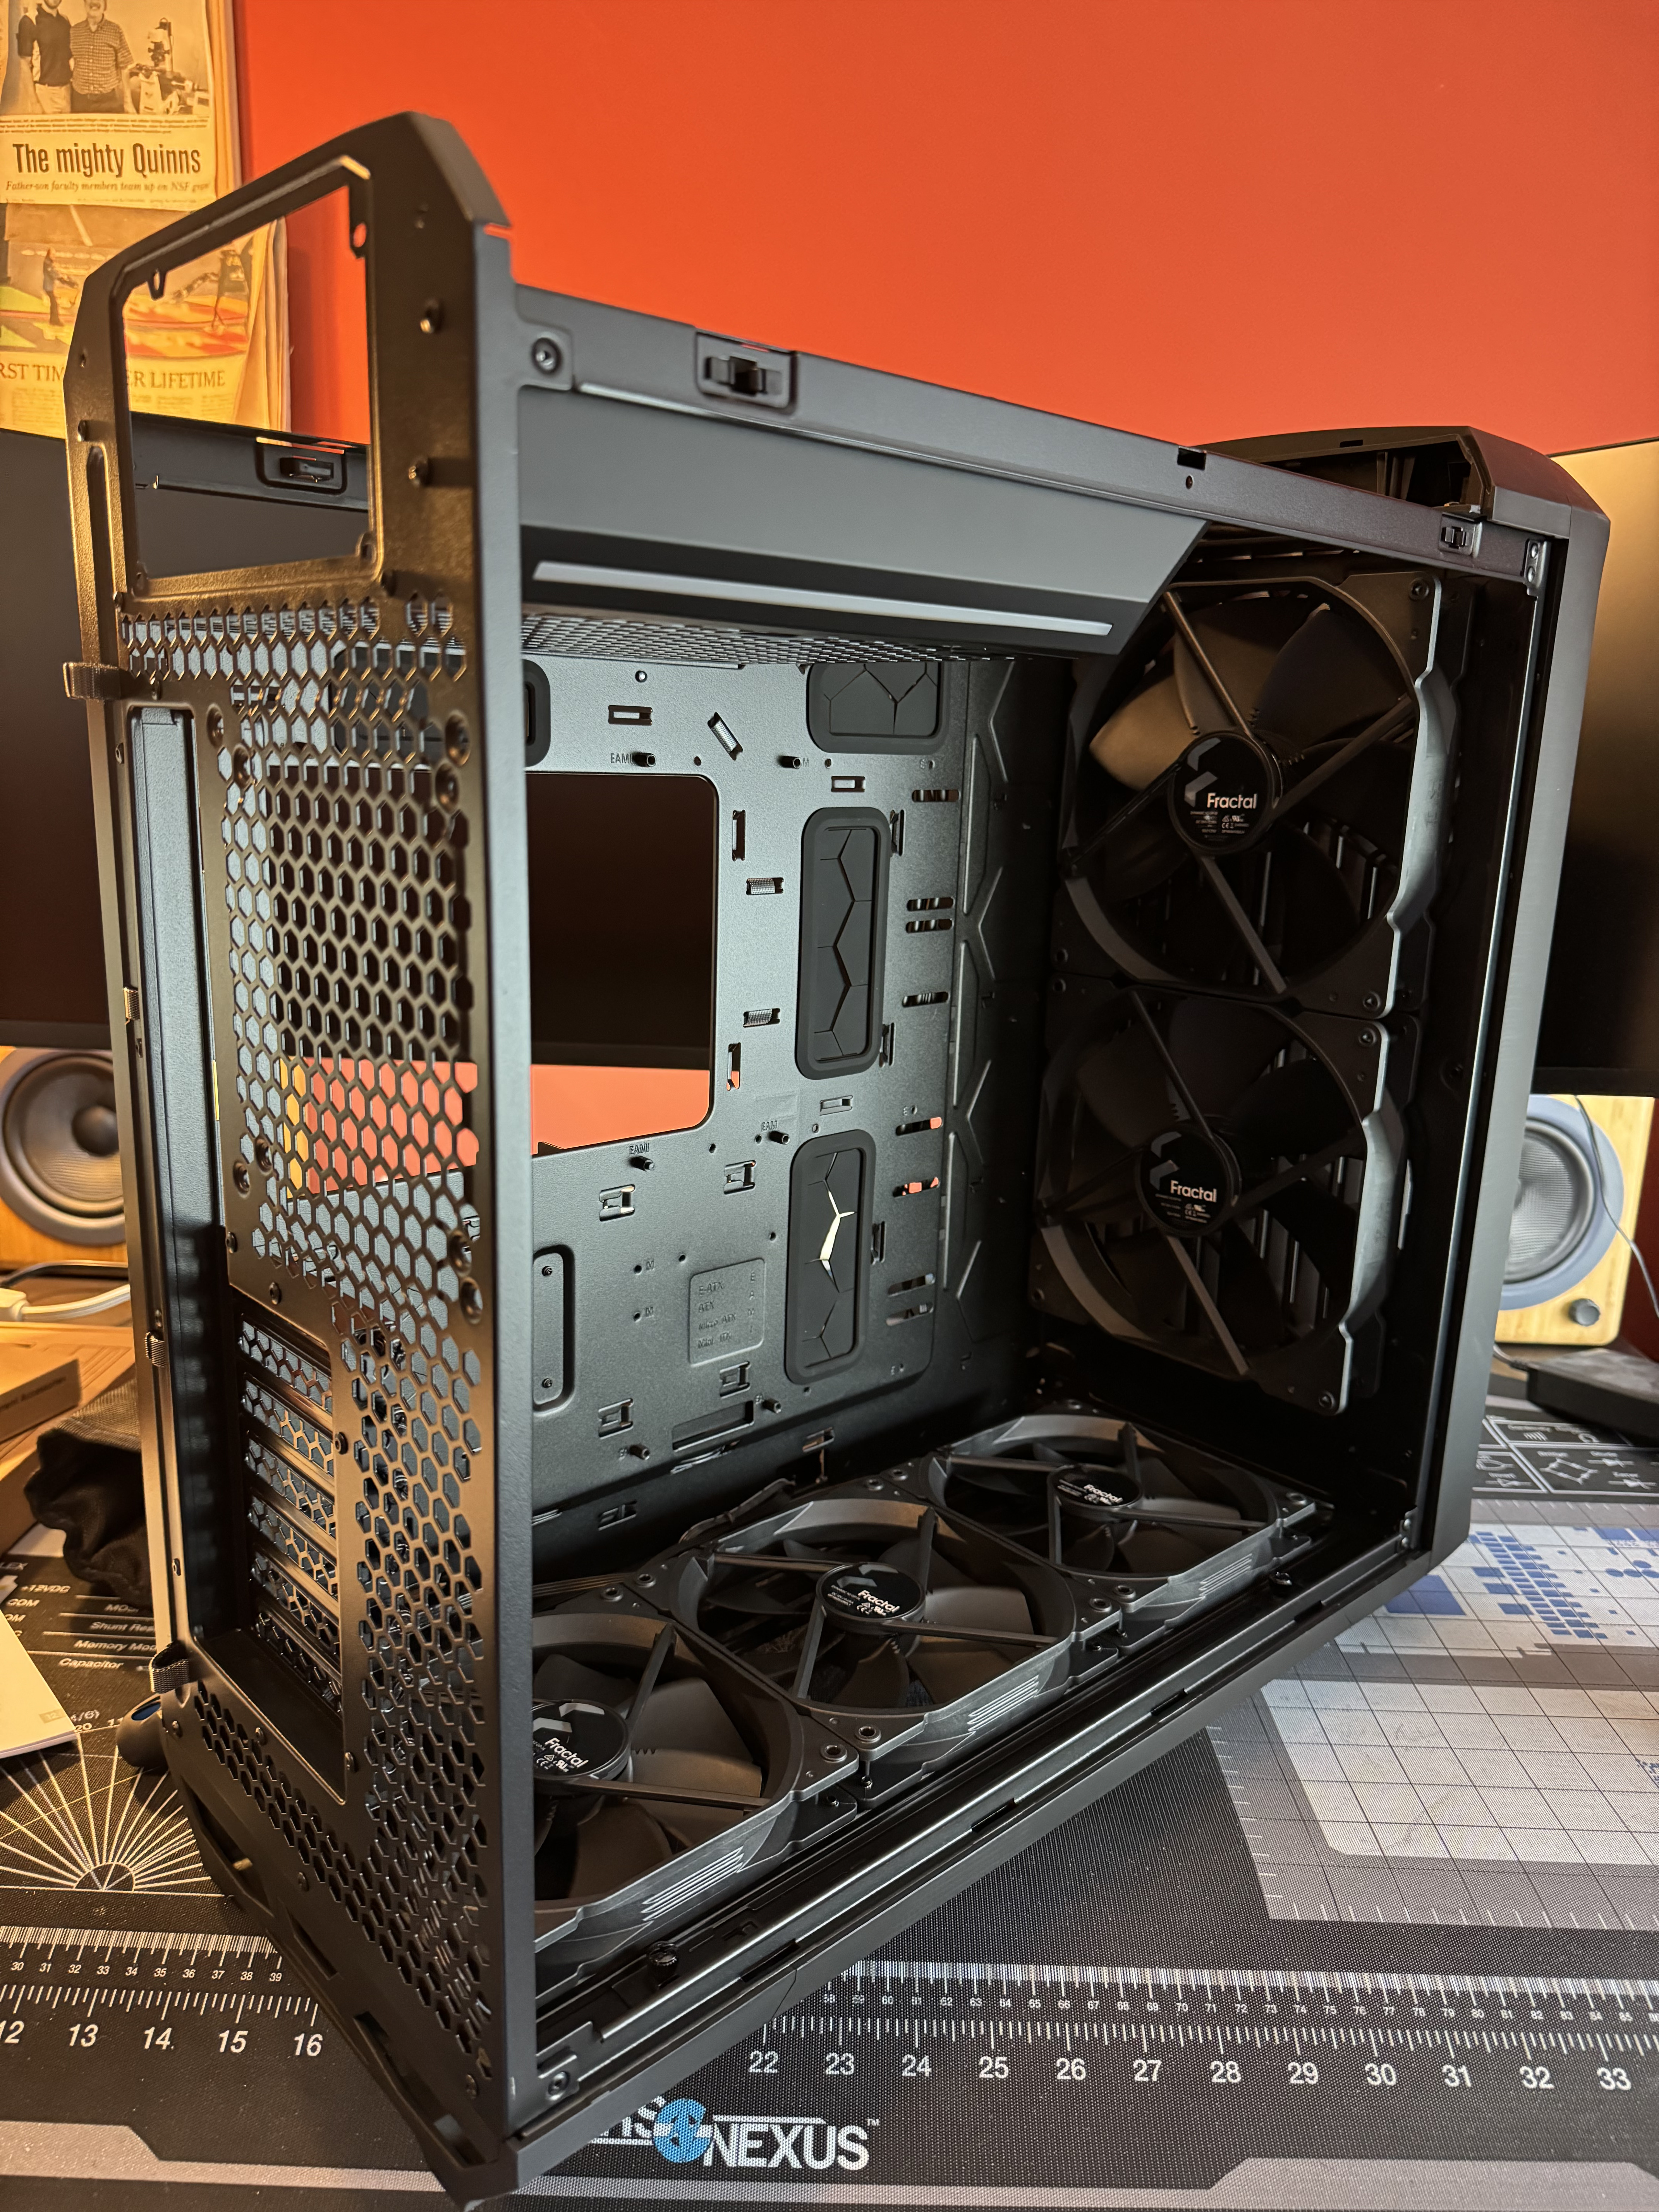
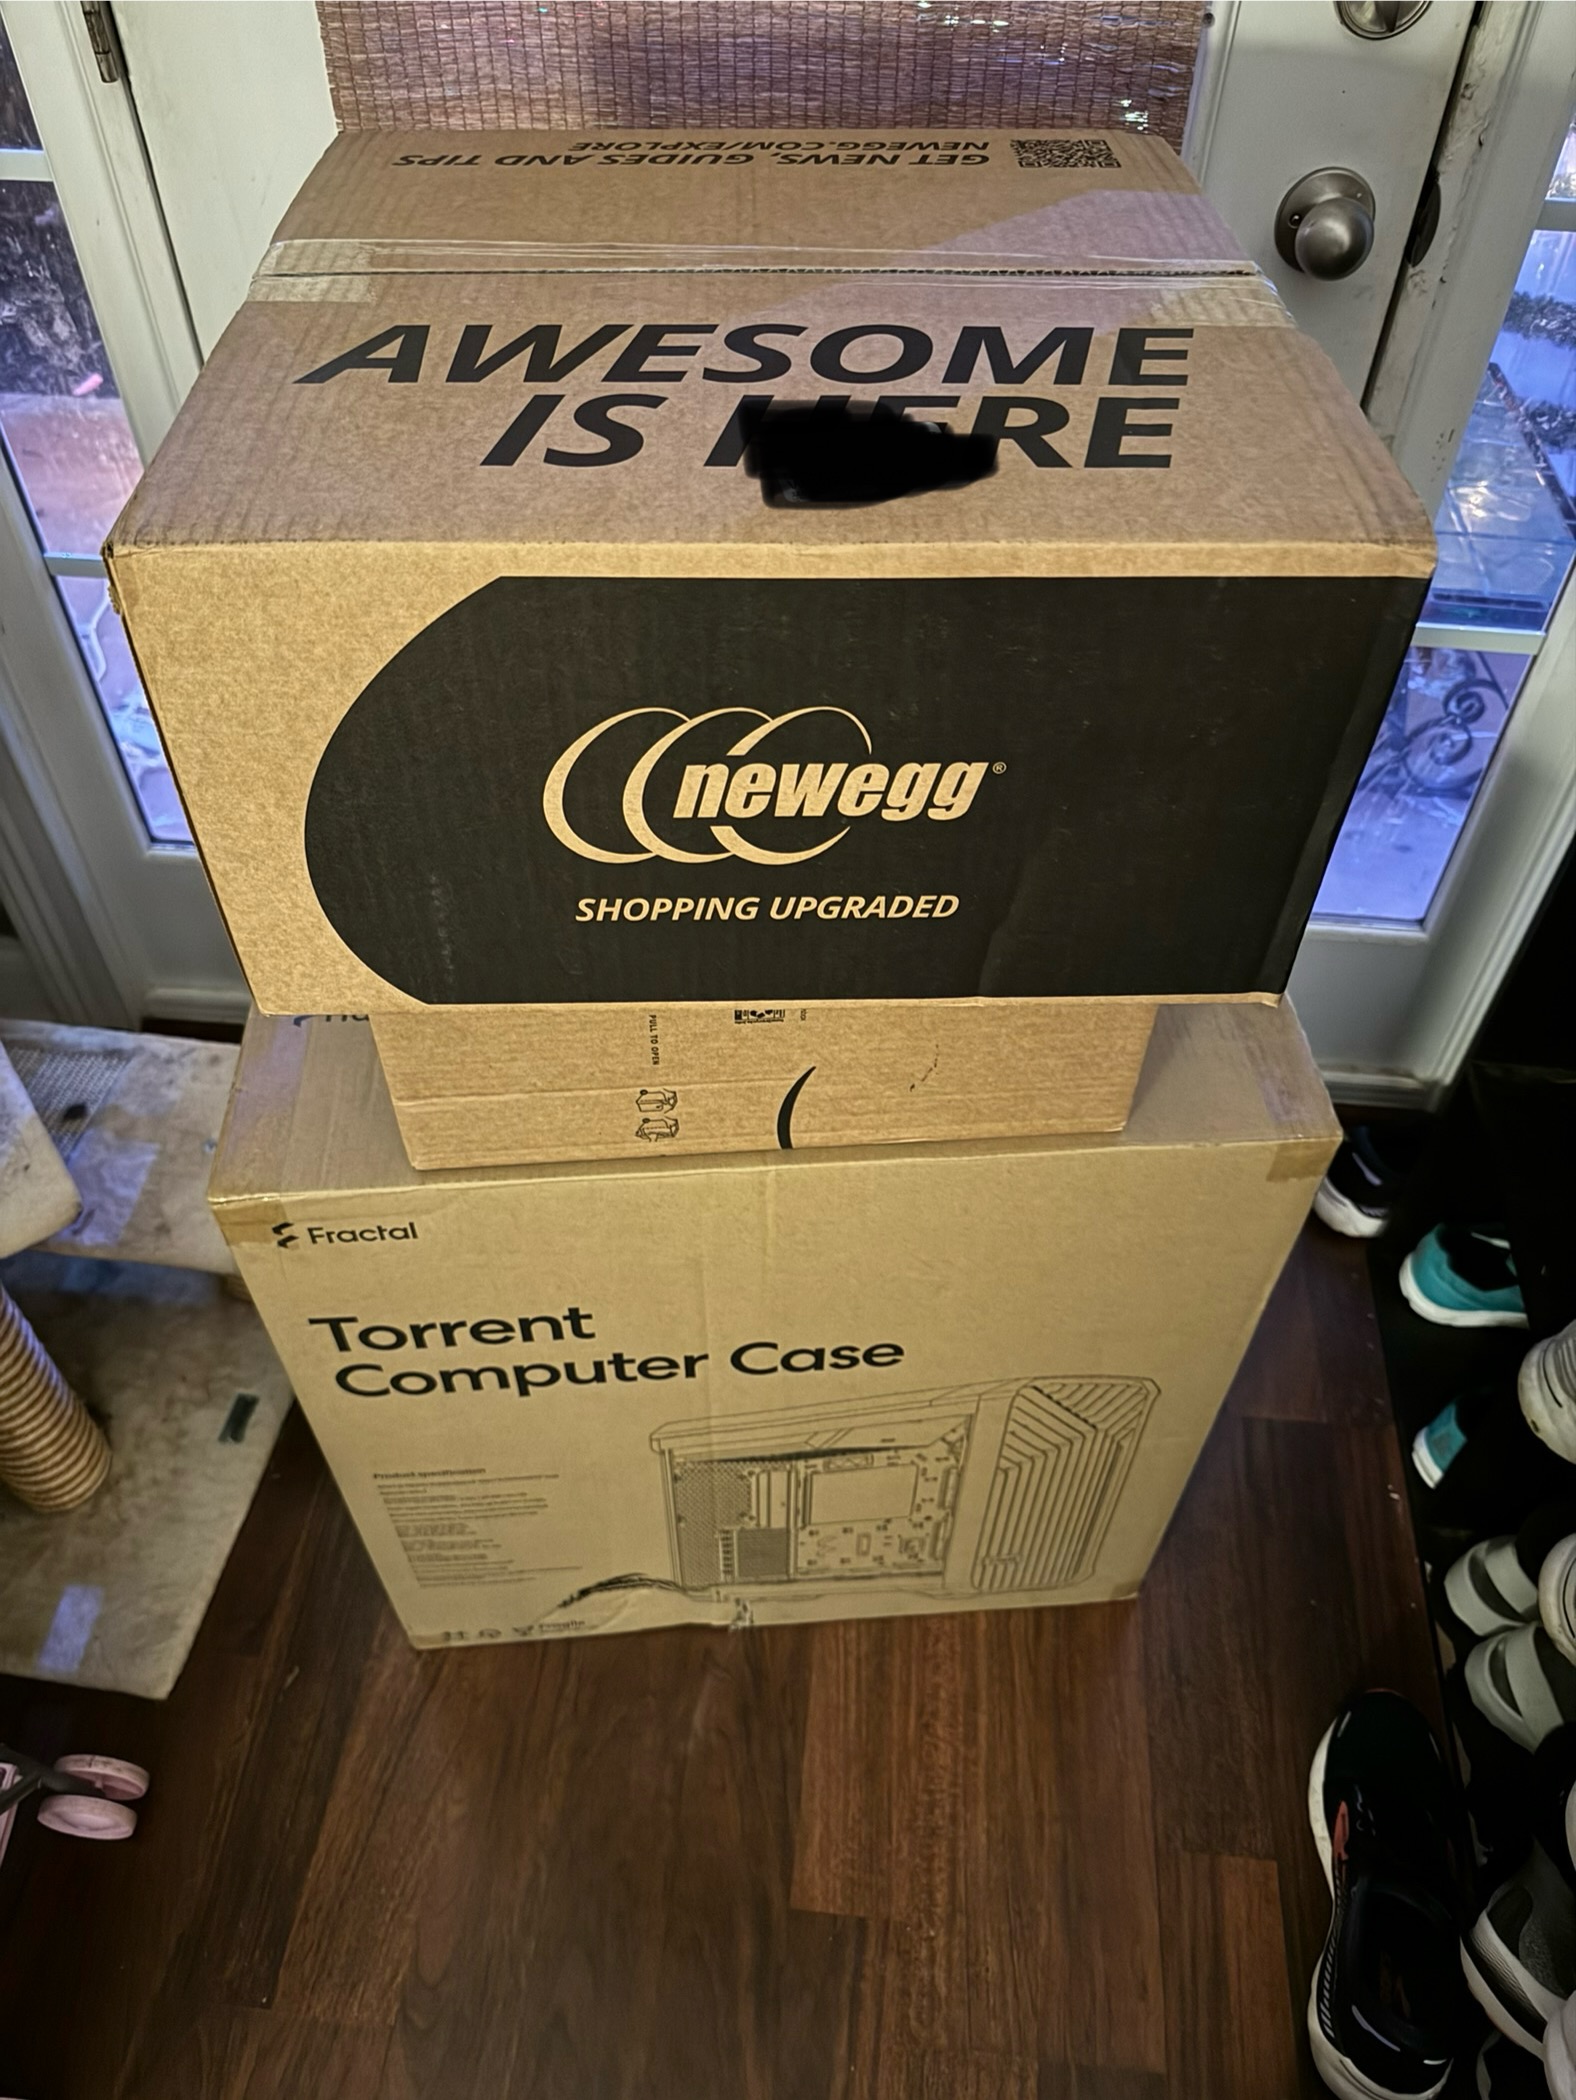
- Case: Fractal Design Torrent Black E-ATX Mid Tower
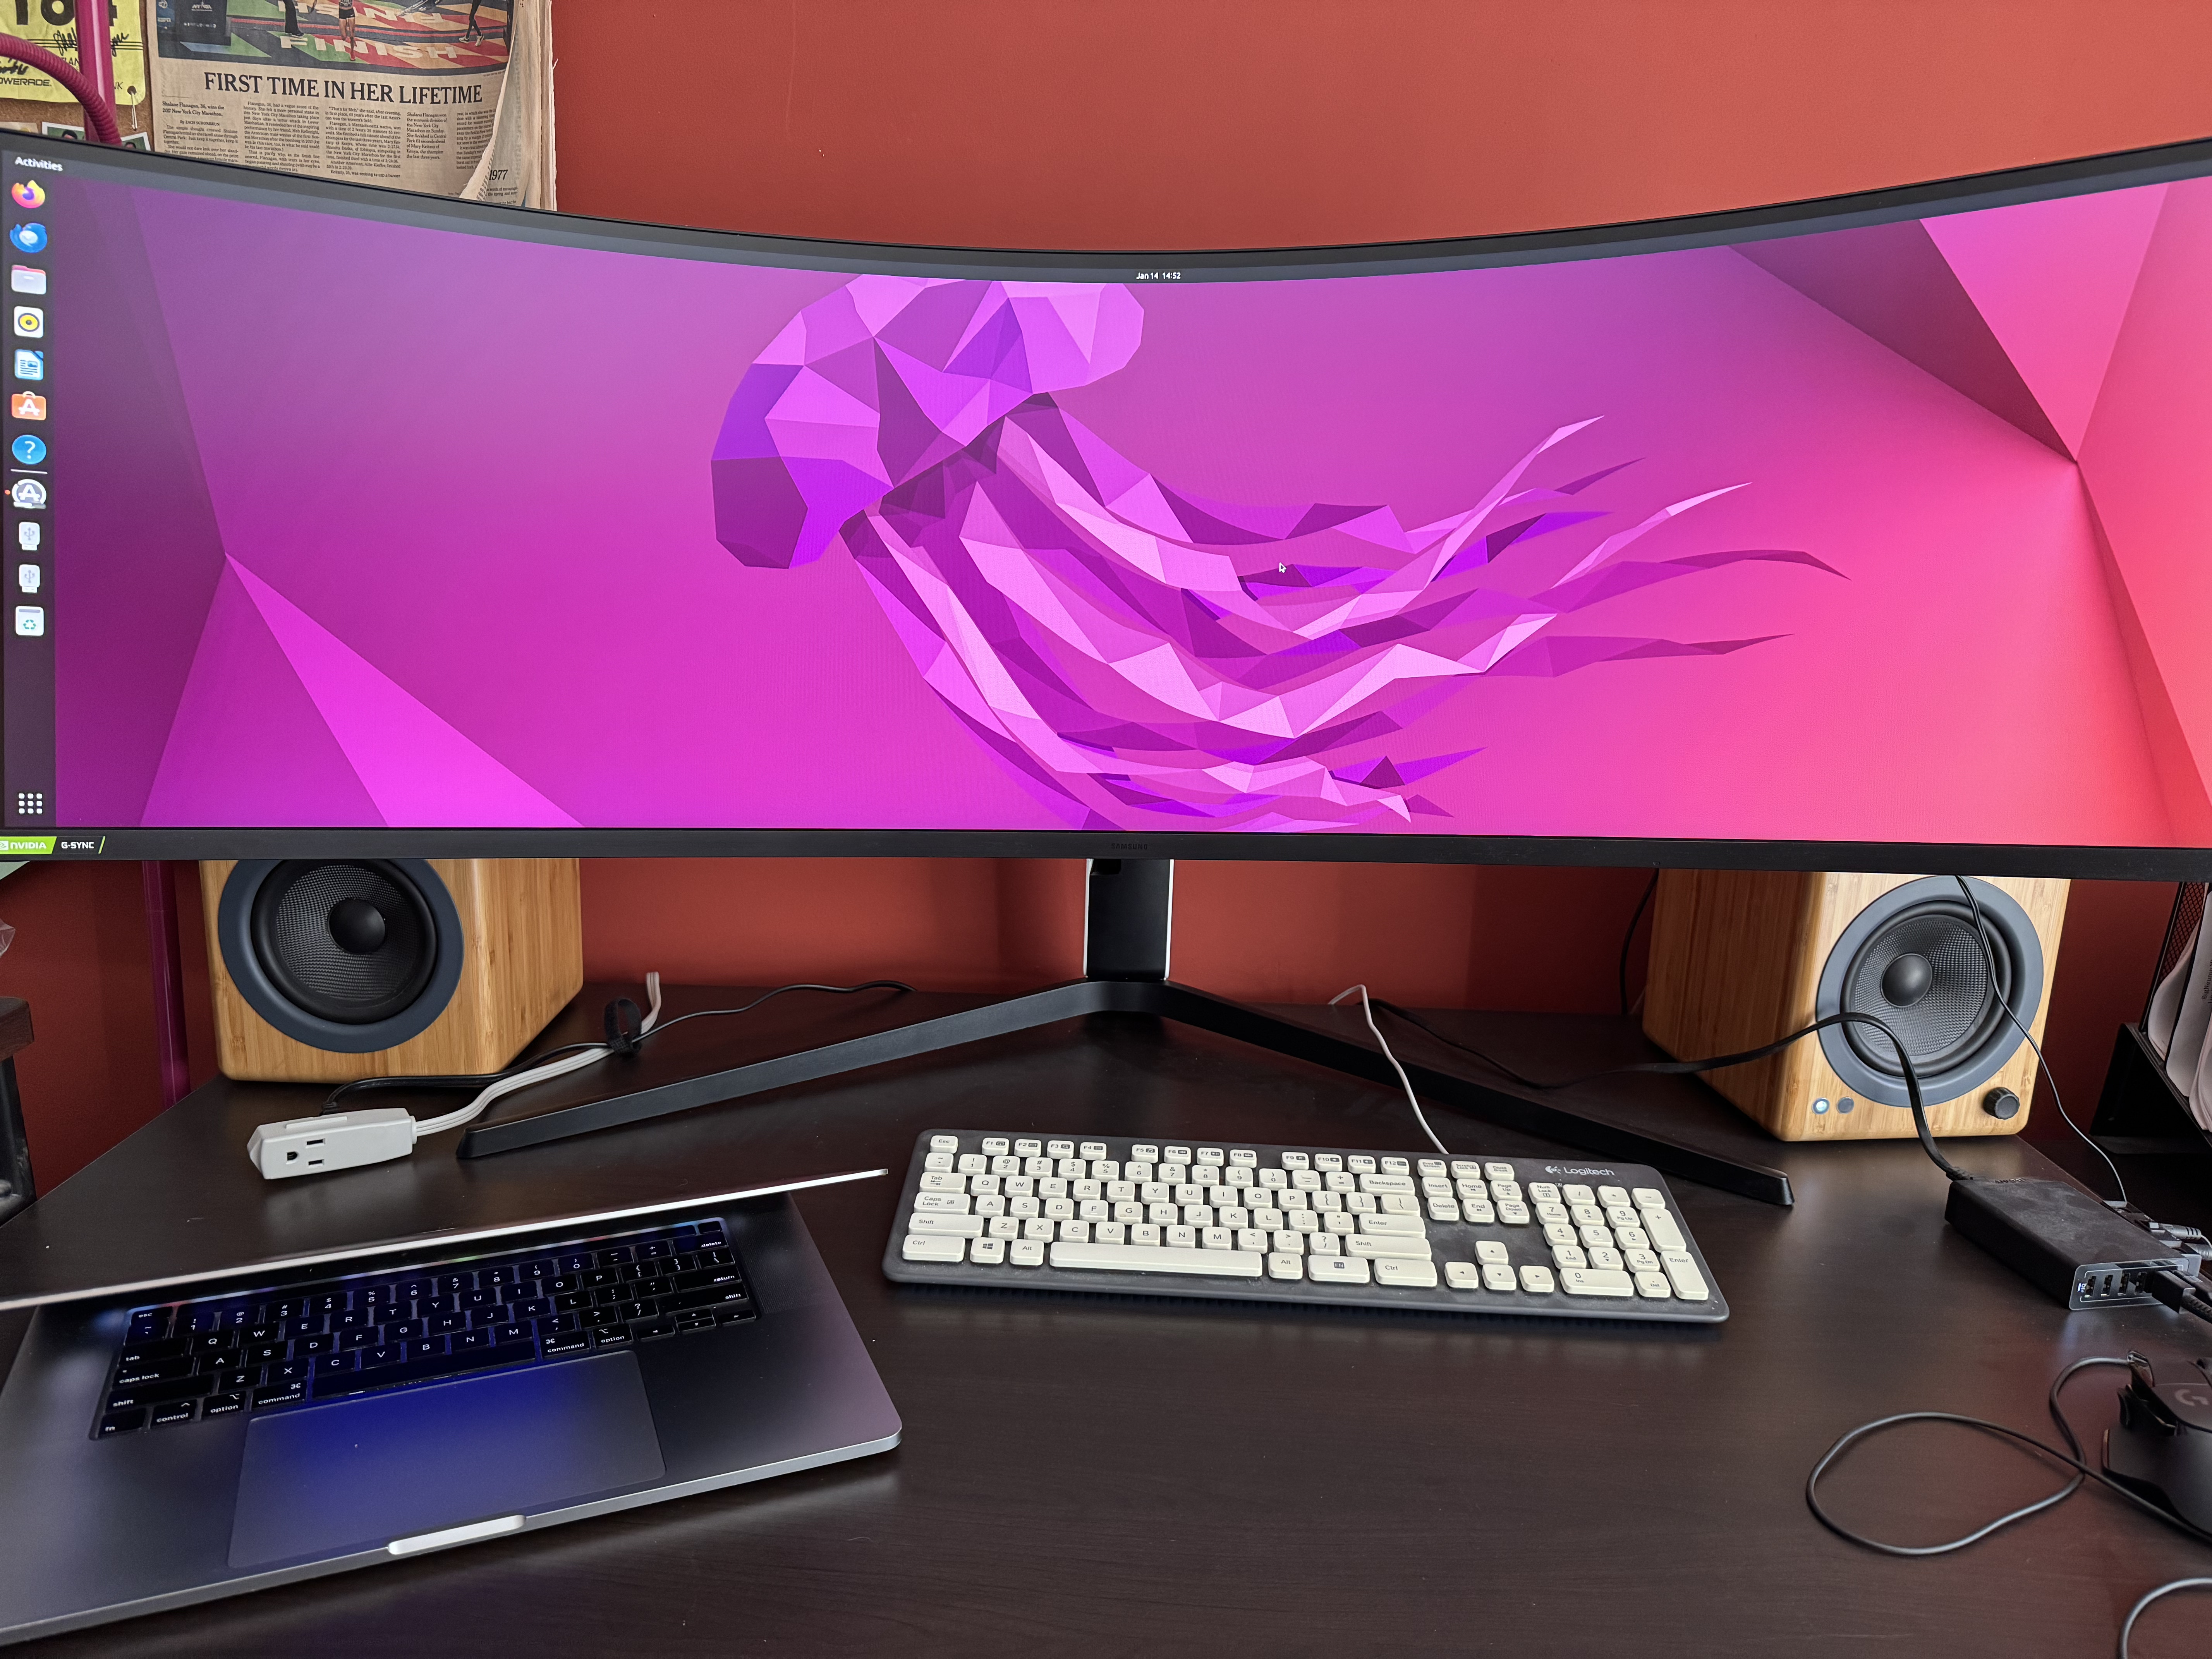
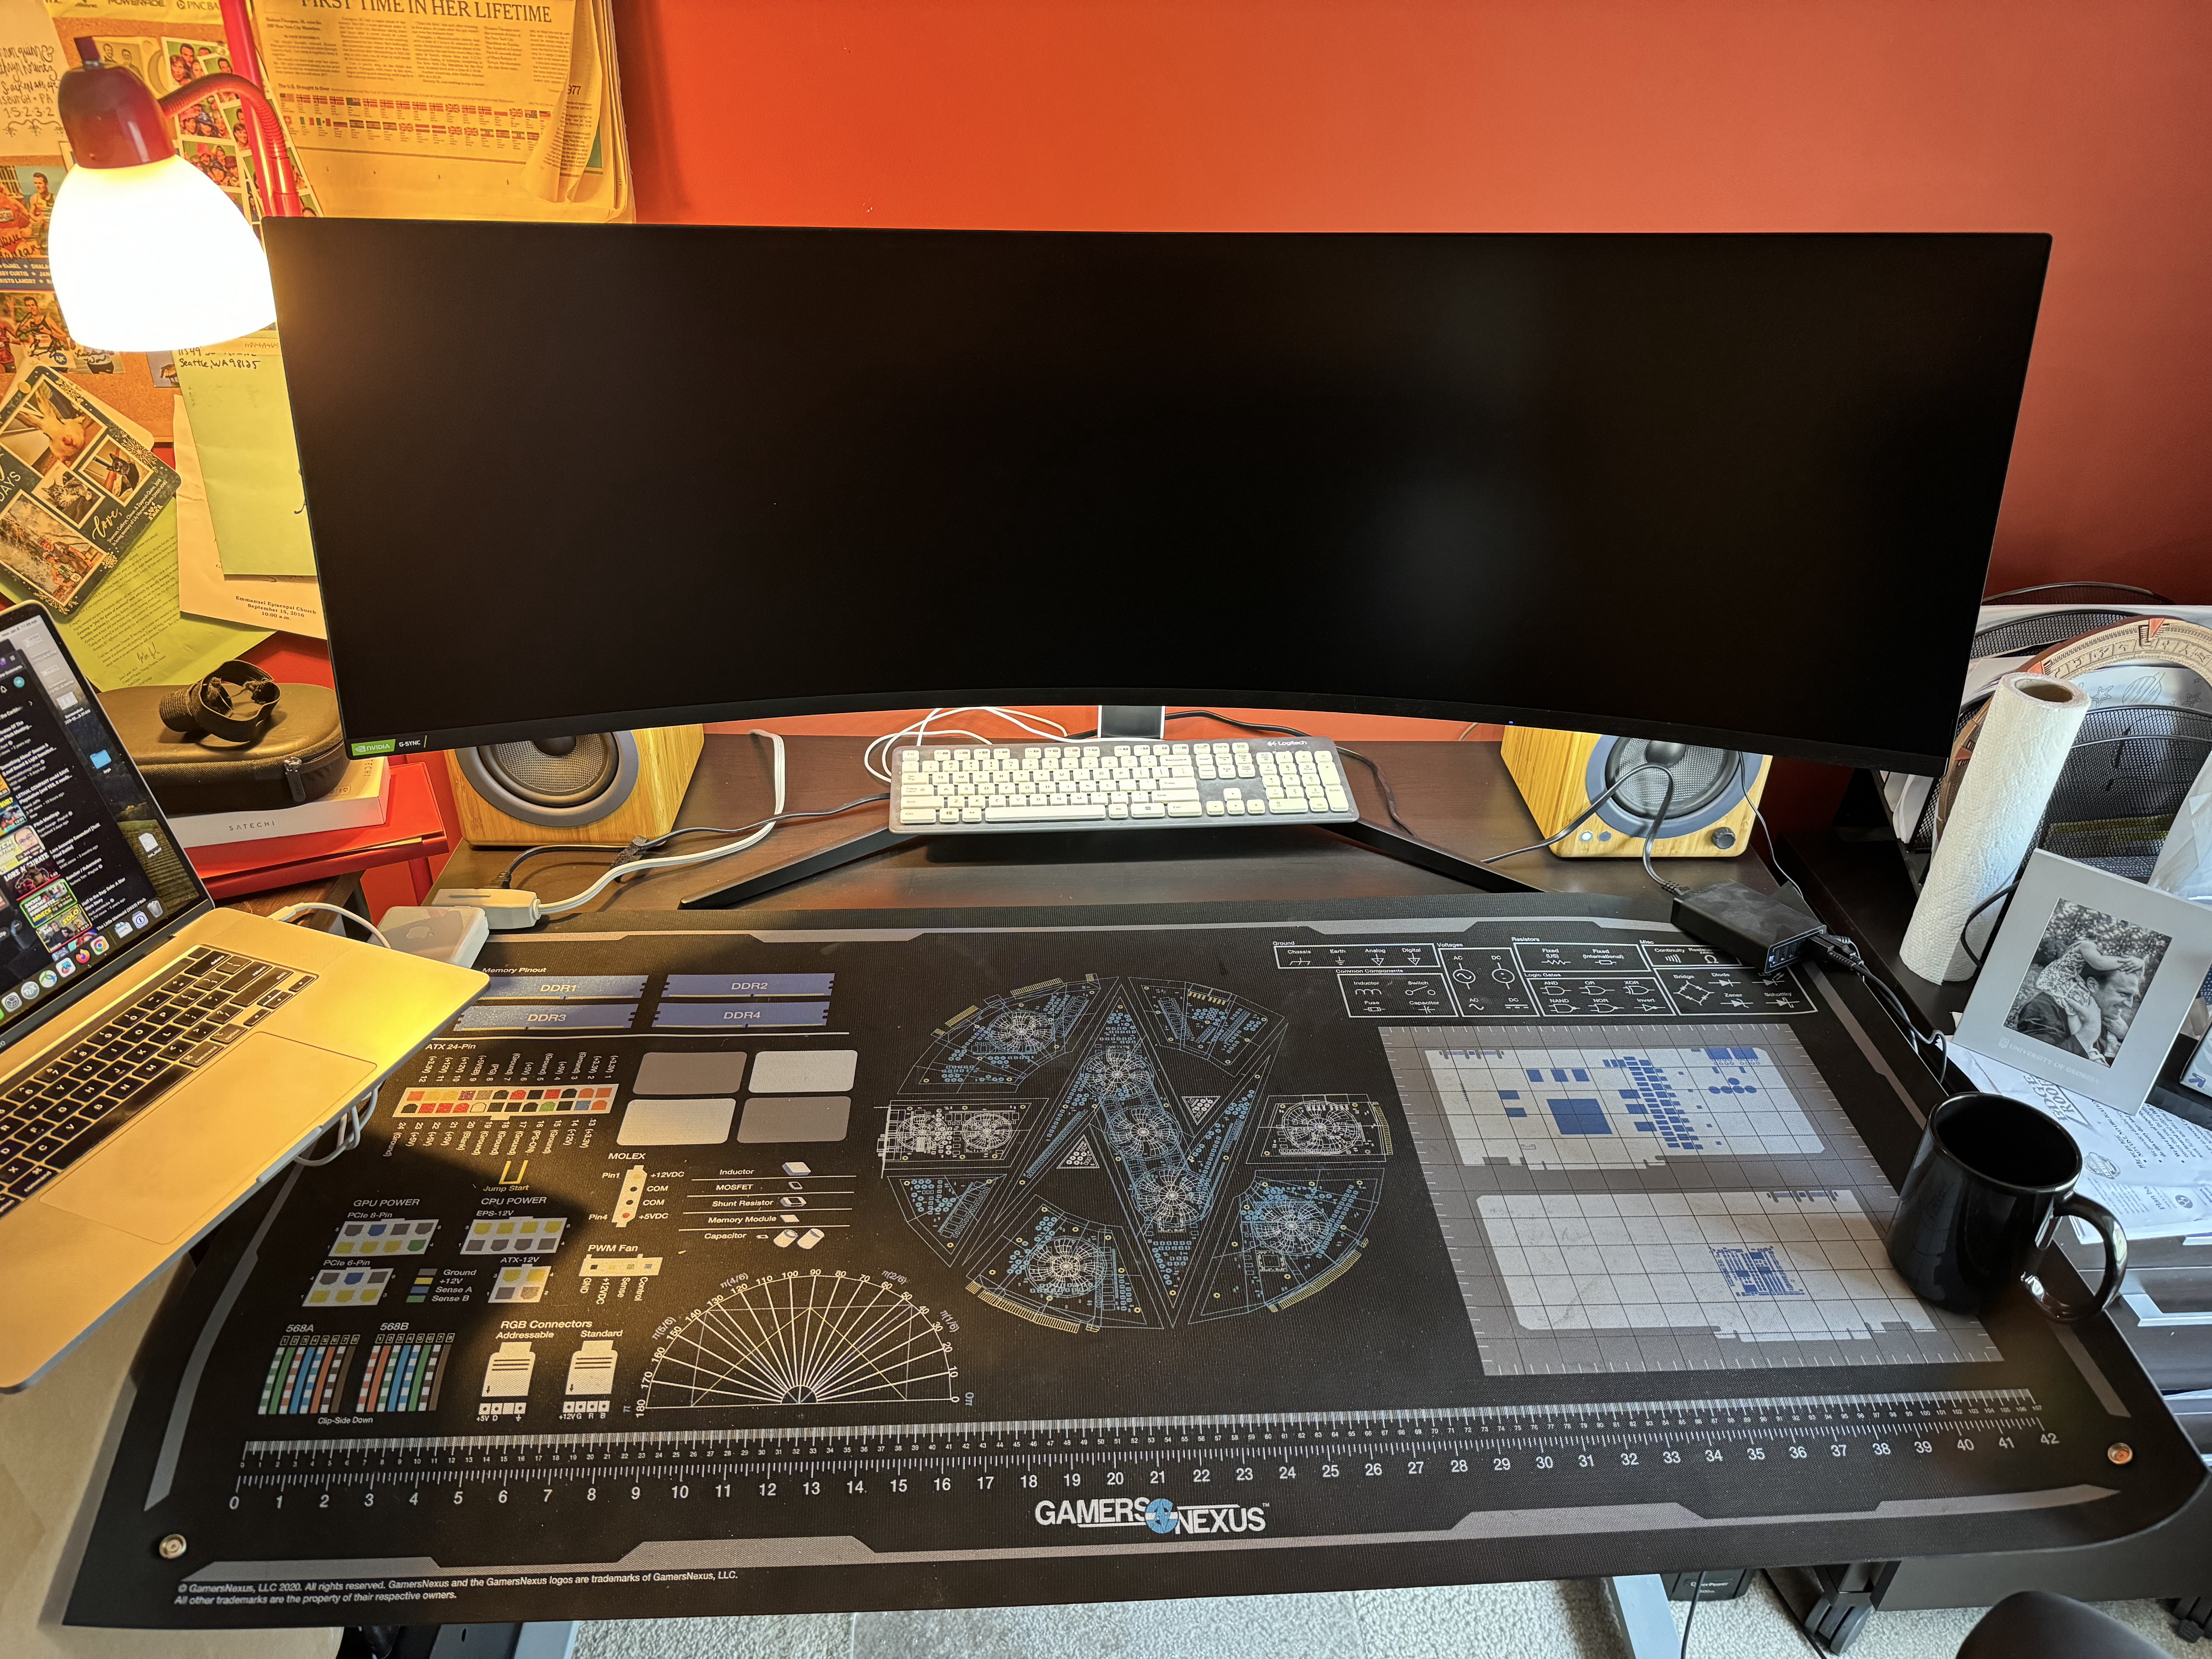
- Monitor: Samsung 49-inch Odyssey G9
To address the elephant in the room: no, this build was not cheap, at all. This is all top-of-the-line hardware, meant to 1) last a very long time, and 2) facilitate my kind of intensive number-crunching machine learning work. But I also put it together after having secured an agreement that my sabbatical employer1 would kick in a small amount, too.
There are all kinds of additional considerations I went through—you’re probably asking, why only M.2 drives? believe me, that was a whole thing, but oddly kinda boiled down to “supply chain problems, lol”—so I’m happy to get into it offline.
But for now, let’s jump into assembly!
Unboxing and Assembly
Once I had all the components (this was also a Whole ThingTM), it took me about 3 days to put everything together. That’s actually a record—the longest it had taken me to assemble a desktop had previous been 3 hours. I don’t really know what to chalk that discrepancy up to. Maybe rustiness (it’s been almost a decade since my last full build)? Reverence (I love doing this so much, I want to soak it up)? Nerves (first time building an AMD machine since the dorm room server)?
General fatigue?2
Anyway.
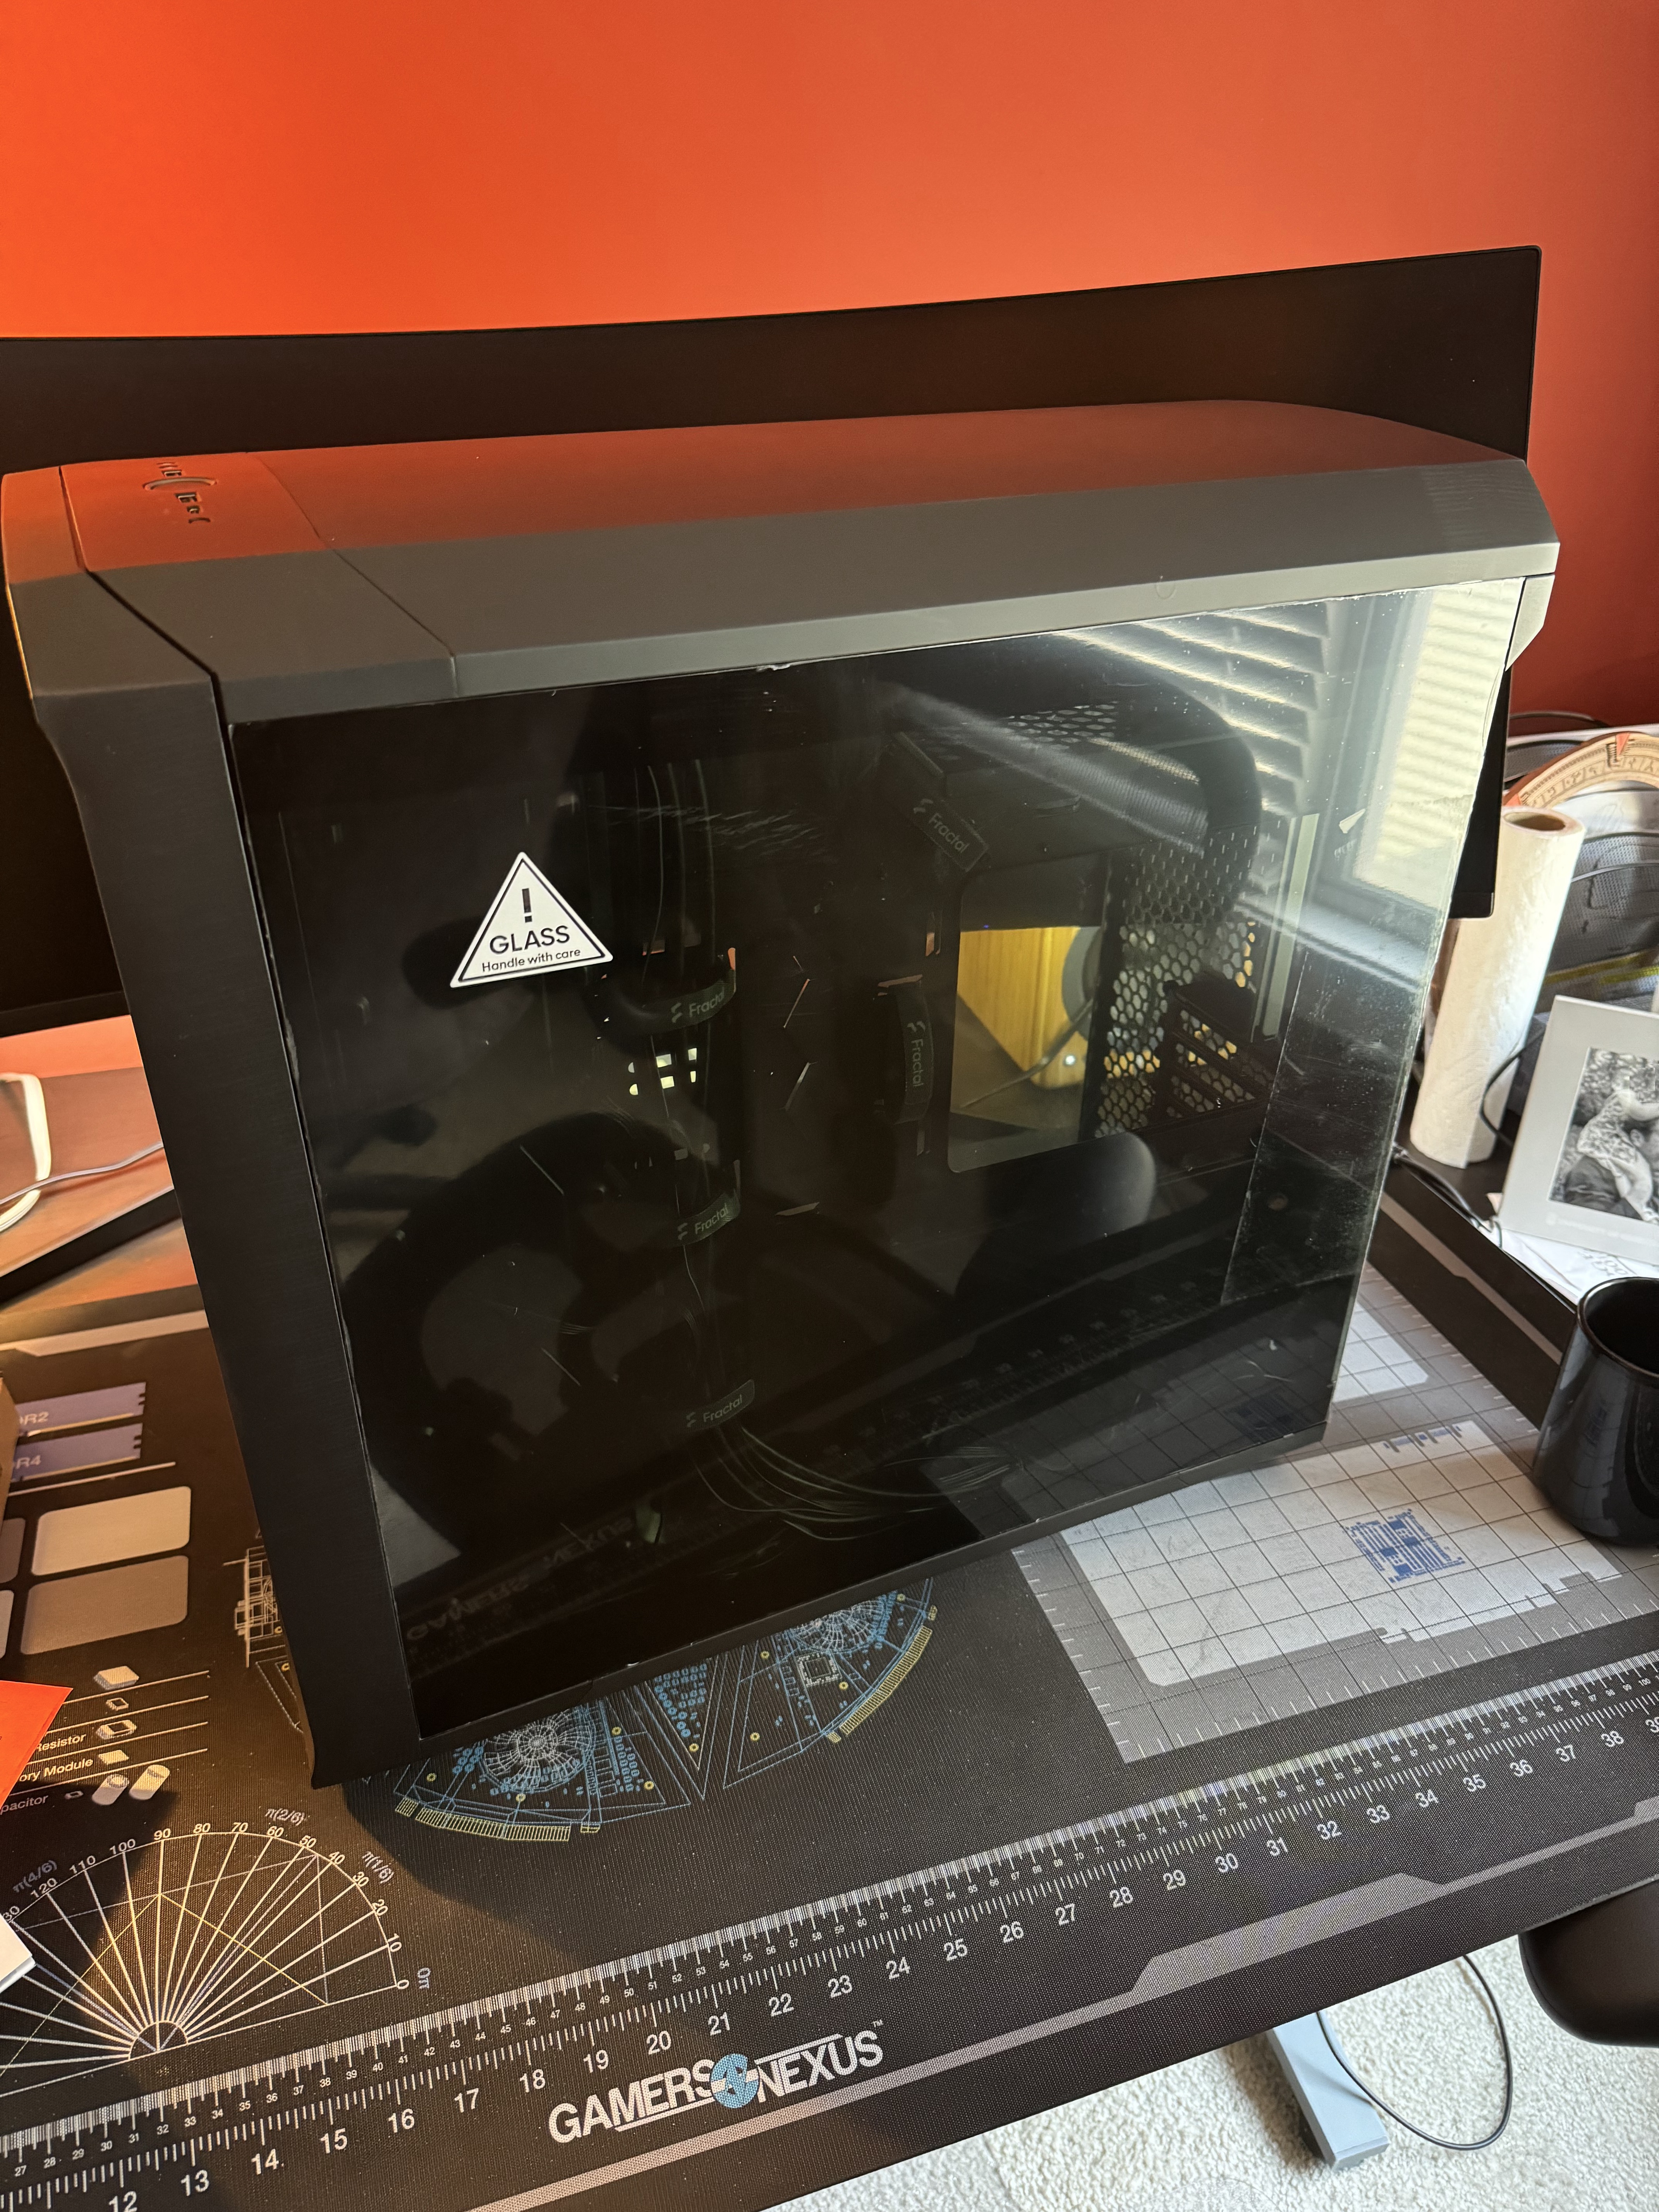
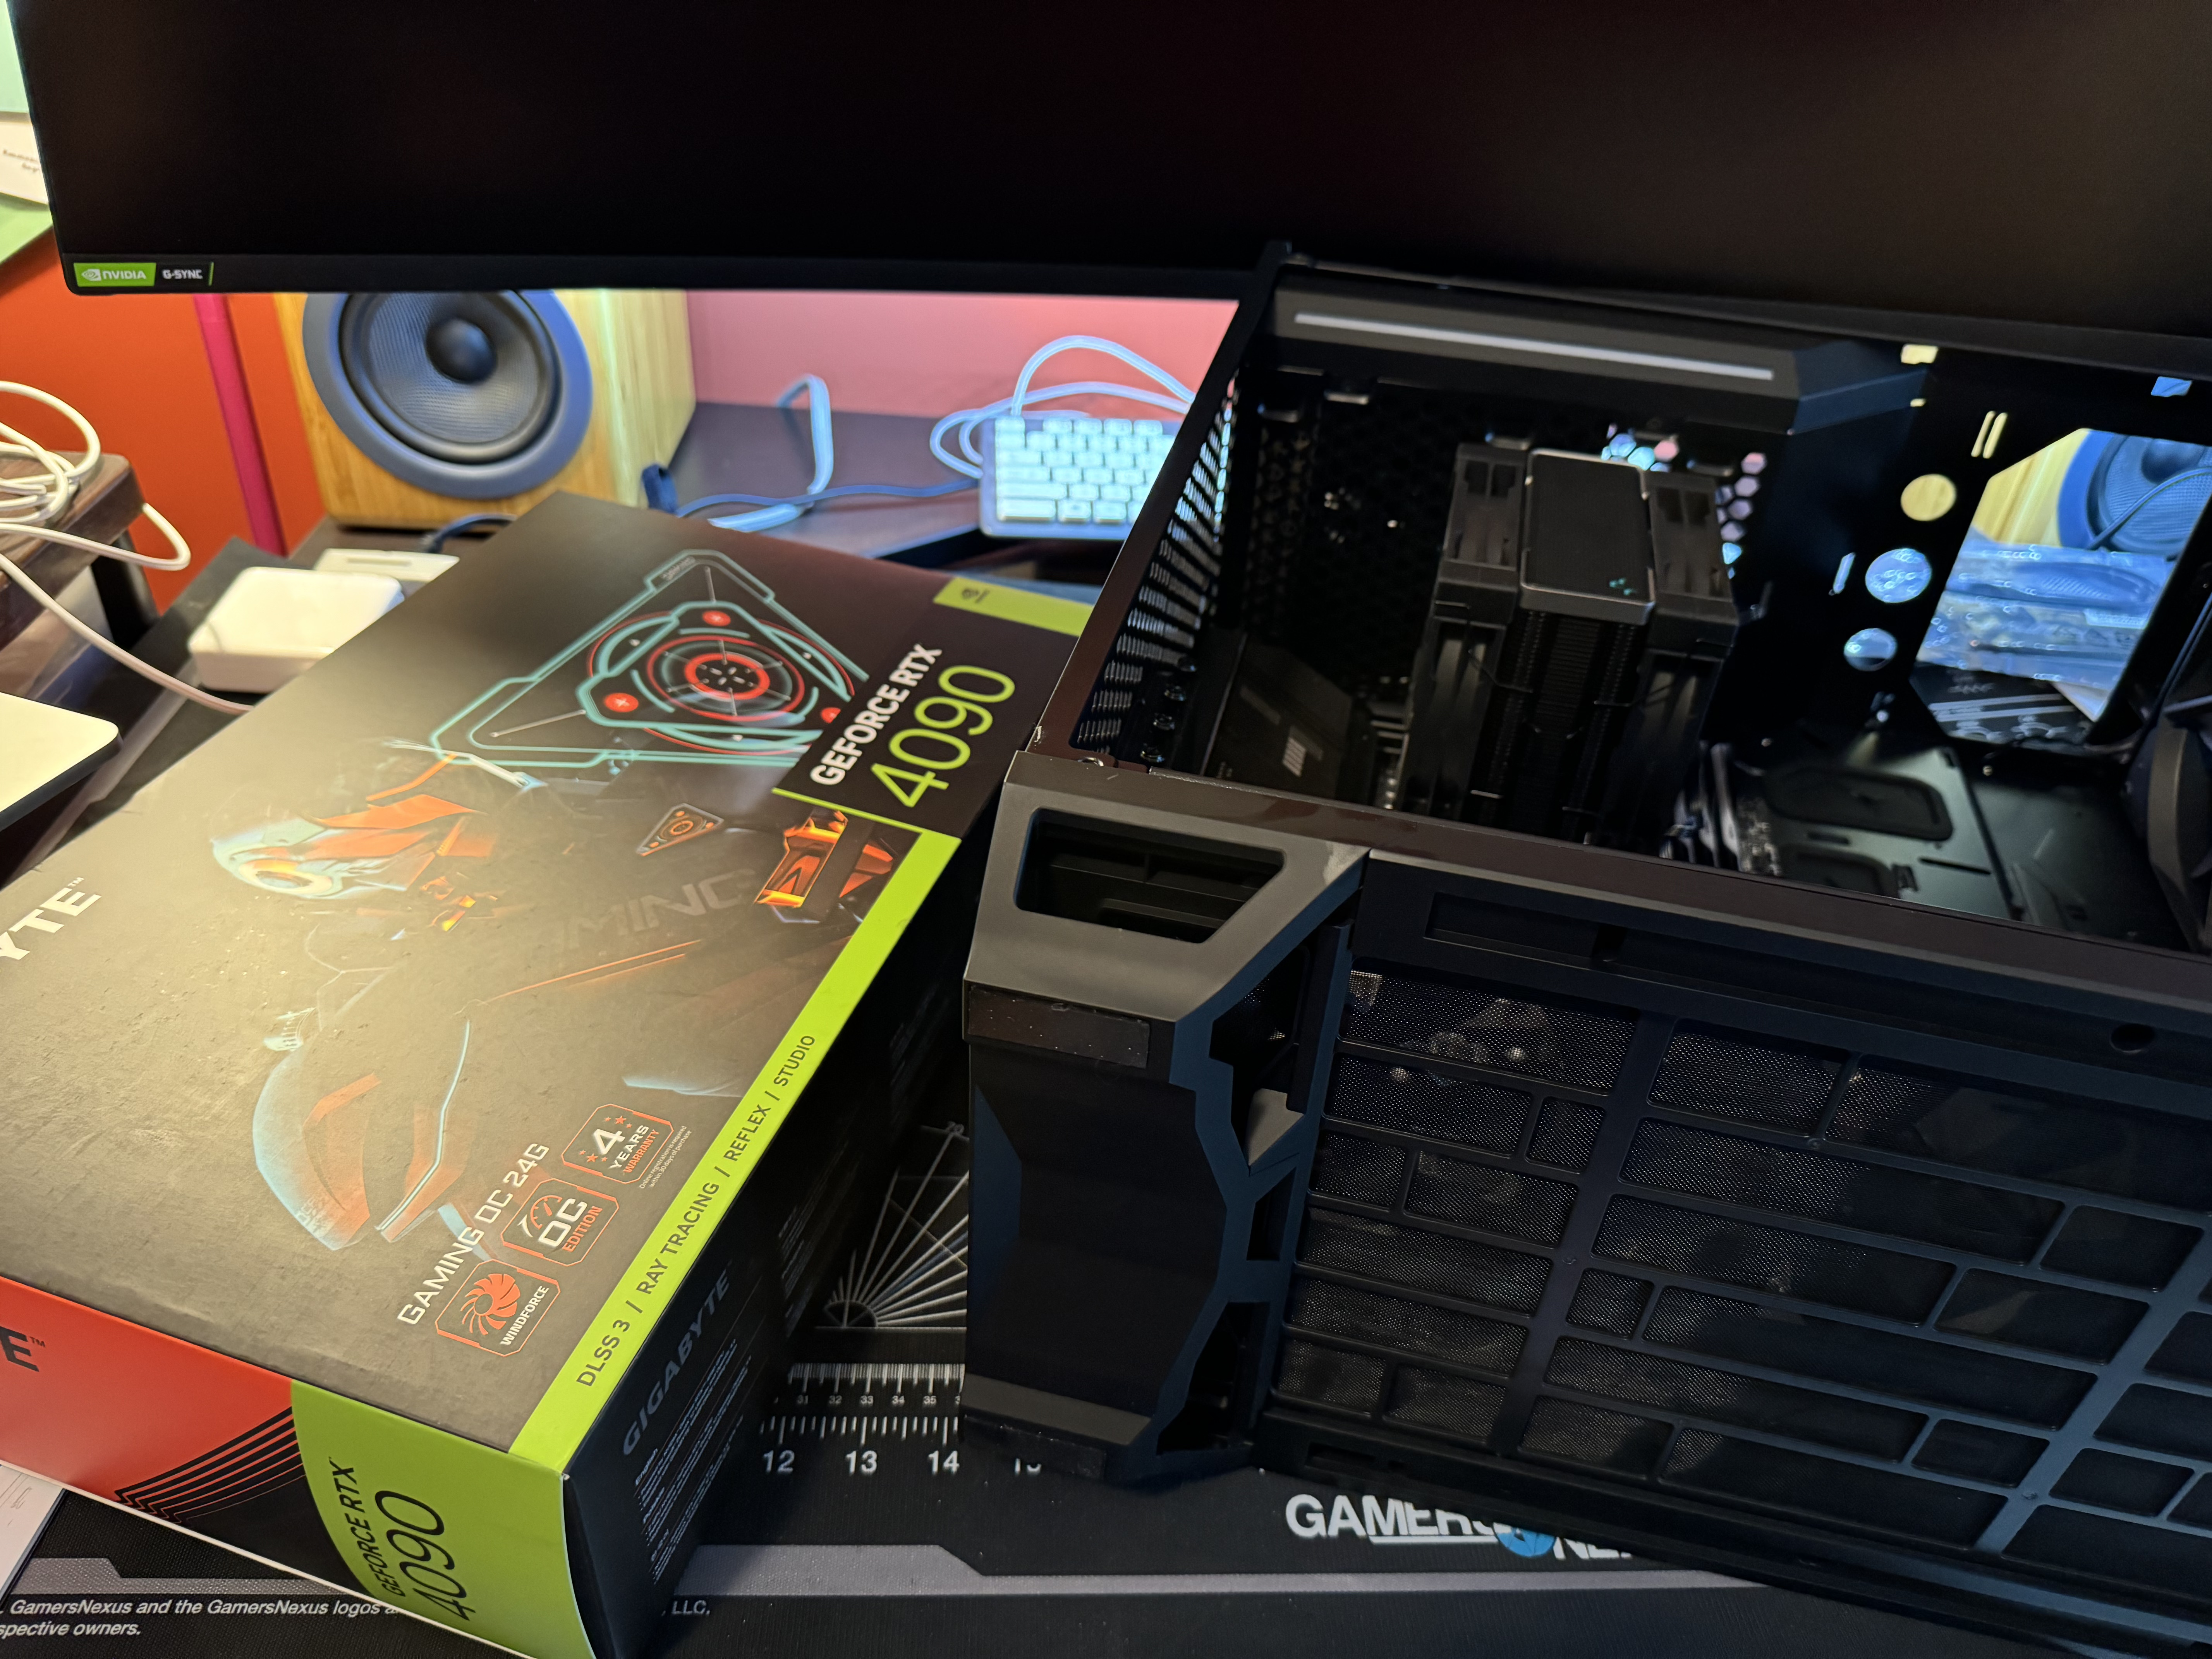
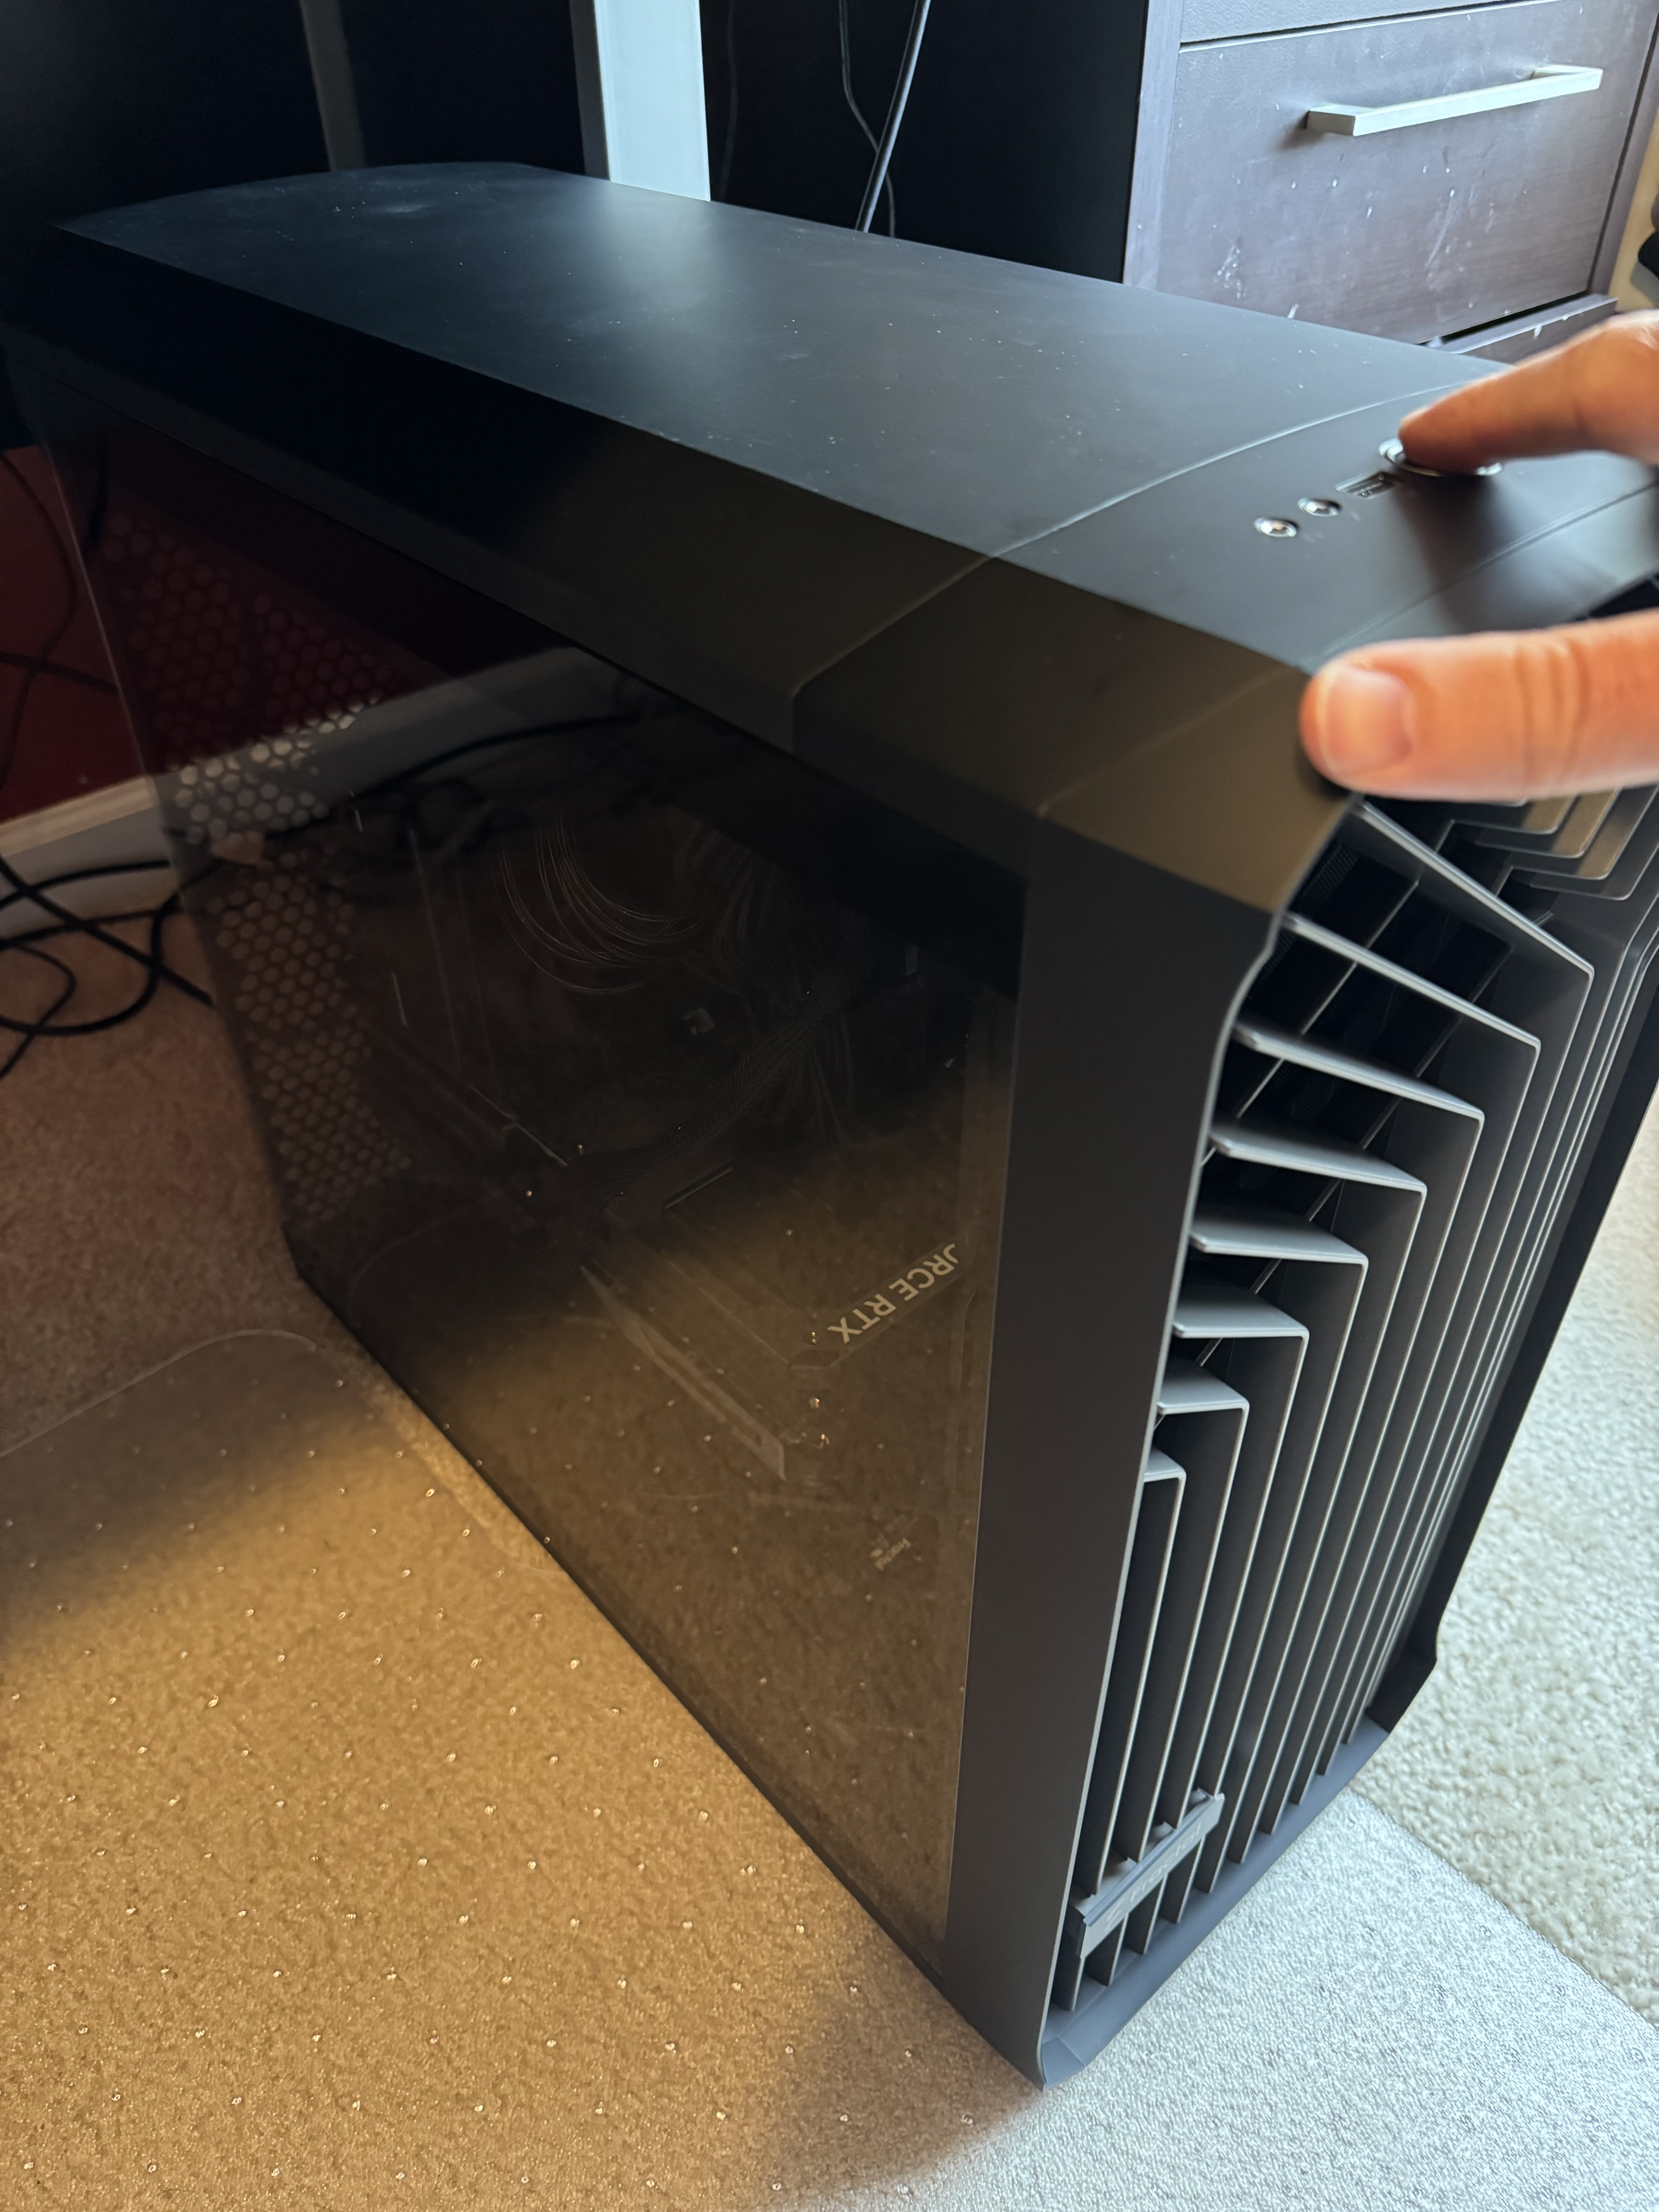
I started with the case. It came highly recommended through Gamers Nexus, especially for custom cooling. I’ve always dreamed of a fully water-cooled rig, but as the time to finalize the build crept closer, I decided to stick with a traditional air-cooled setup. This case was great in that it lets me do either but defaults to an excellent air-cooled configuration.

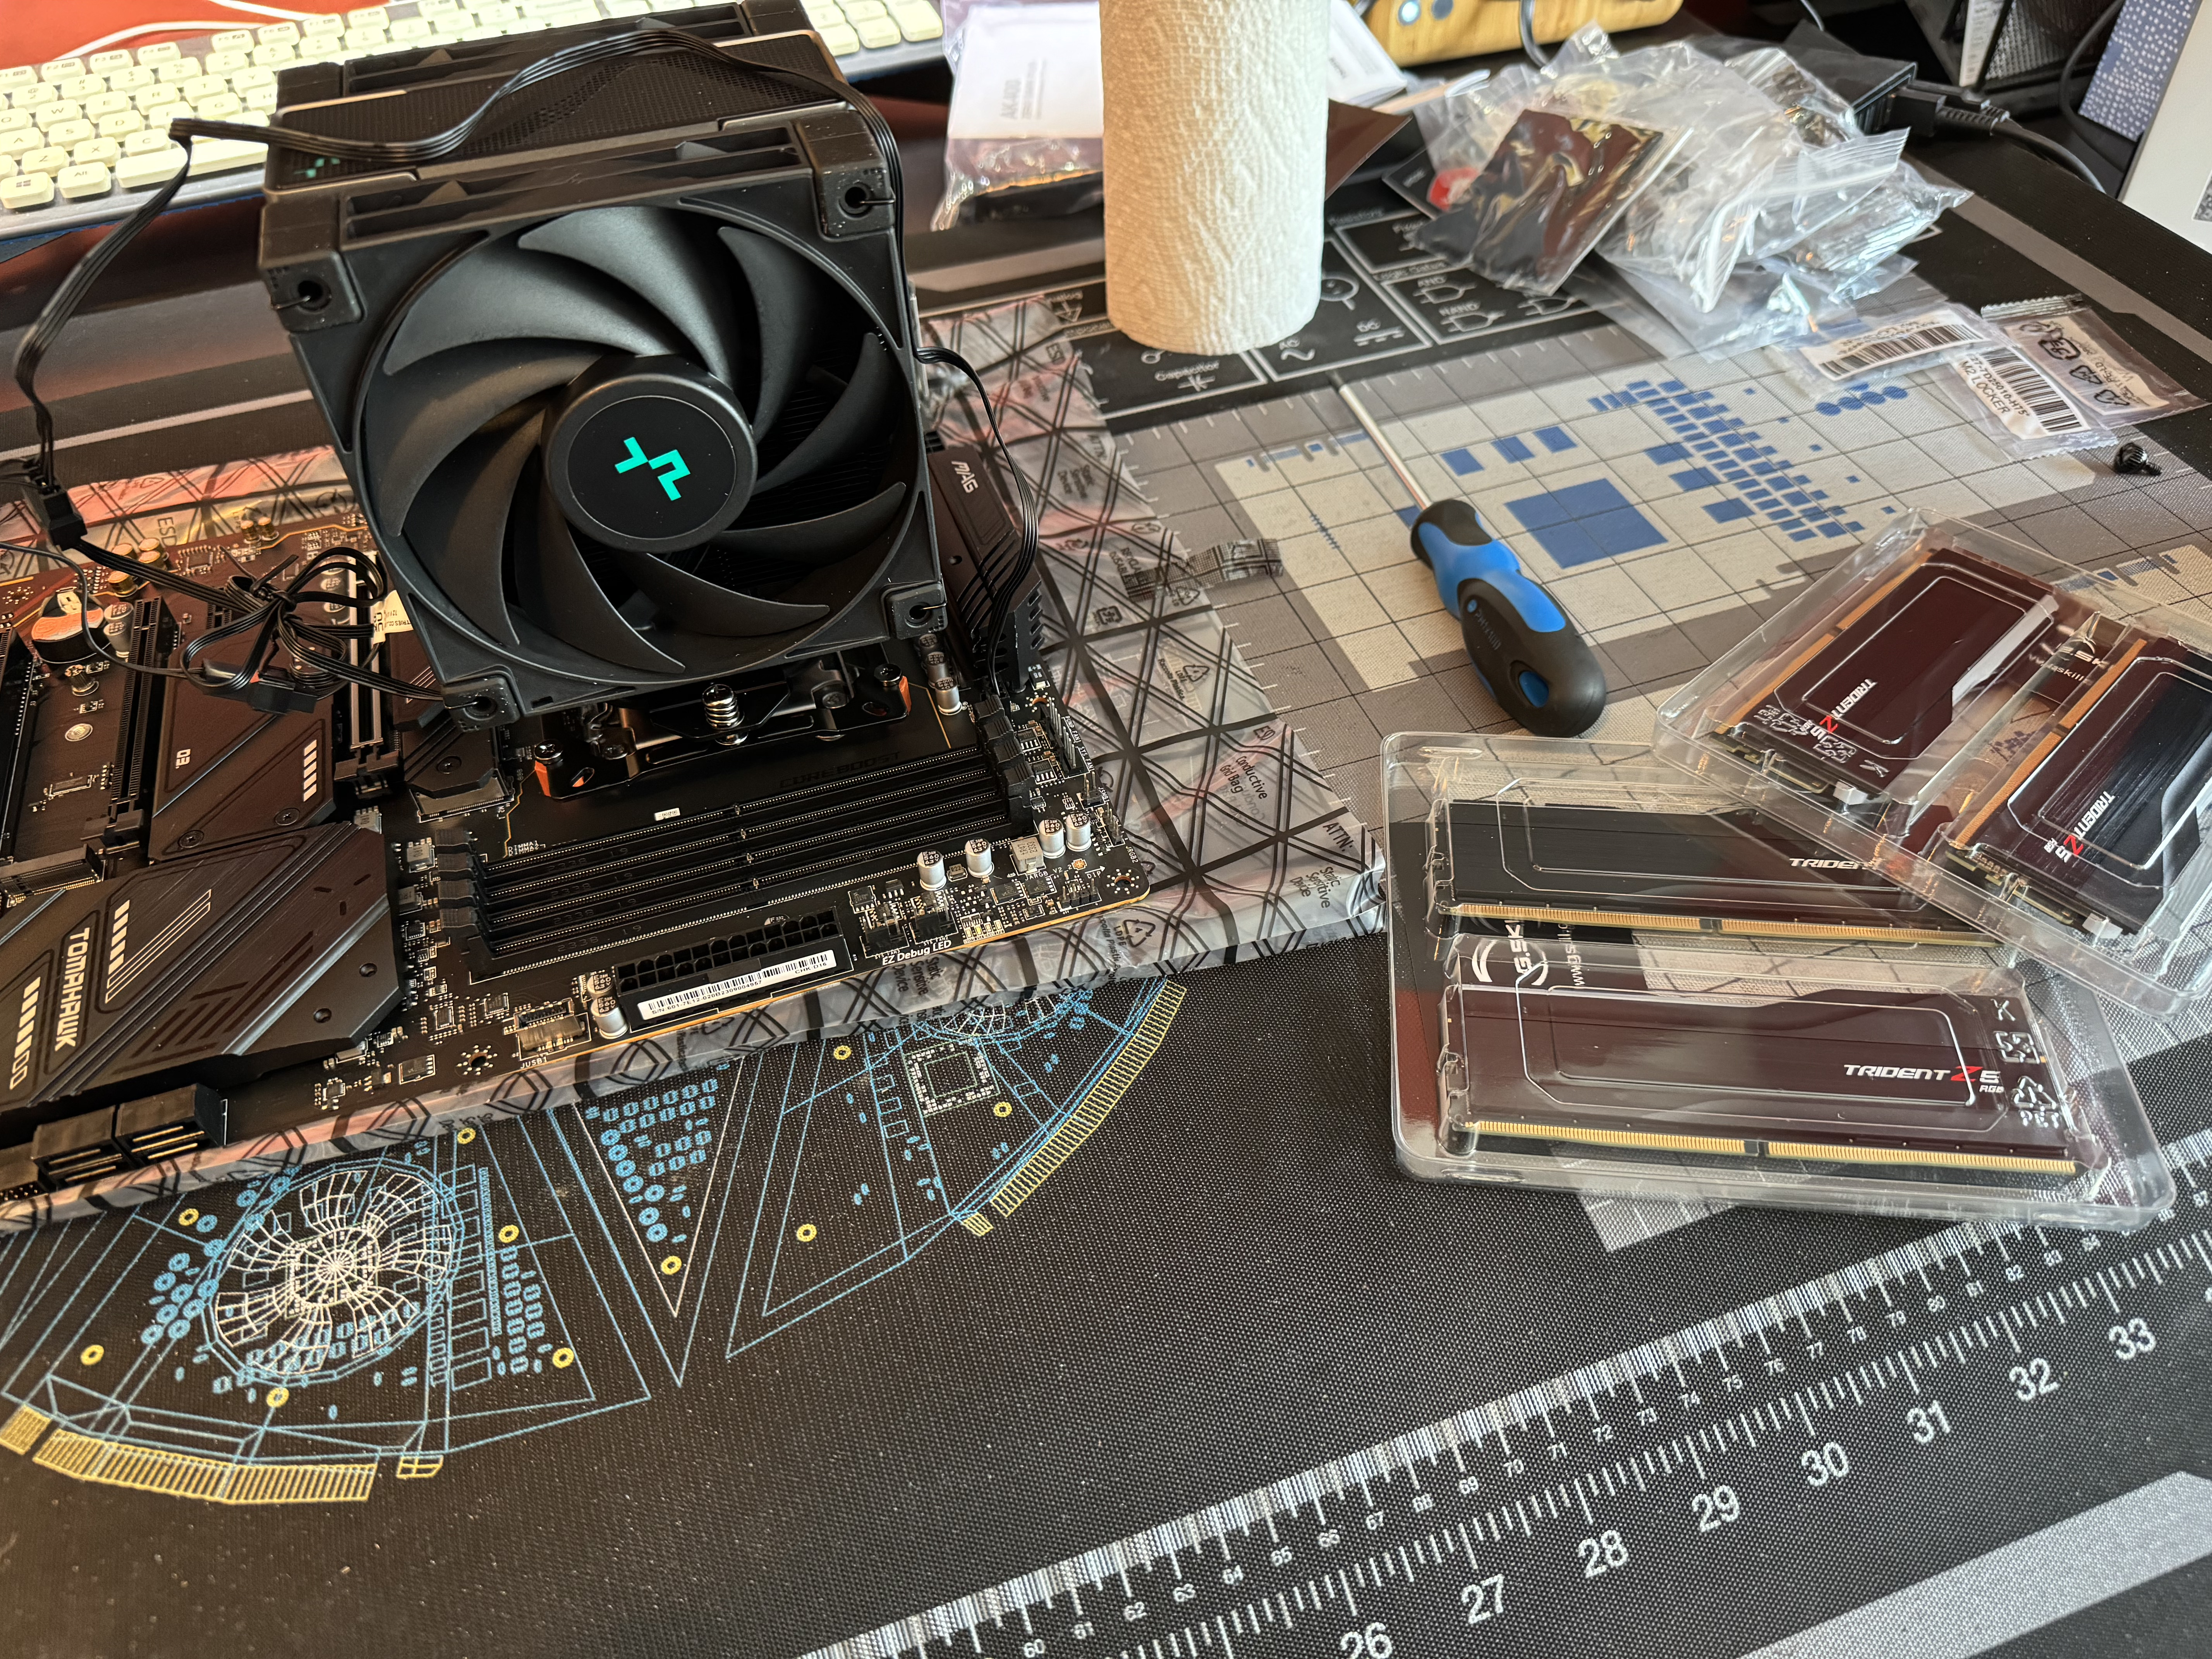
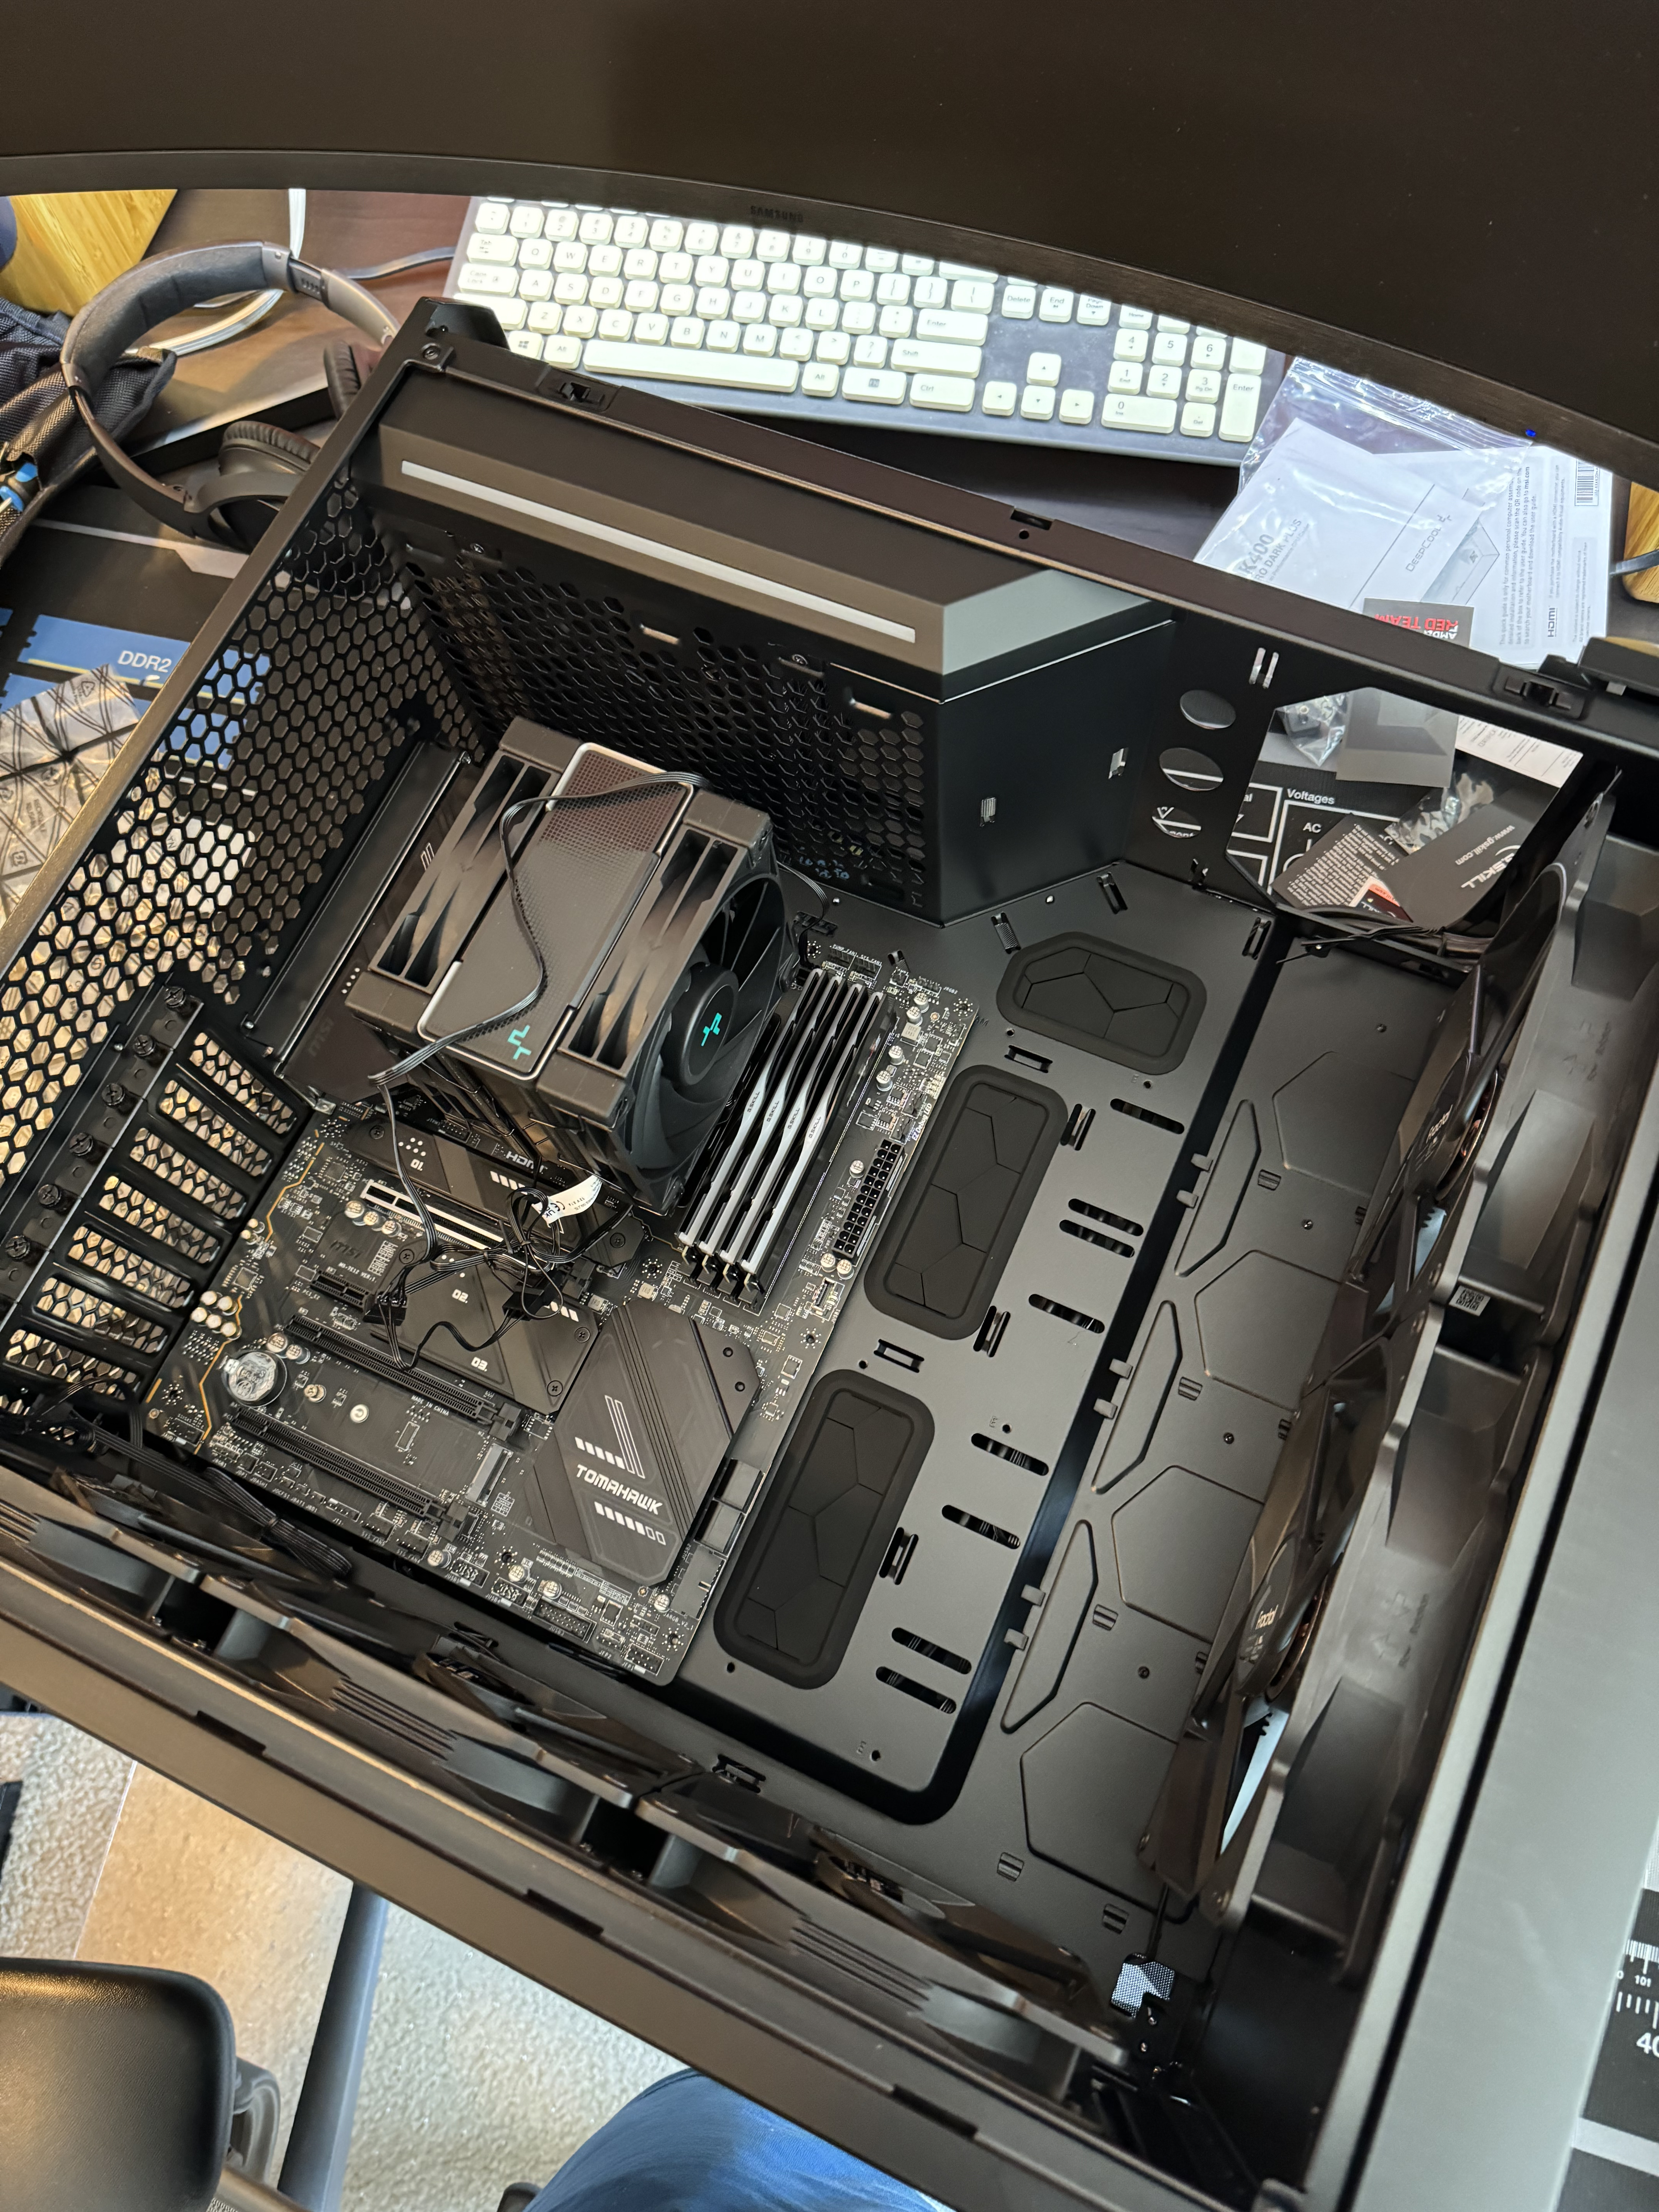
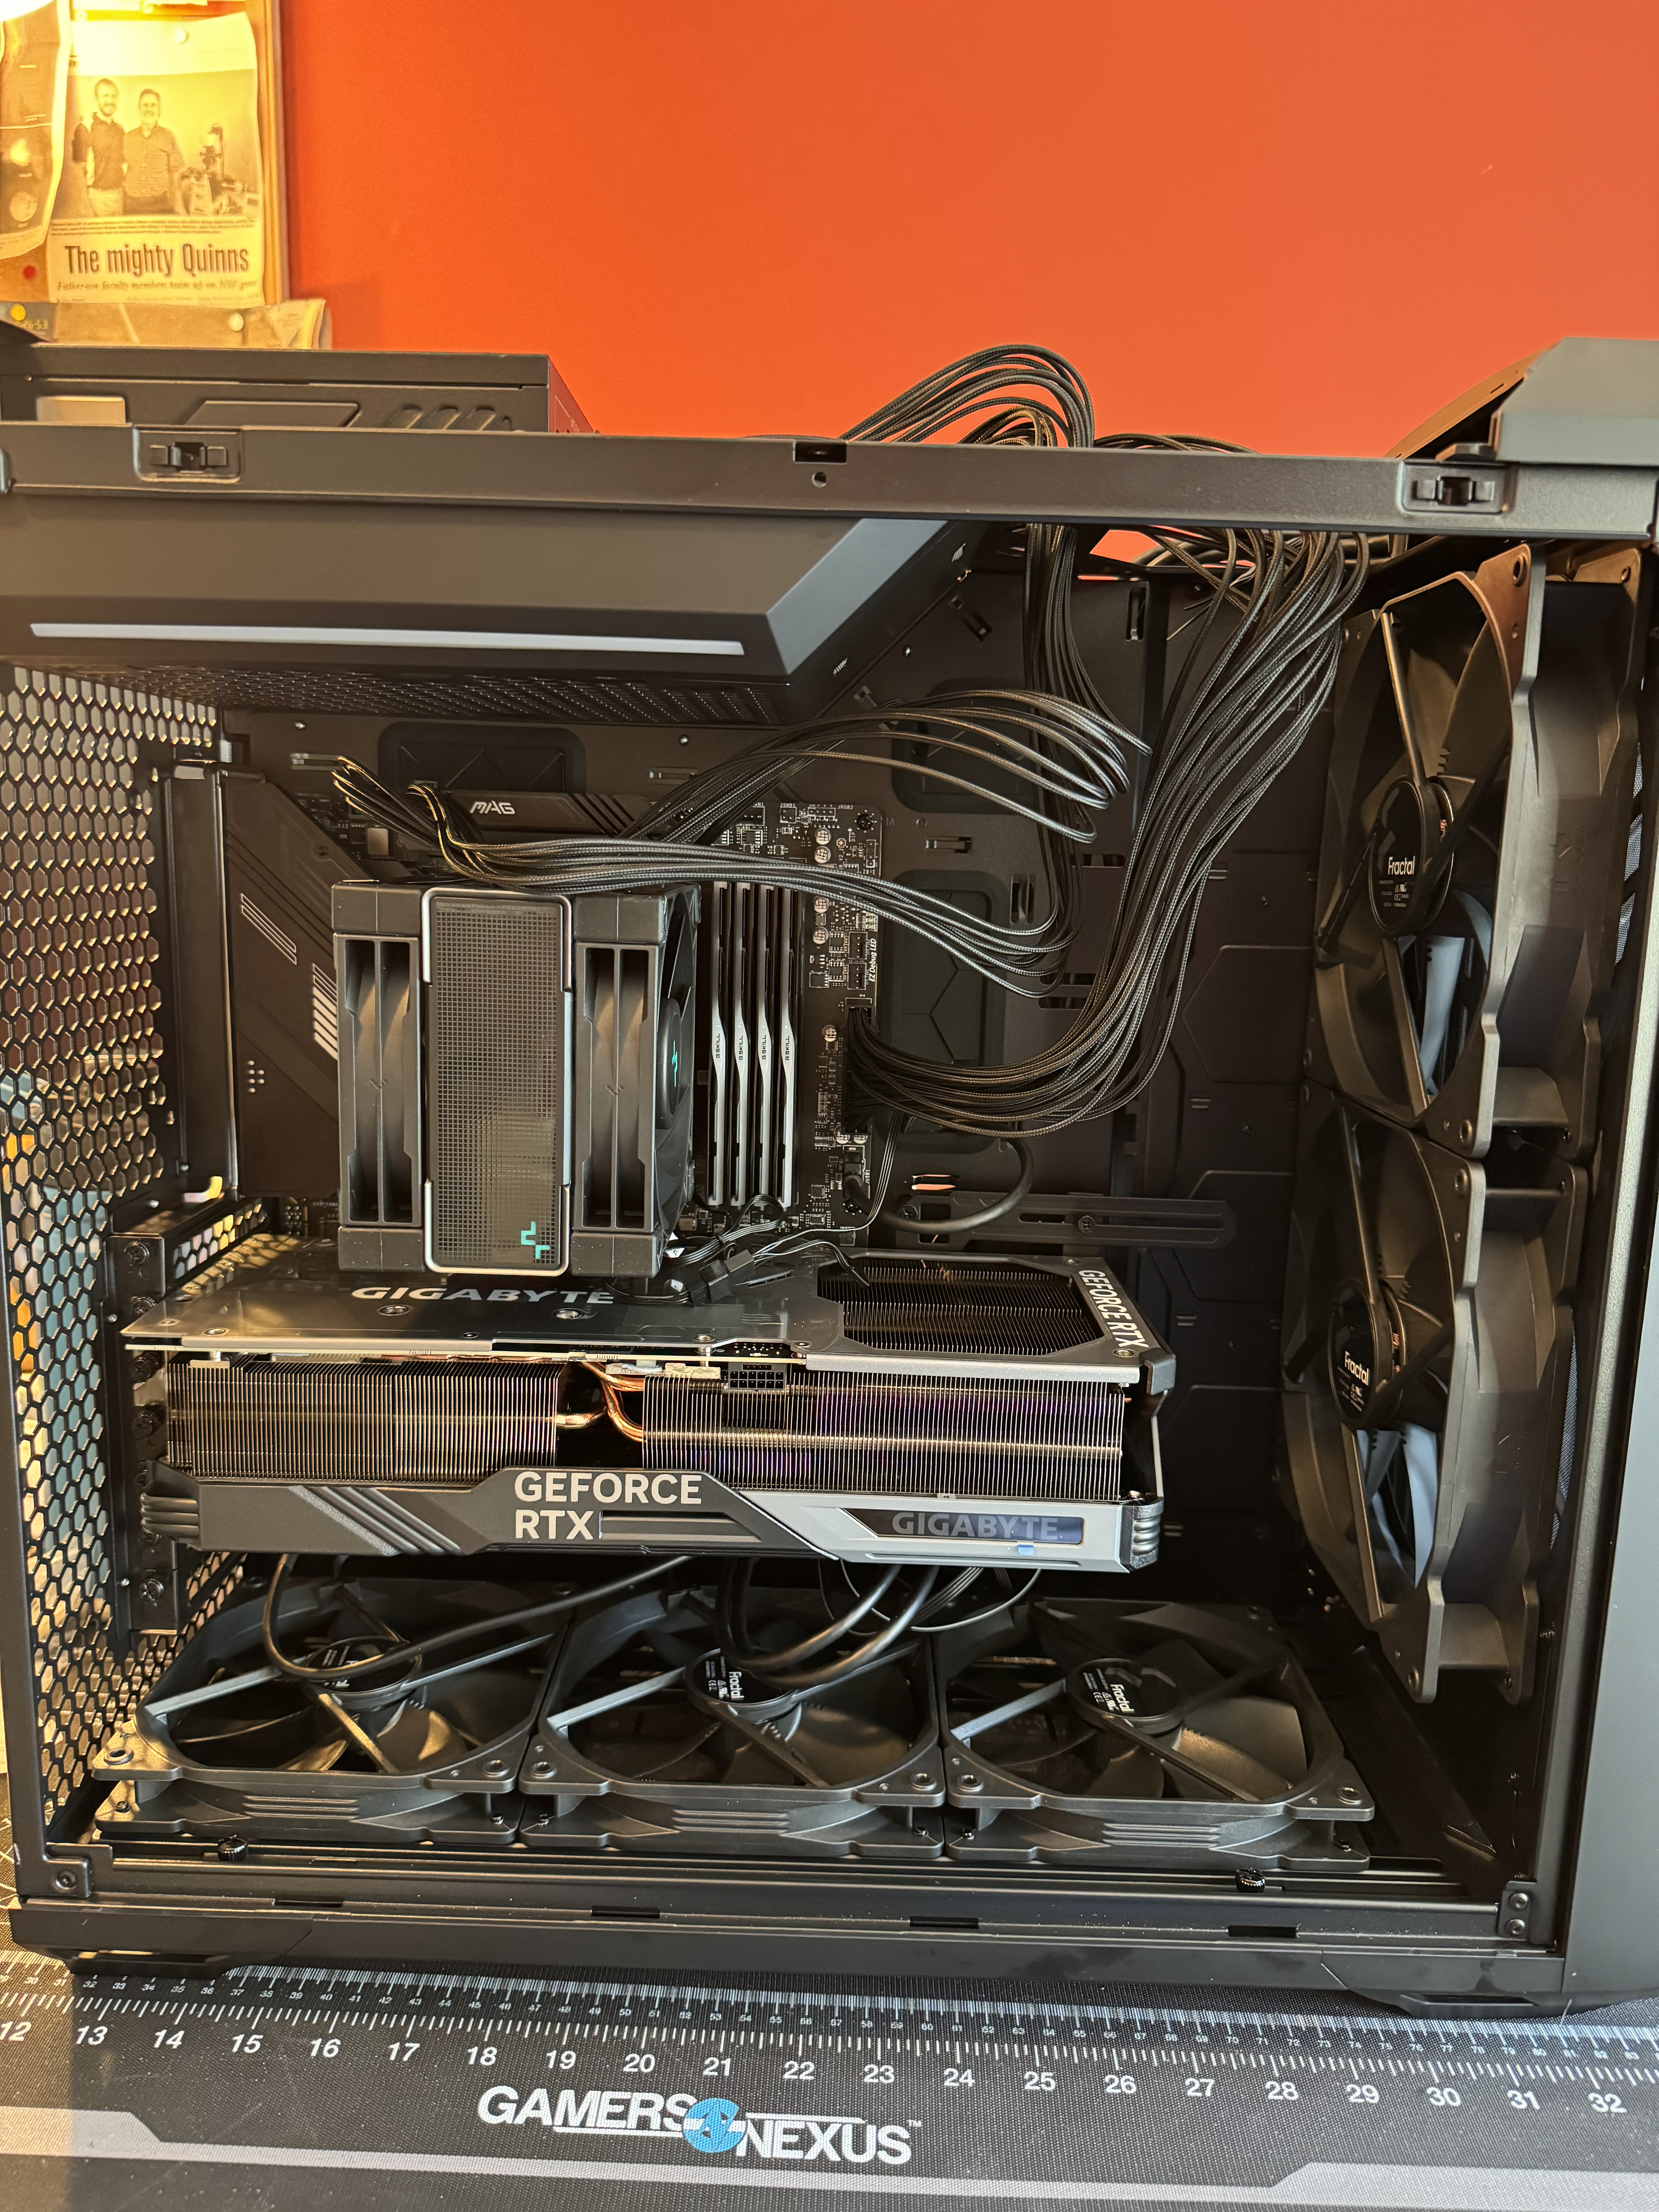
Next were all the internal components. Since the case is really just a vehicle for the motherboard, which is really just a vehicle for everything else, I wanted to work my way from the inside out. Especially given the downright titanic proportions of the 4090, I wanted to assemble the motherboard as much as possible before slotting it into the case and losing a lot of physical wiggle room and visibility.
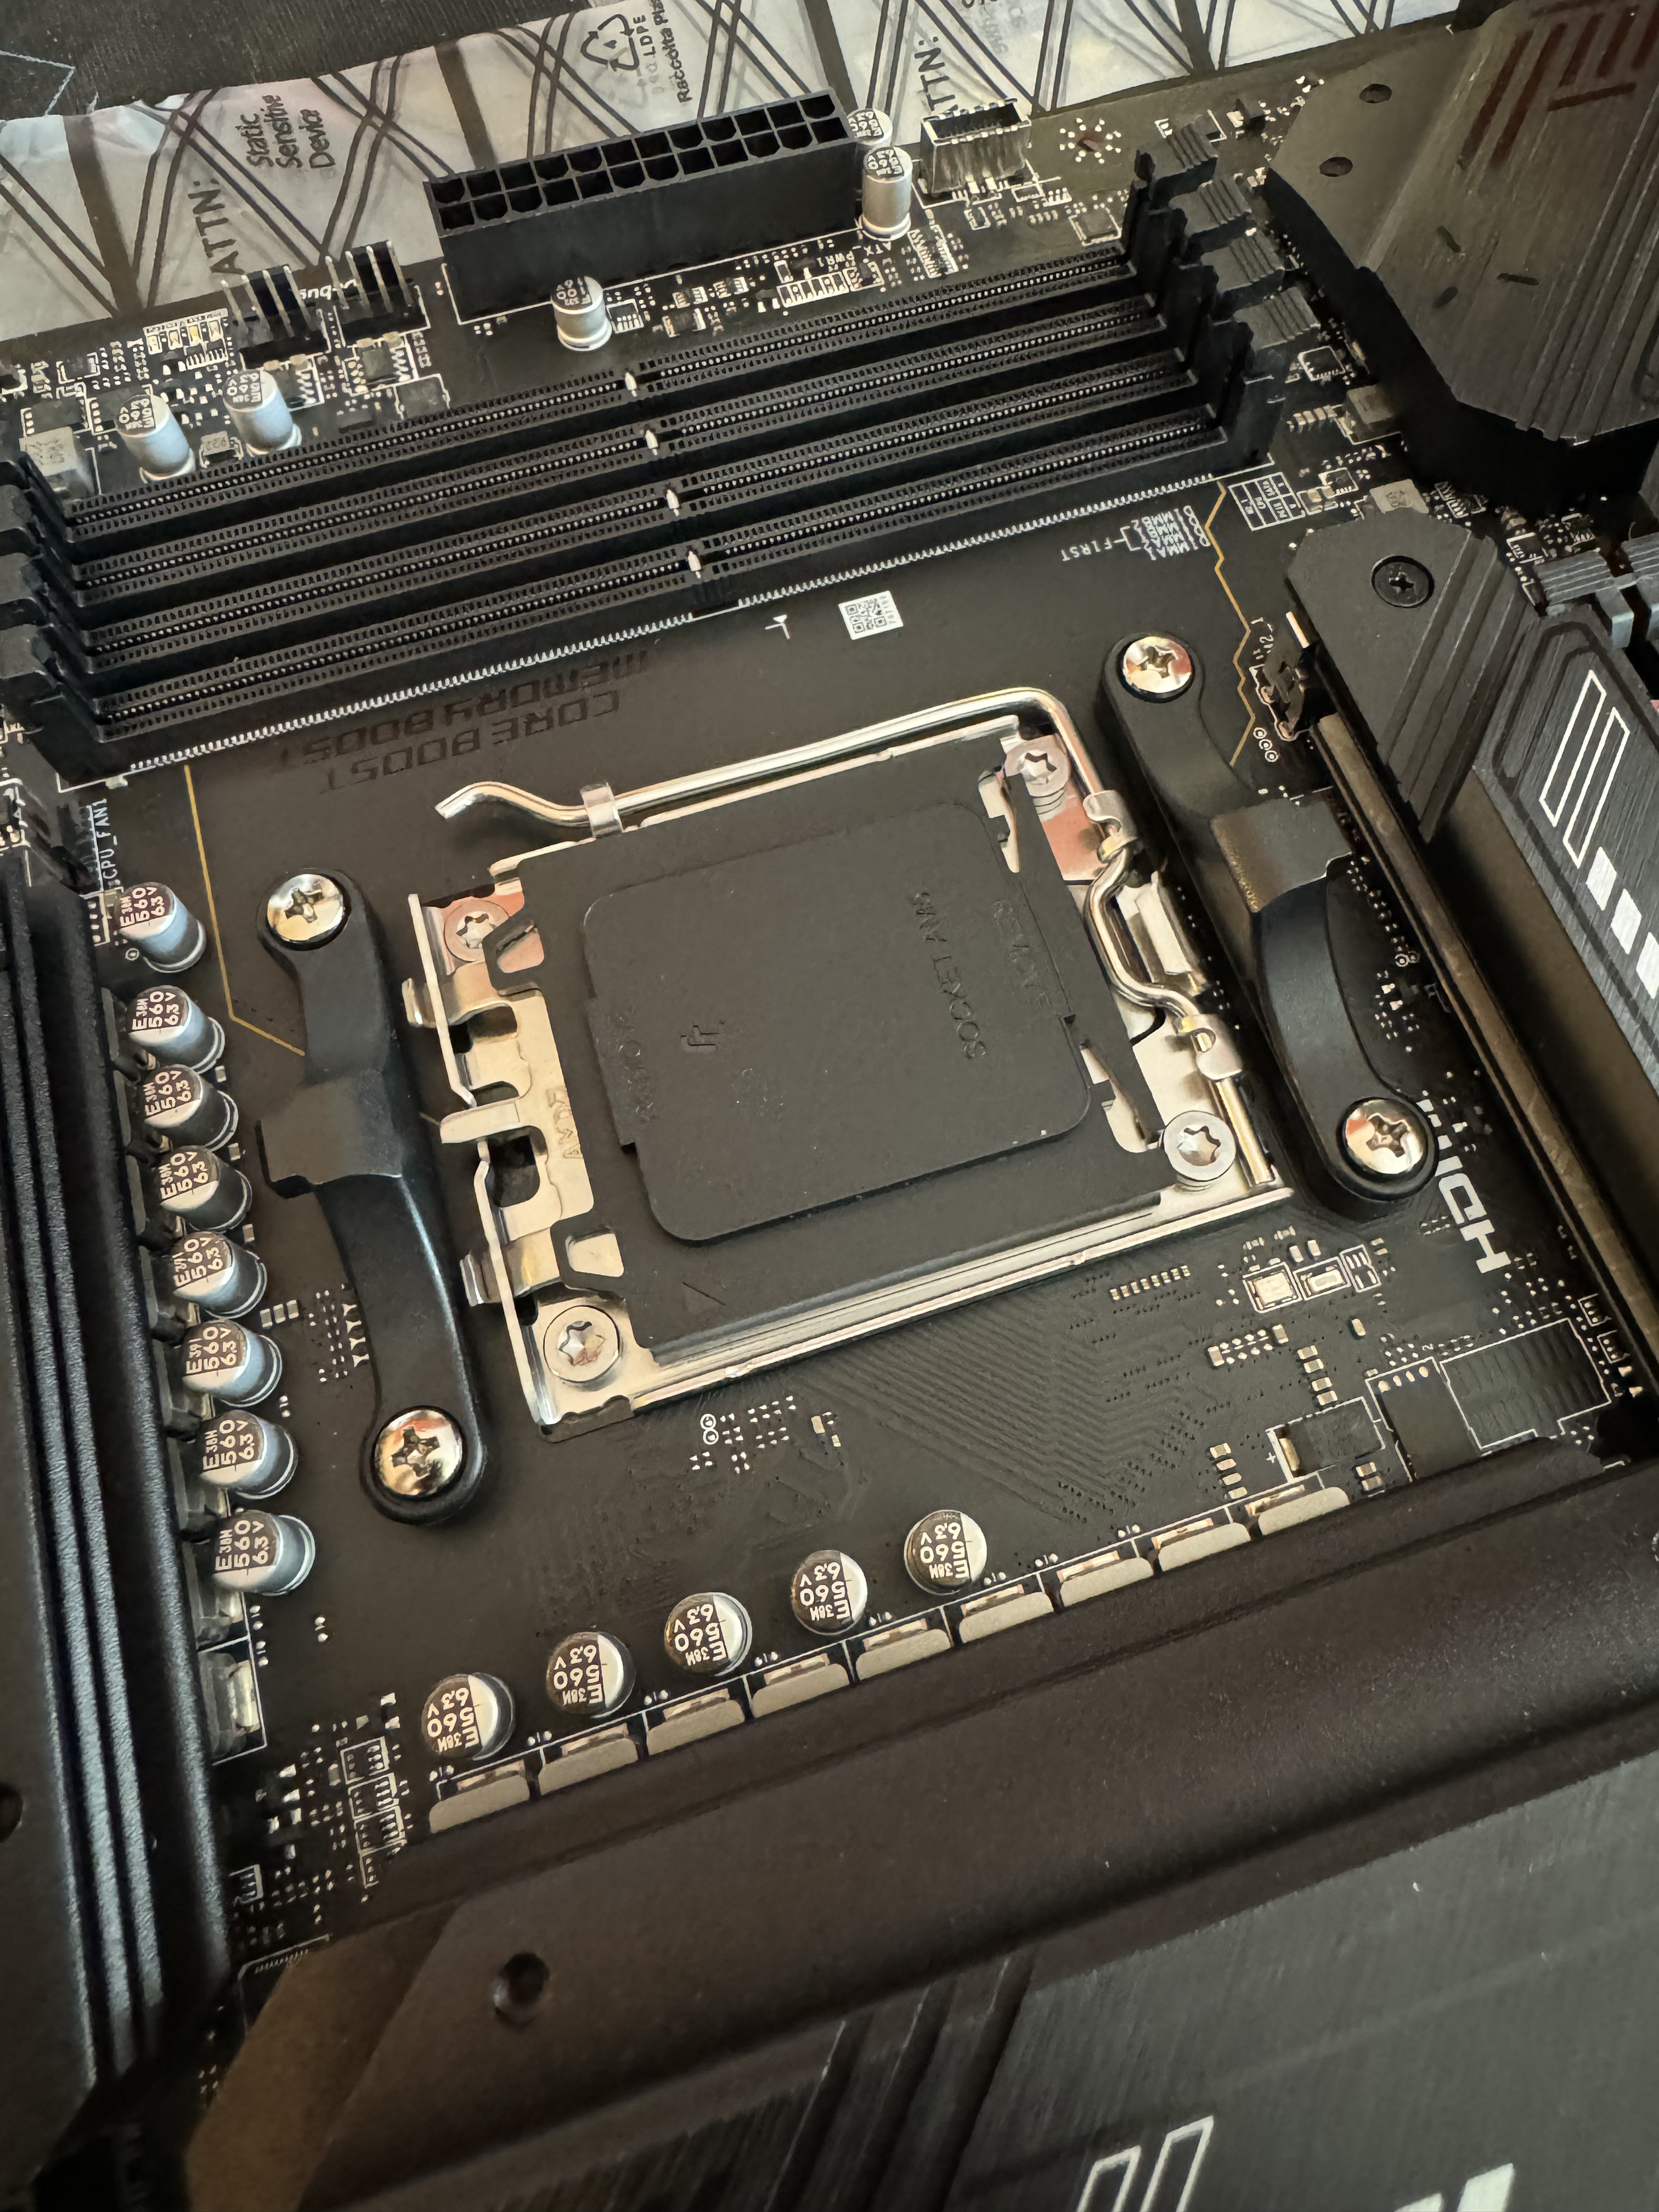
The CPU and associated cooler were first. These were, thankfully, pretty straightforward. The only difference here from my prior experience with Intel was that AMD doesn’t seem to ship its CPUs with stock coolers; hence, I needed to get a custom one. Otherwise, everything slotted in exactly as I remembered.
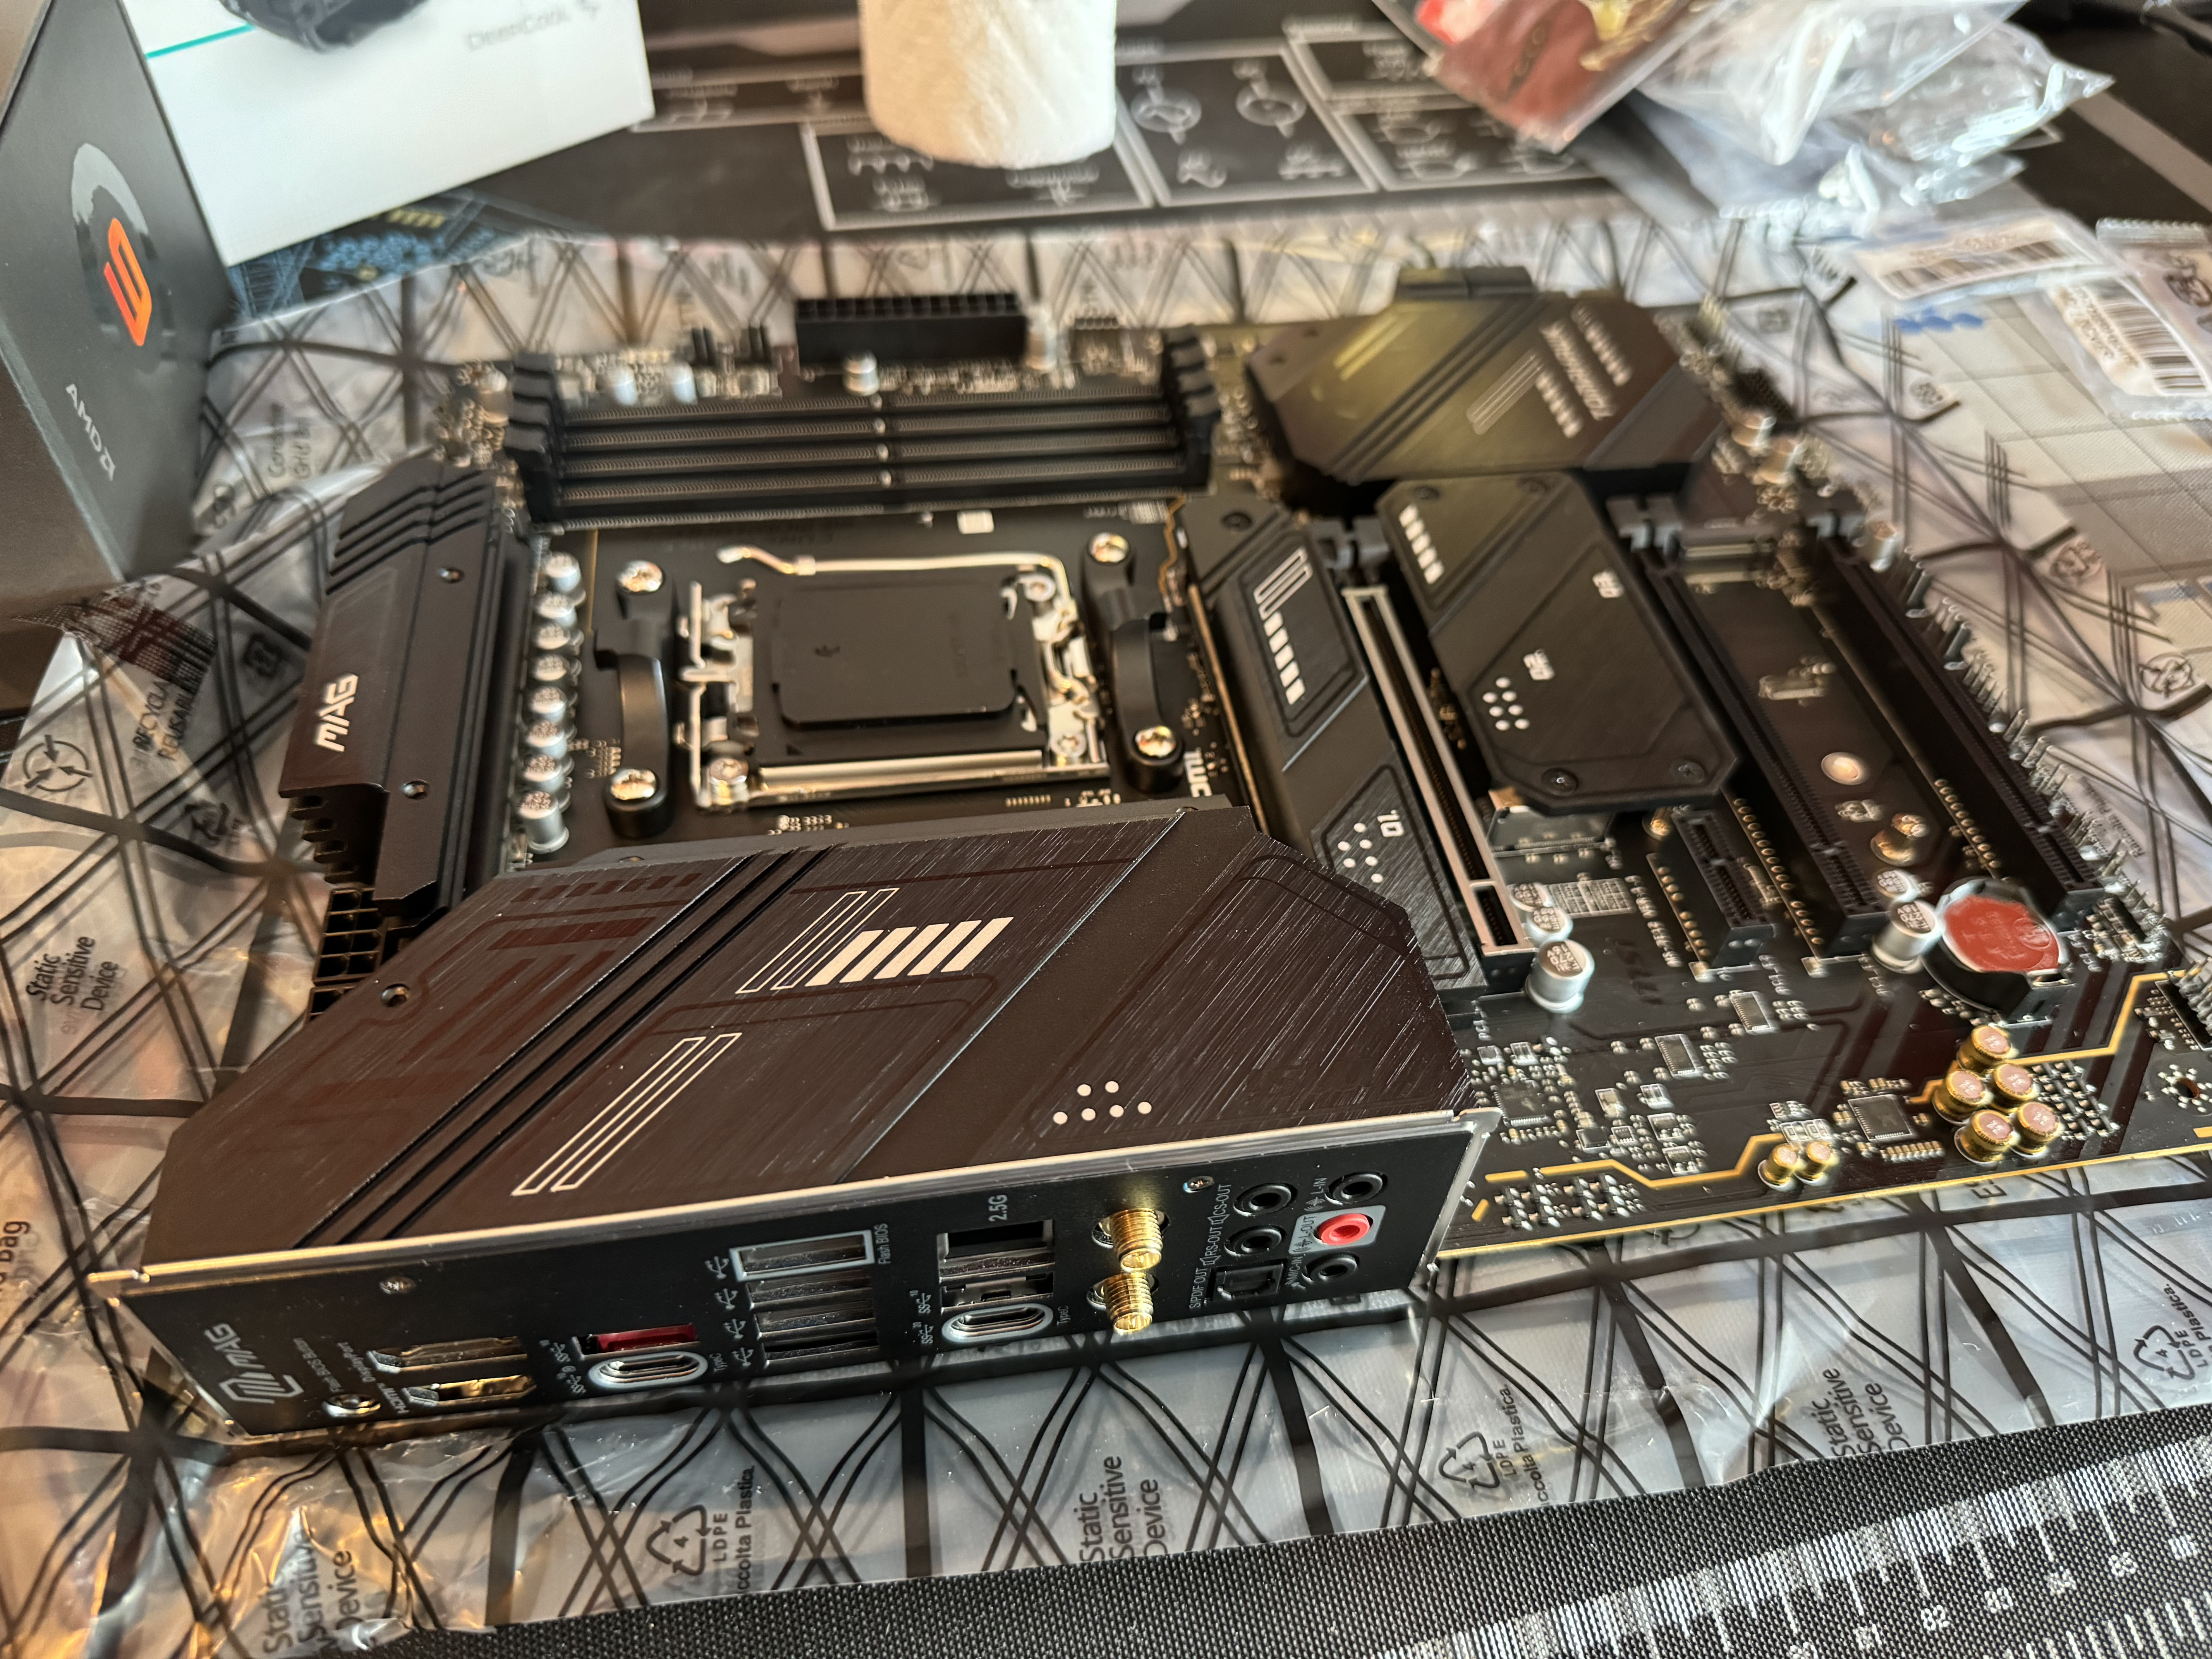
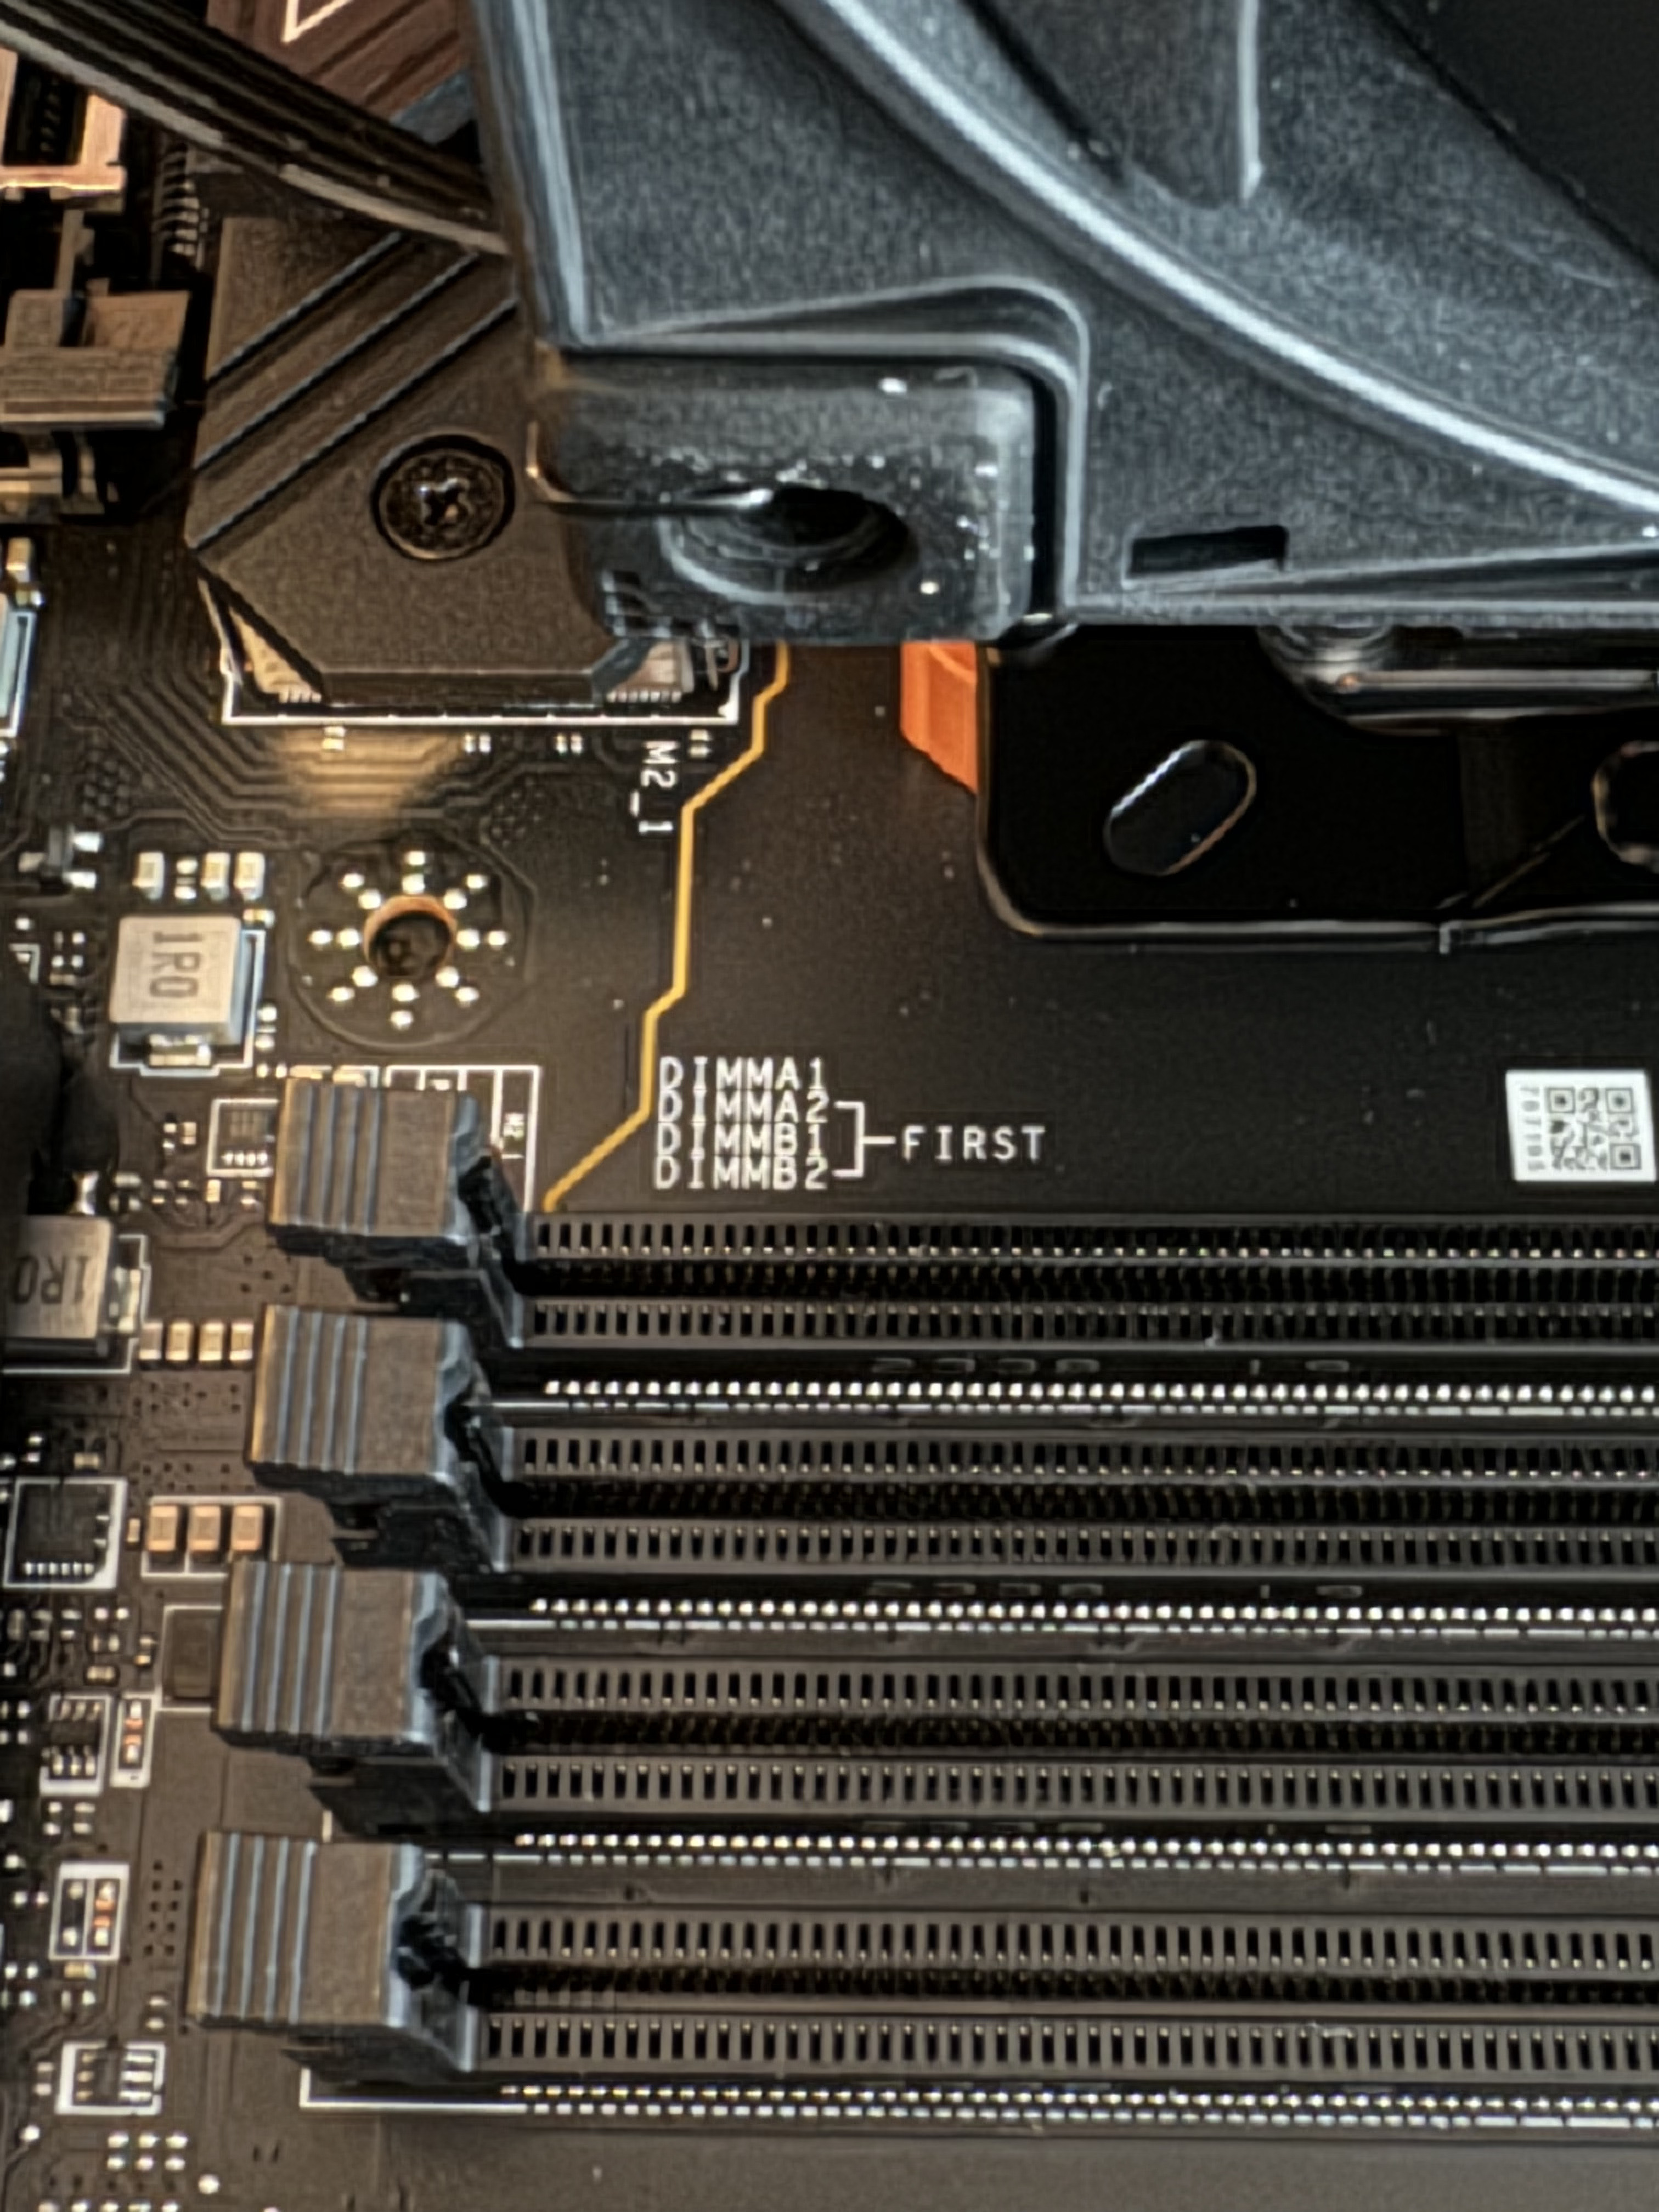
Next up: memory (or RAM). I was originally going with just a single 2-pack of 48GB DIMMs for a total of 96GB, but my sabbatical employer insisted I max out the memory so I can work with 100+GB single images they have from clients.
That entailed a bit more research on my part on AMD-compatible motherboards to learn what their RAM limits were. I found one with 192GB as its upper limit: hence that motherboard, and hence why I have so much RAM!
I think I enjoy installing RAM the most: there are no moving parts, other than the clips on the motherboard itself that very helpfully “click” when you have properly seated the memory. It’s very satisfying.
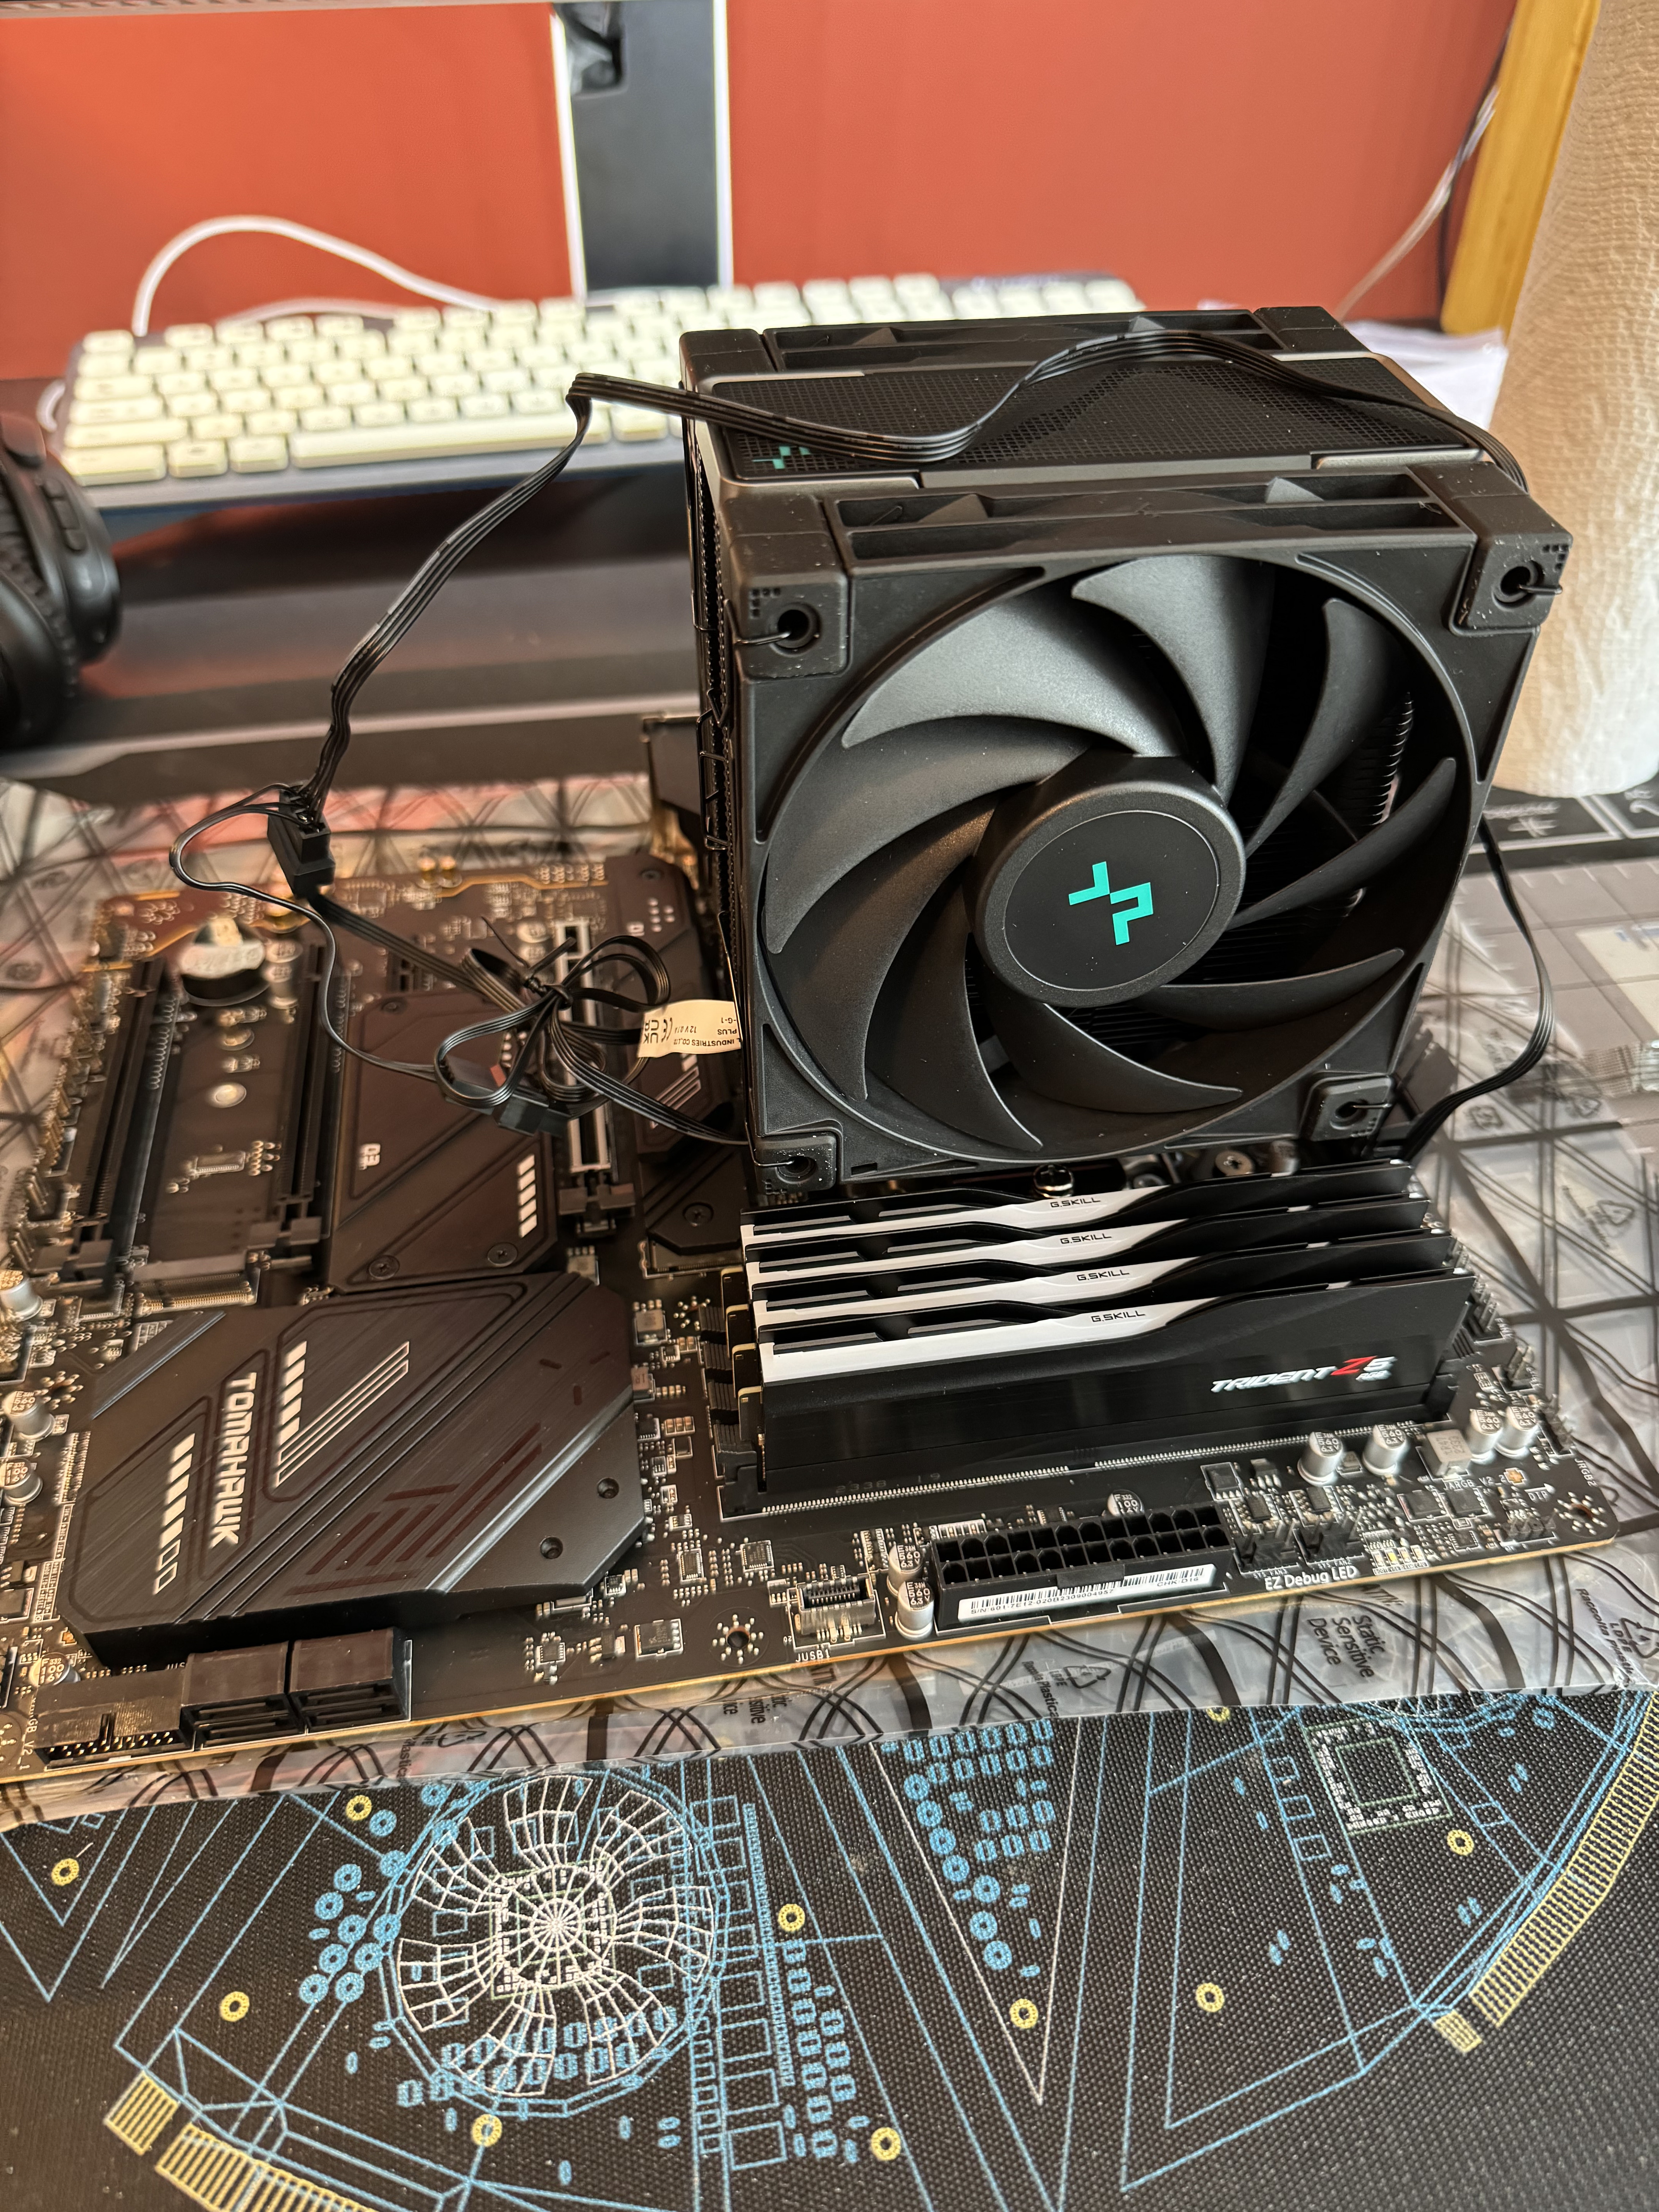
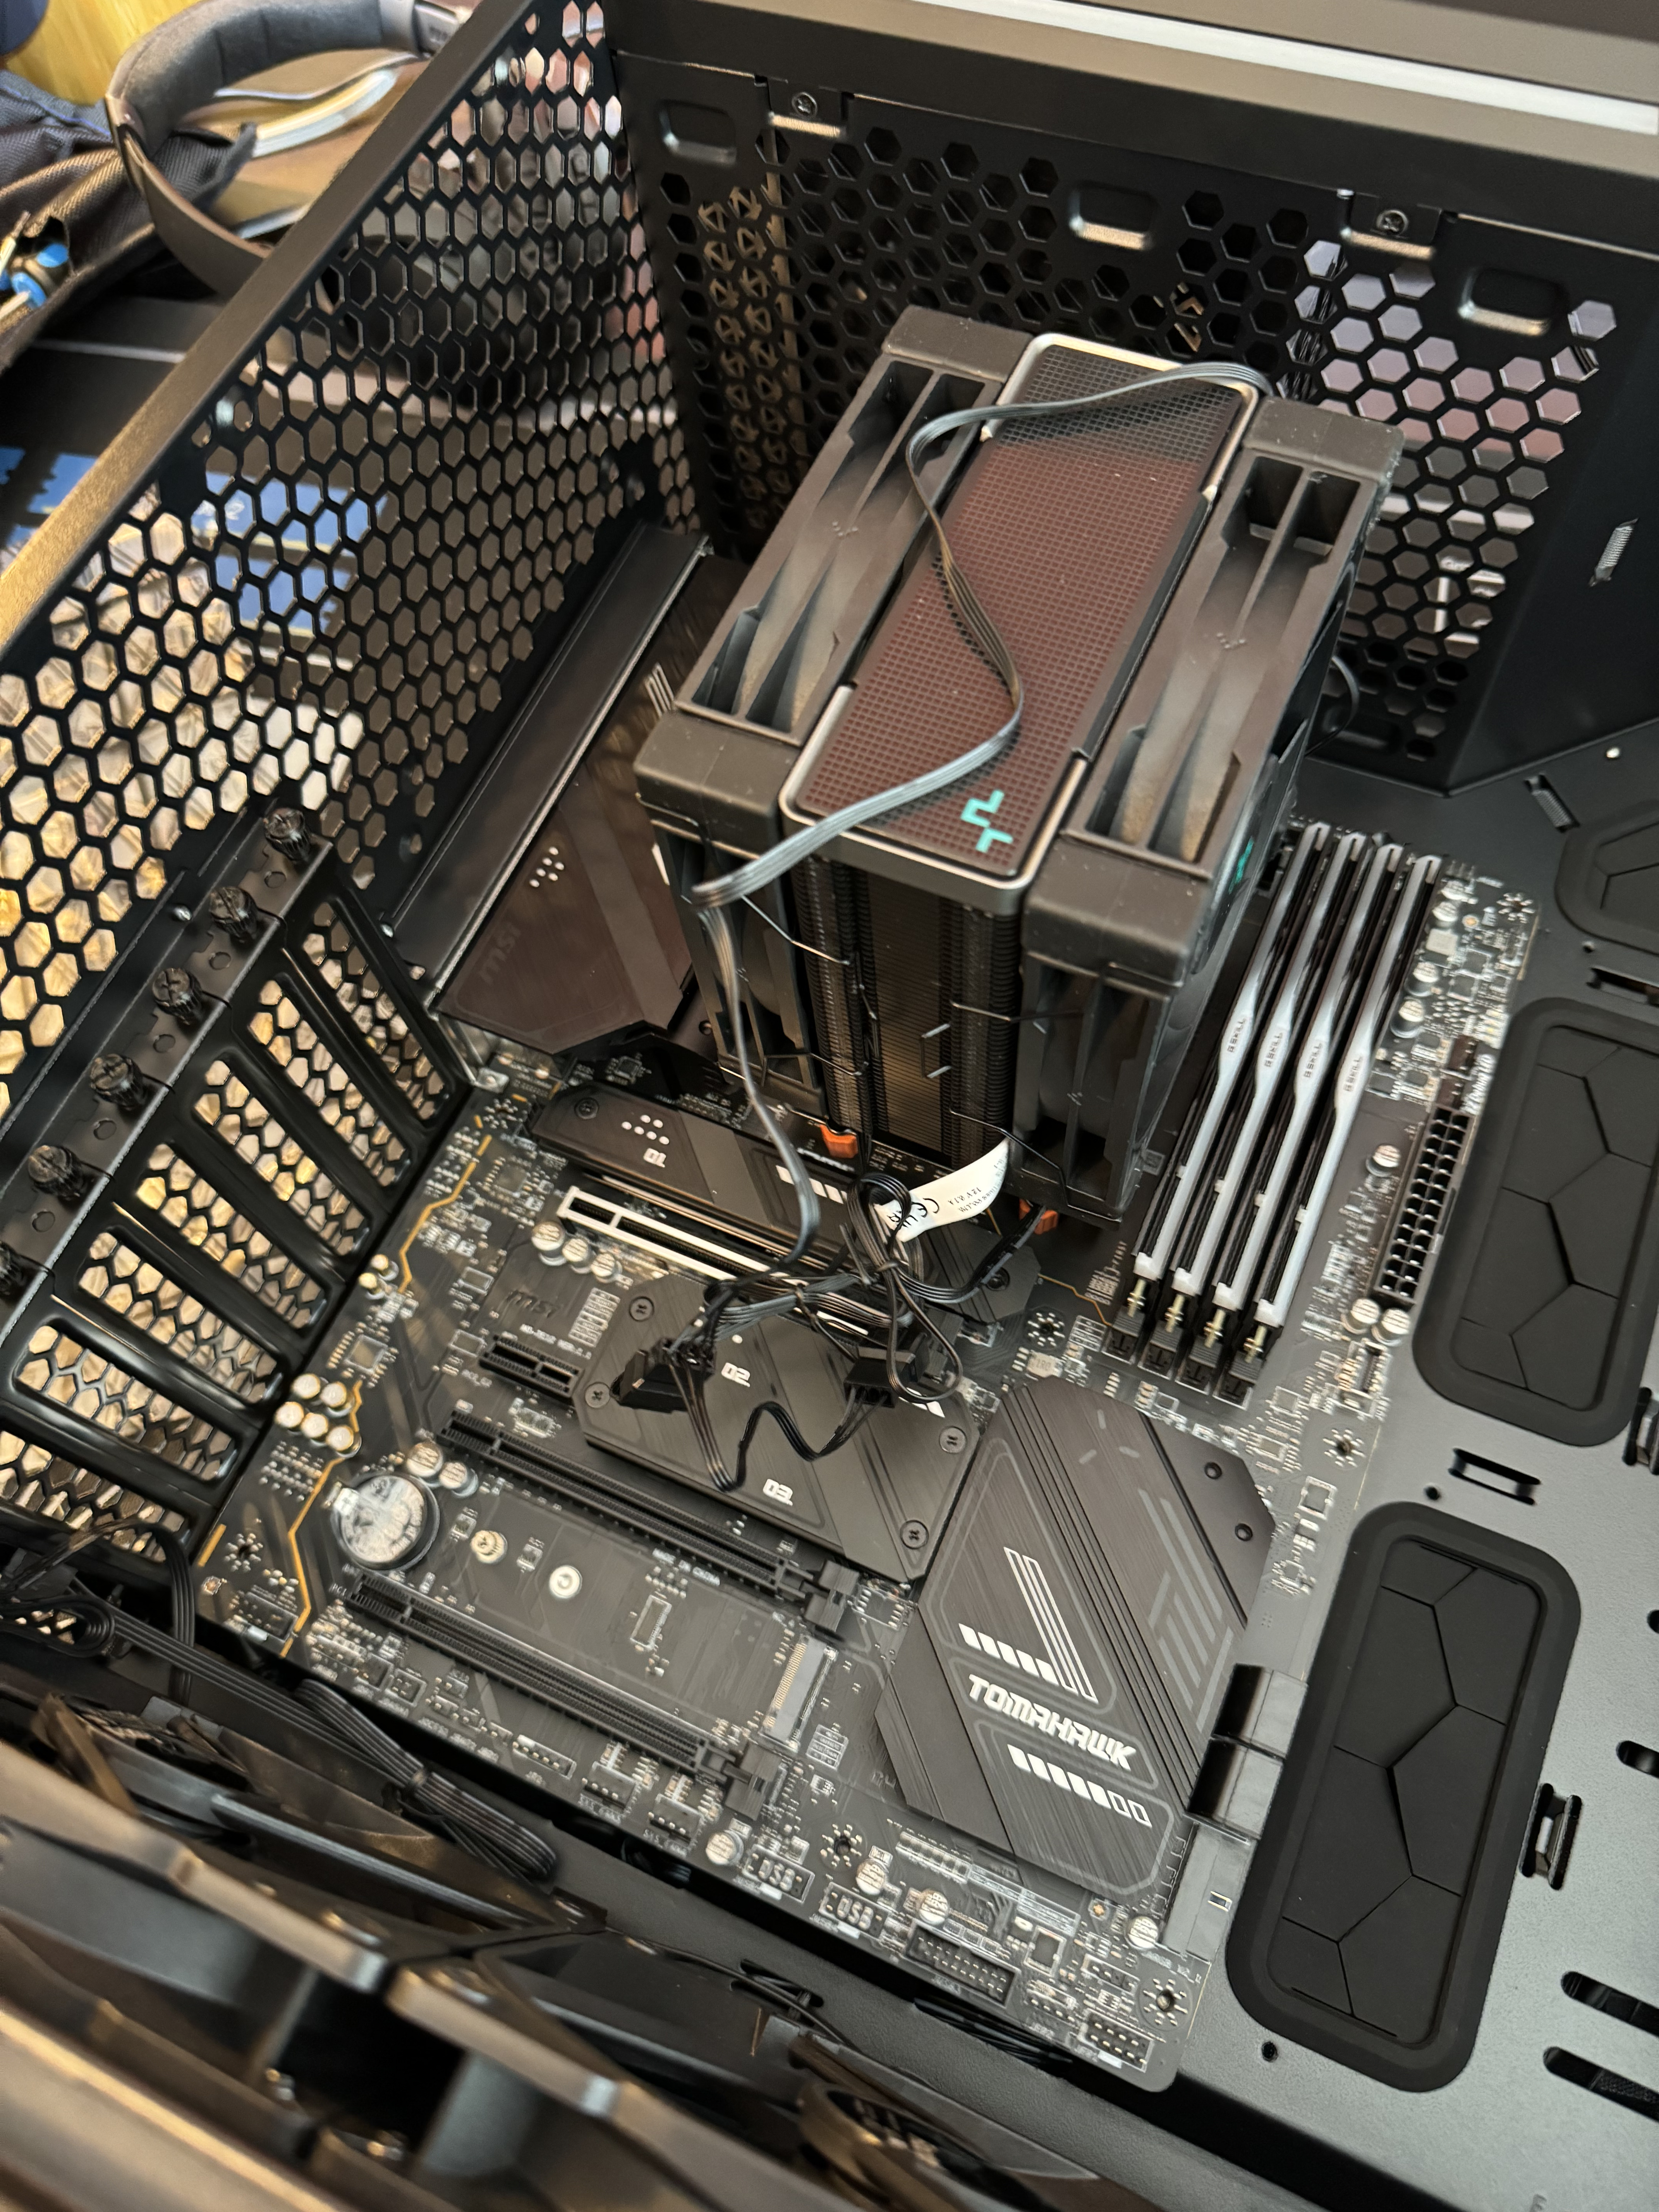
At this point, I should have installed the storage devices. But for reasons lost to the passage of time, I didn’t. Instead, I installed the motherboard into the case.
Part of my rationale, I think, was that I knew I couldn’t install the GPU until the motherboard was seated in the case; the GPU was just too big to be installed without the support of the case itself. I also knew some of the M.2 slots were under the GPU; this created some uncertainty about whether the GPU would actually sit correctly if an M.2 device was installed directly under it. My priority here was the GPU—it was so large, it could only fit in one of two slots, and of those two only one was honestly preferable—and to seat the GPU, I needed to install the motherboard into the case.
All in all, motherboard installation is pretty easy: just put the motherboard in the case and carefully screw it down. If the screw holes in the motherboard don’t align with the struts in the case, then something has gone horribly wrong and you should stop.
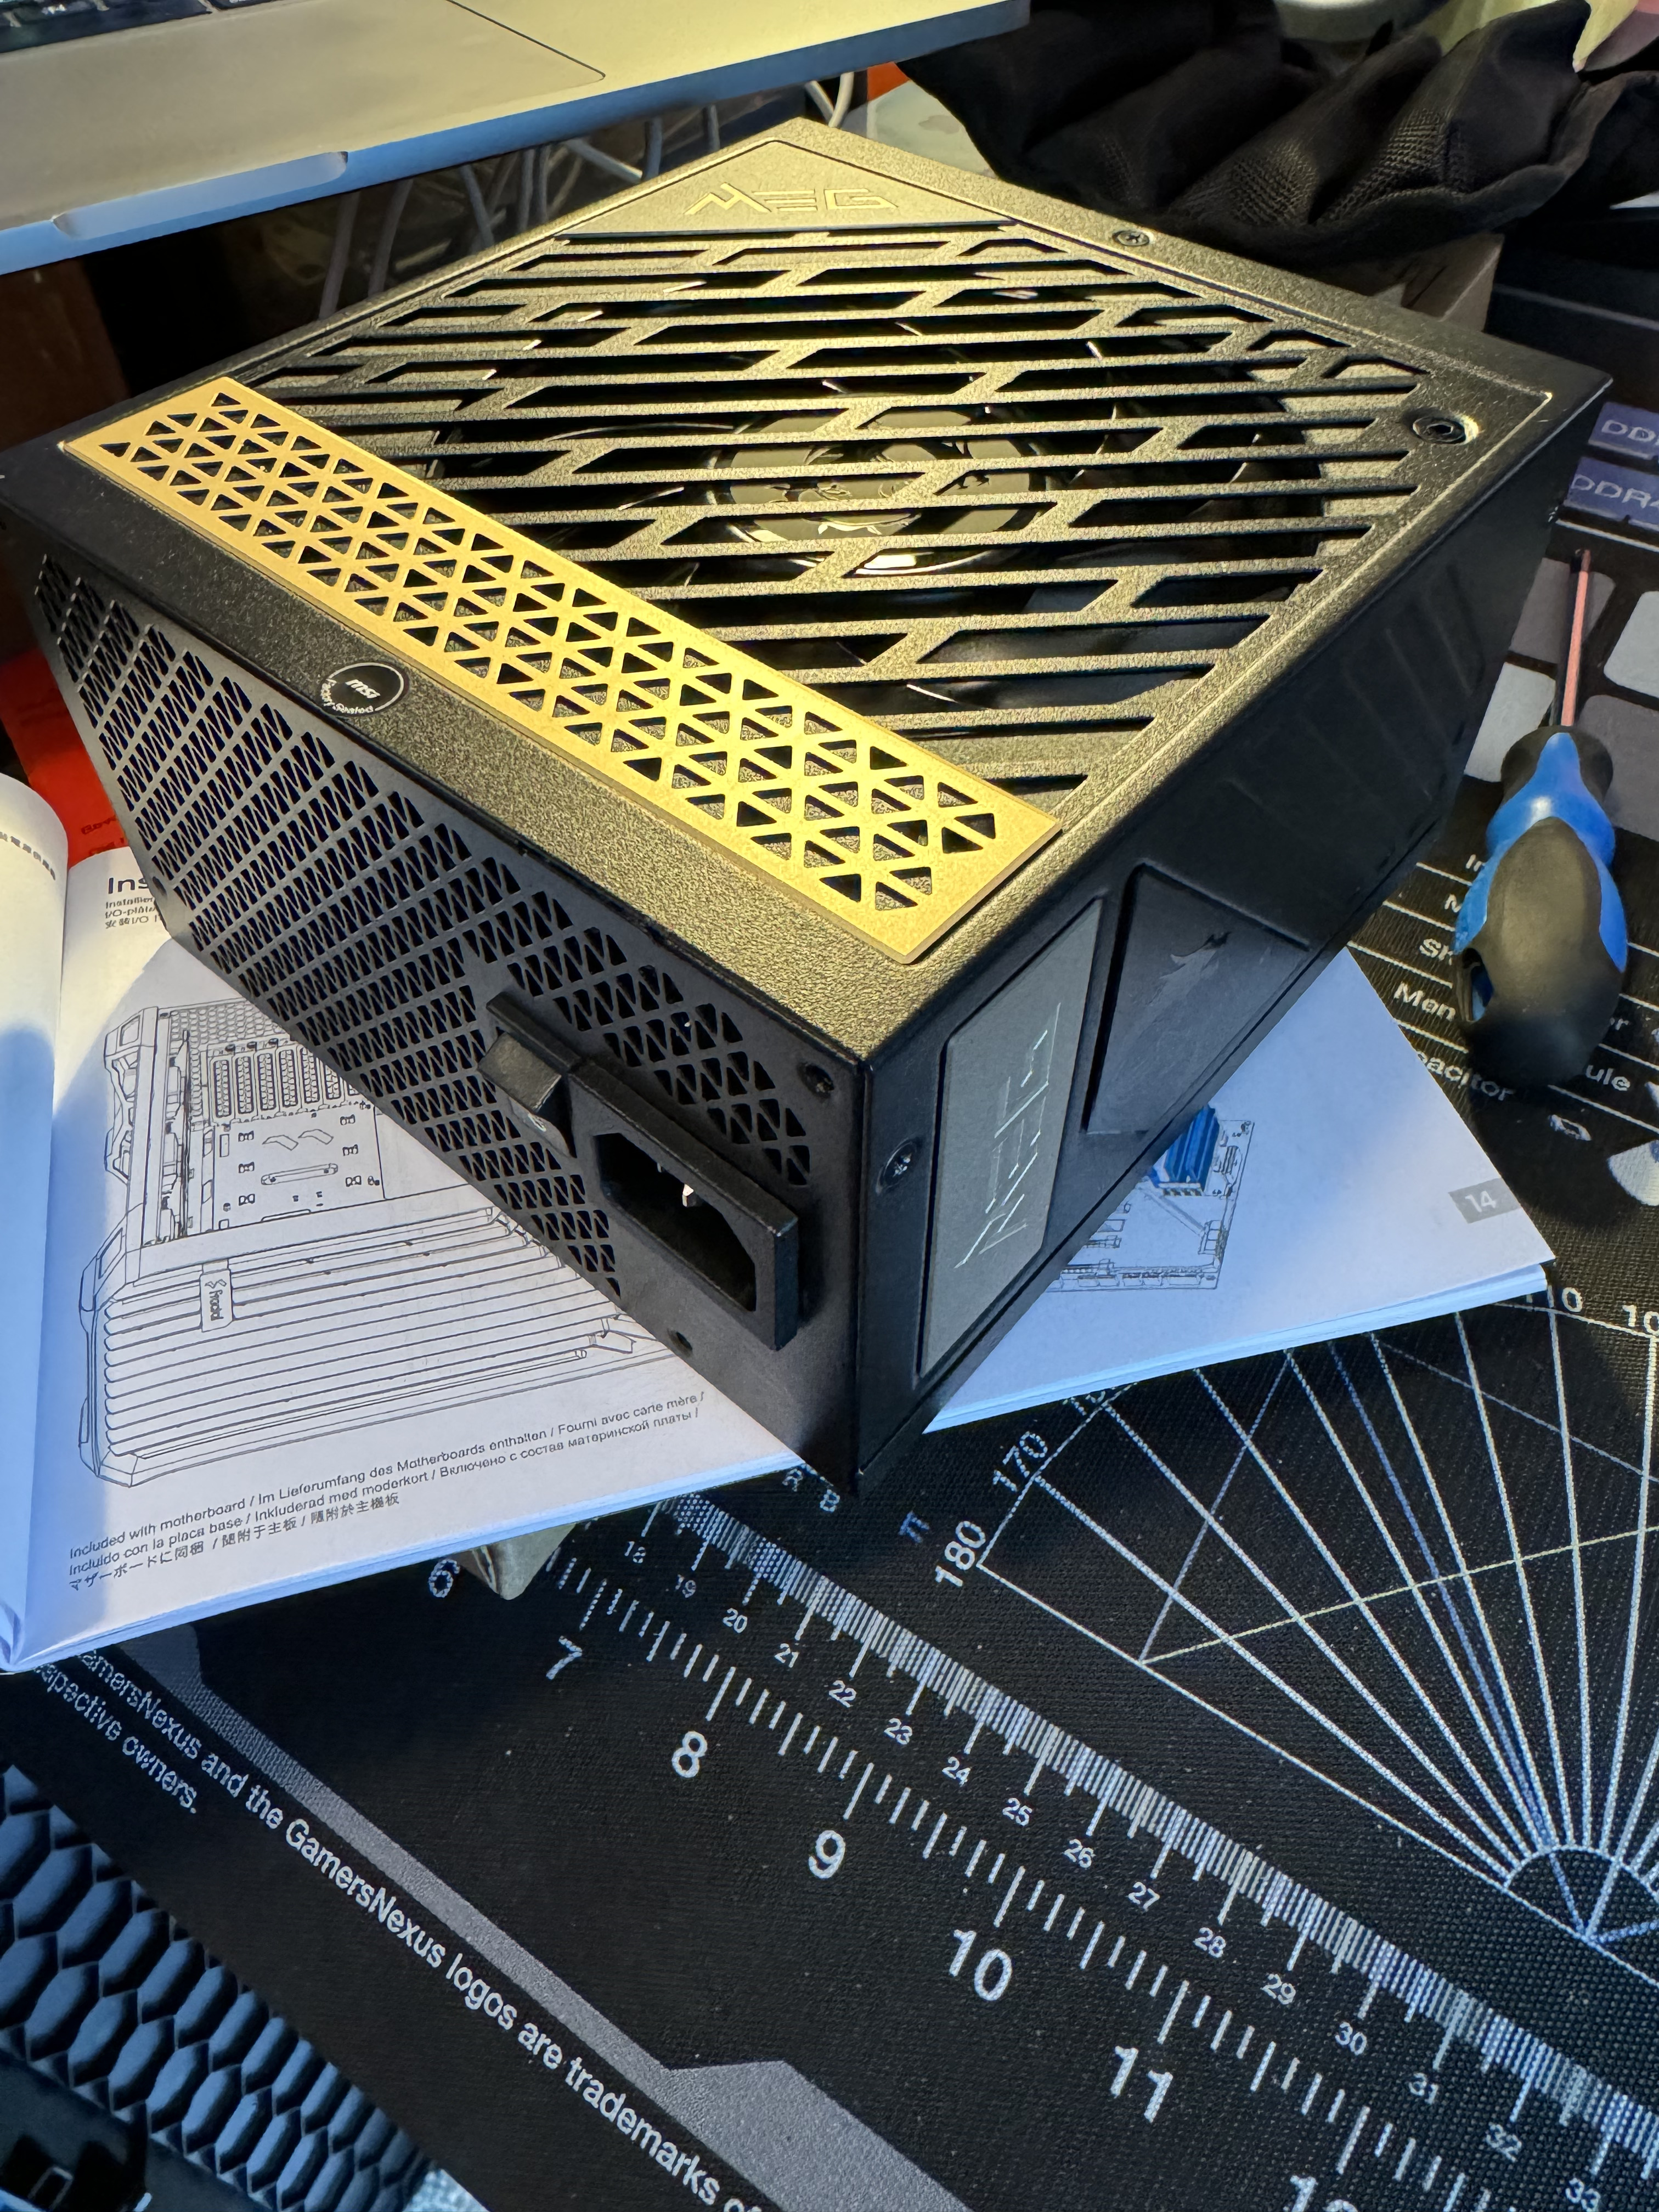
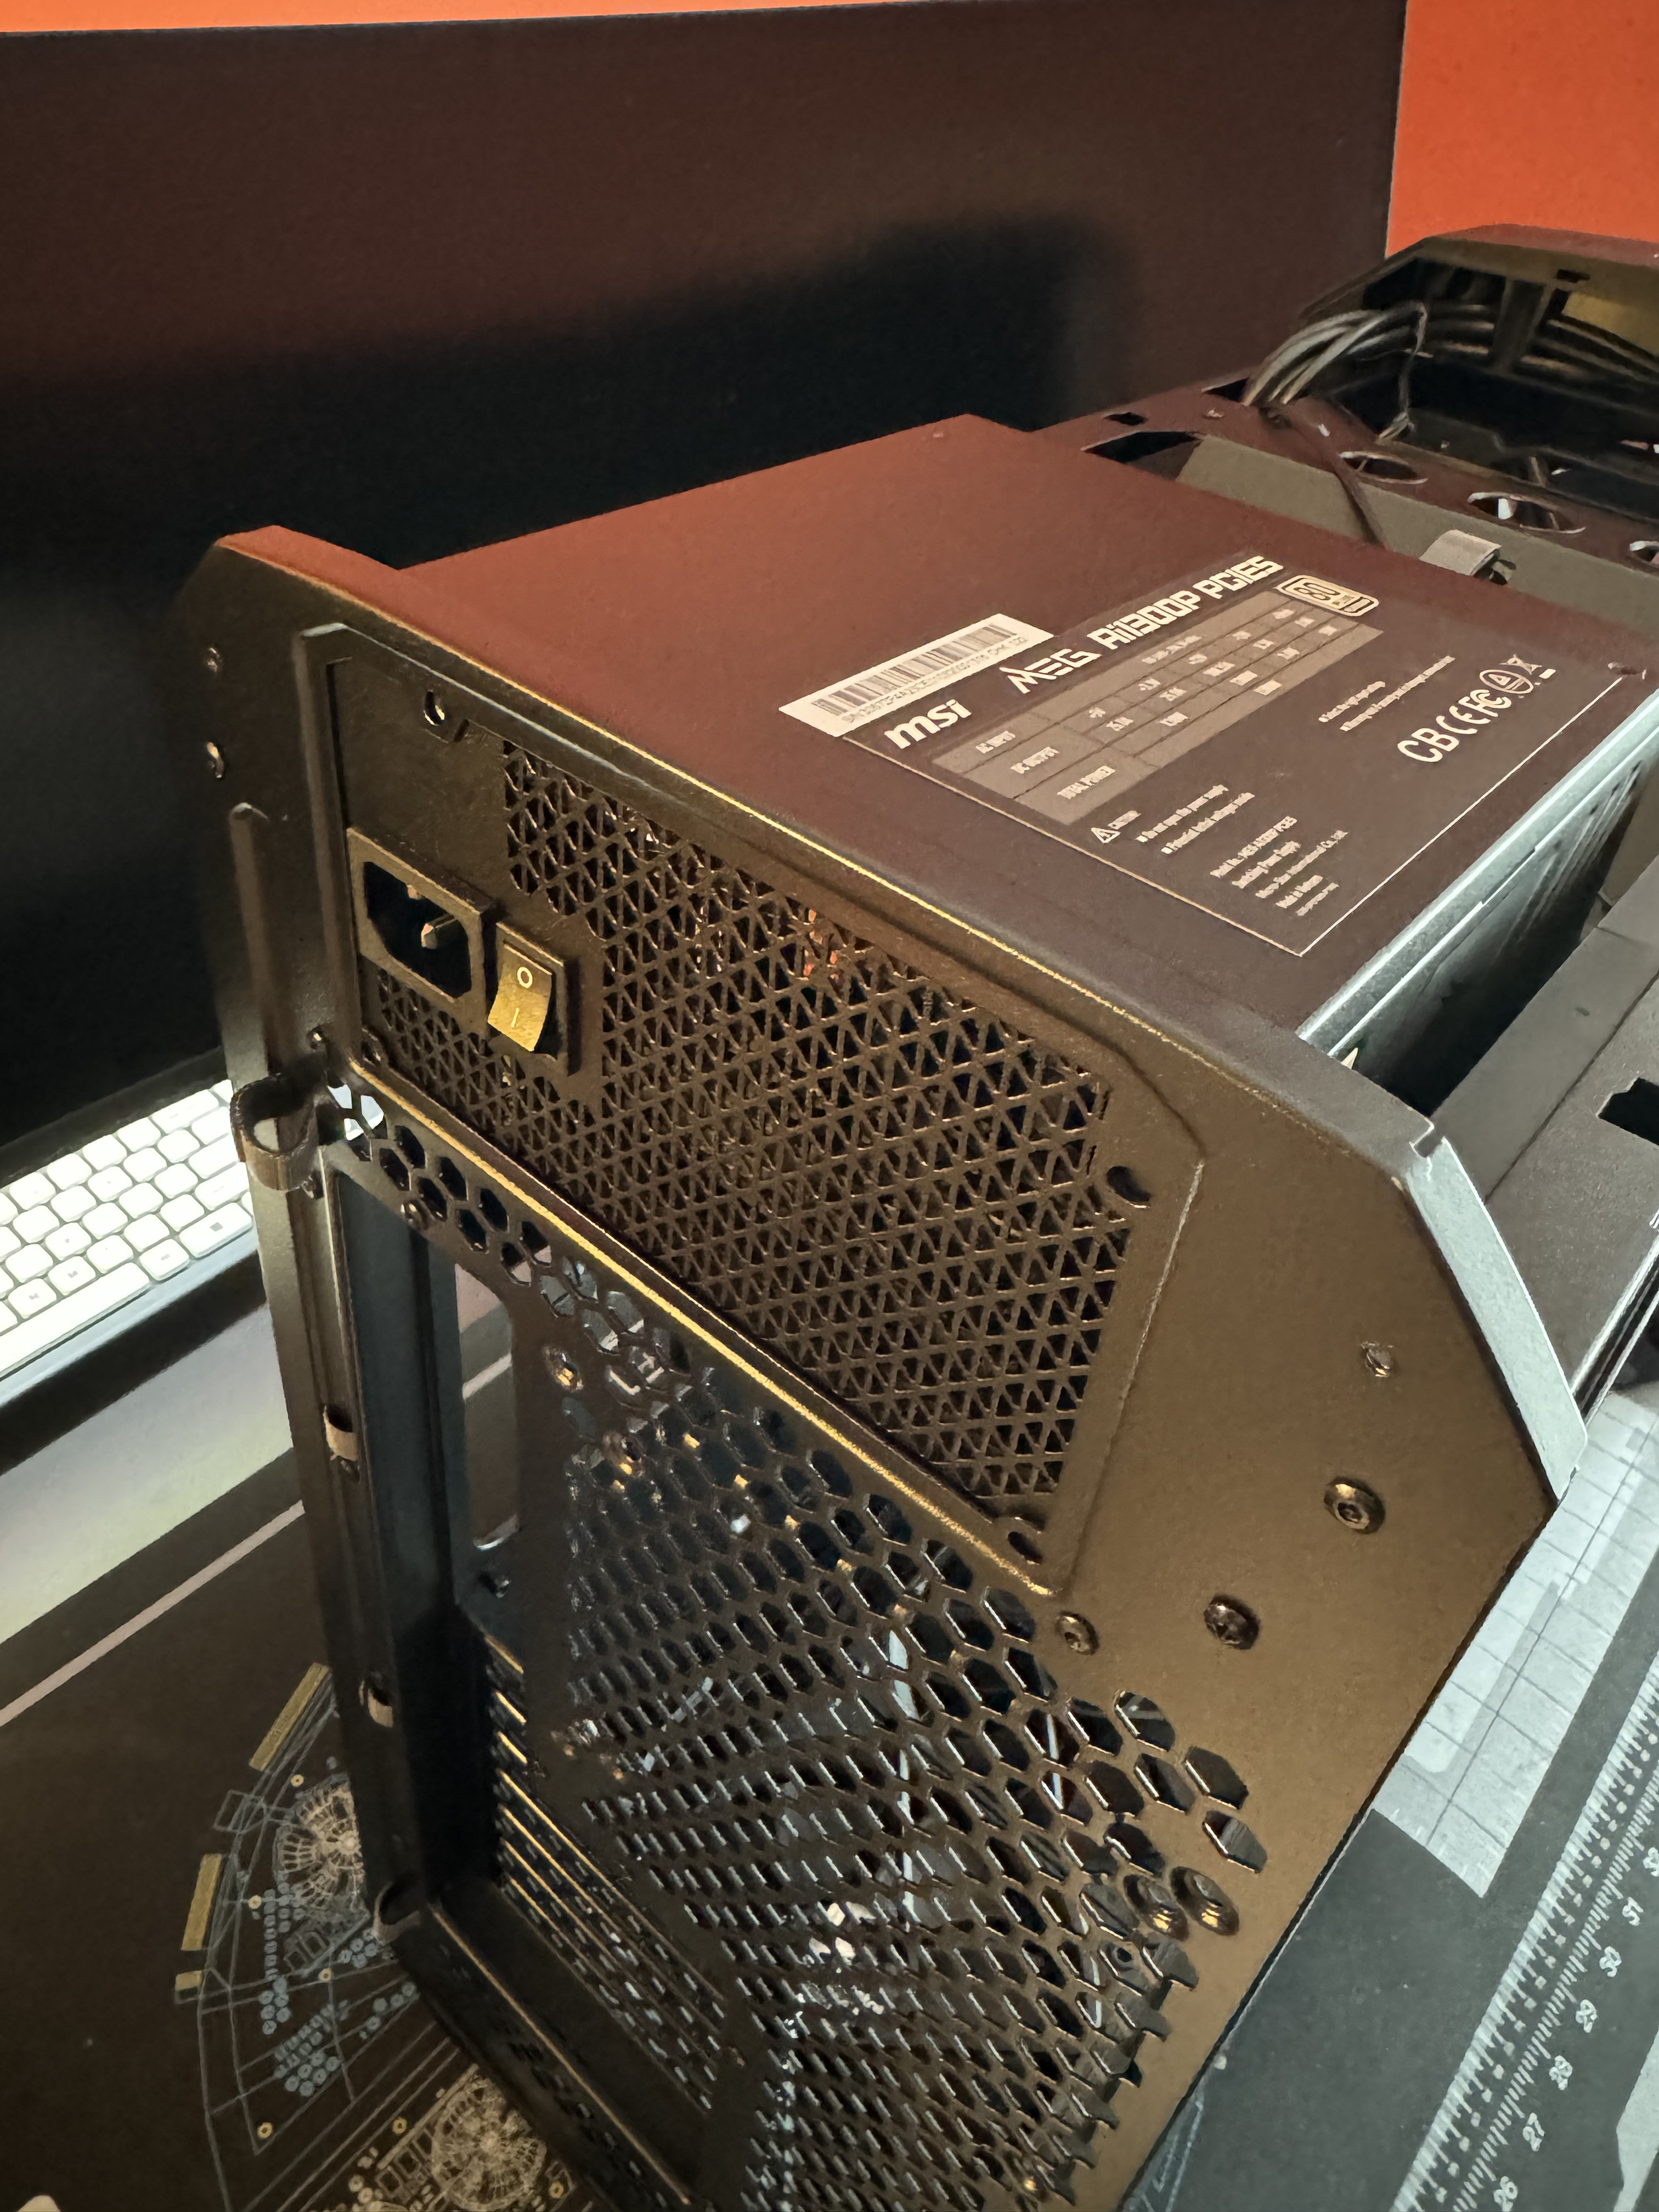
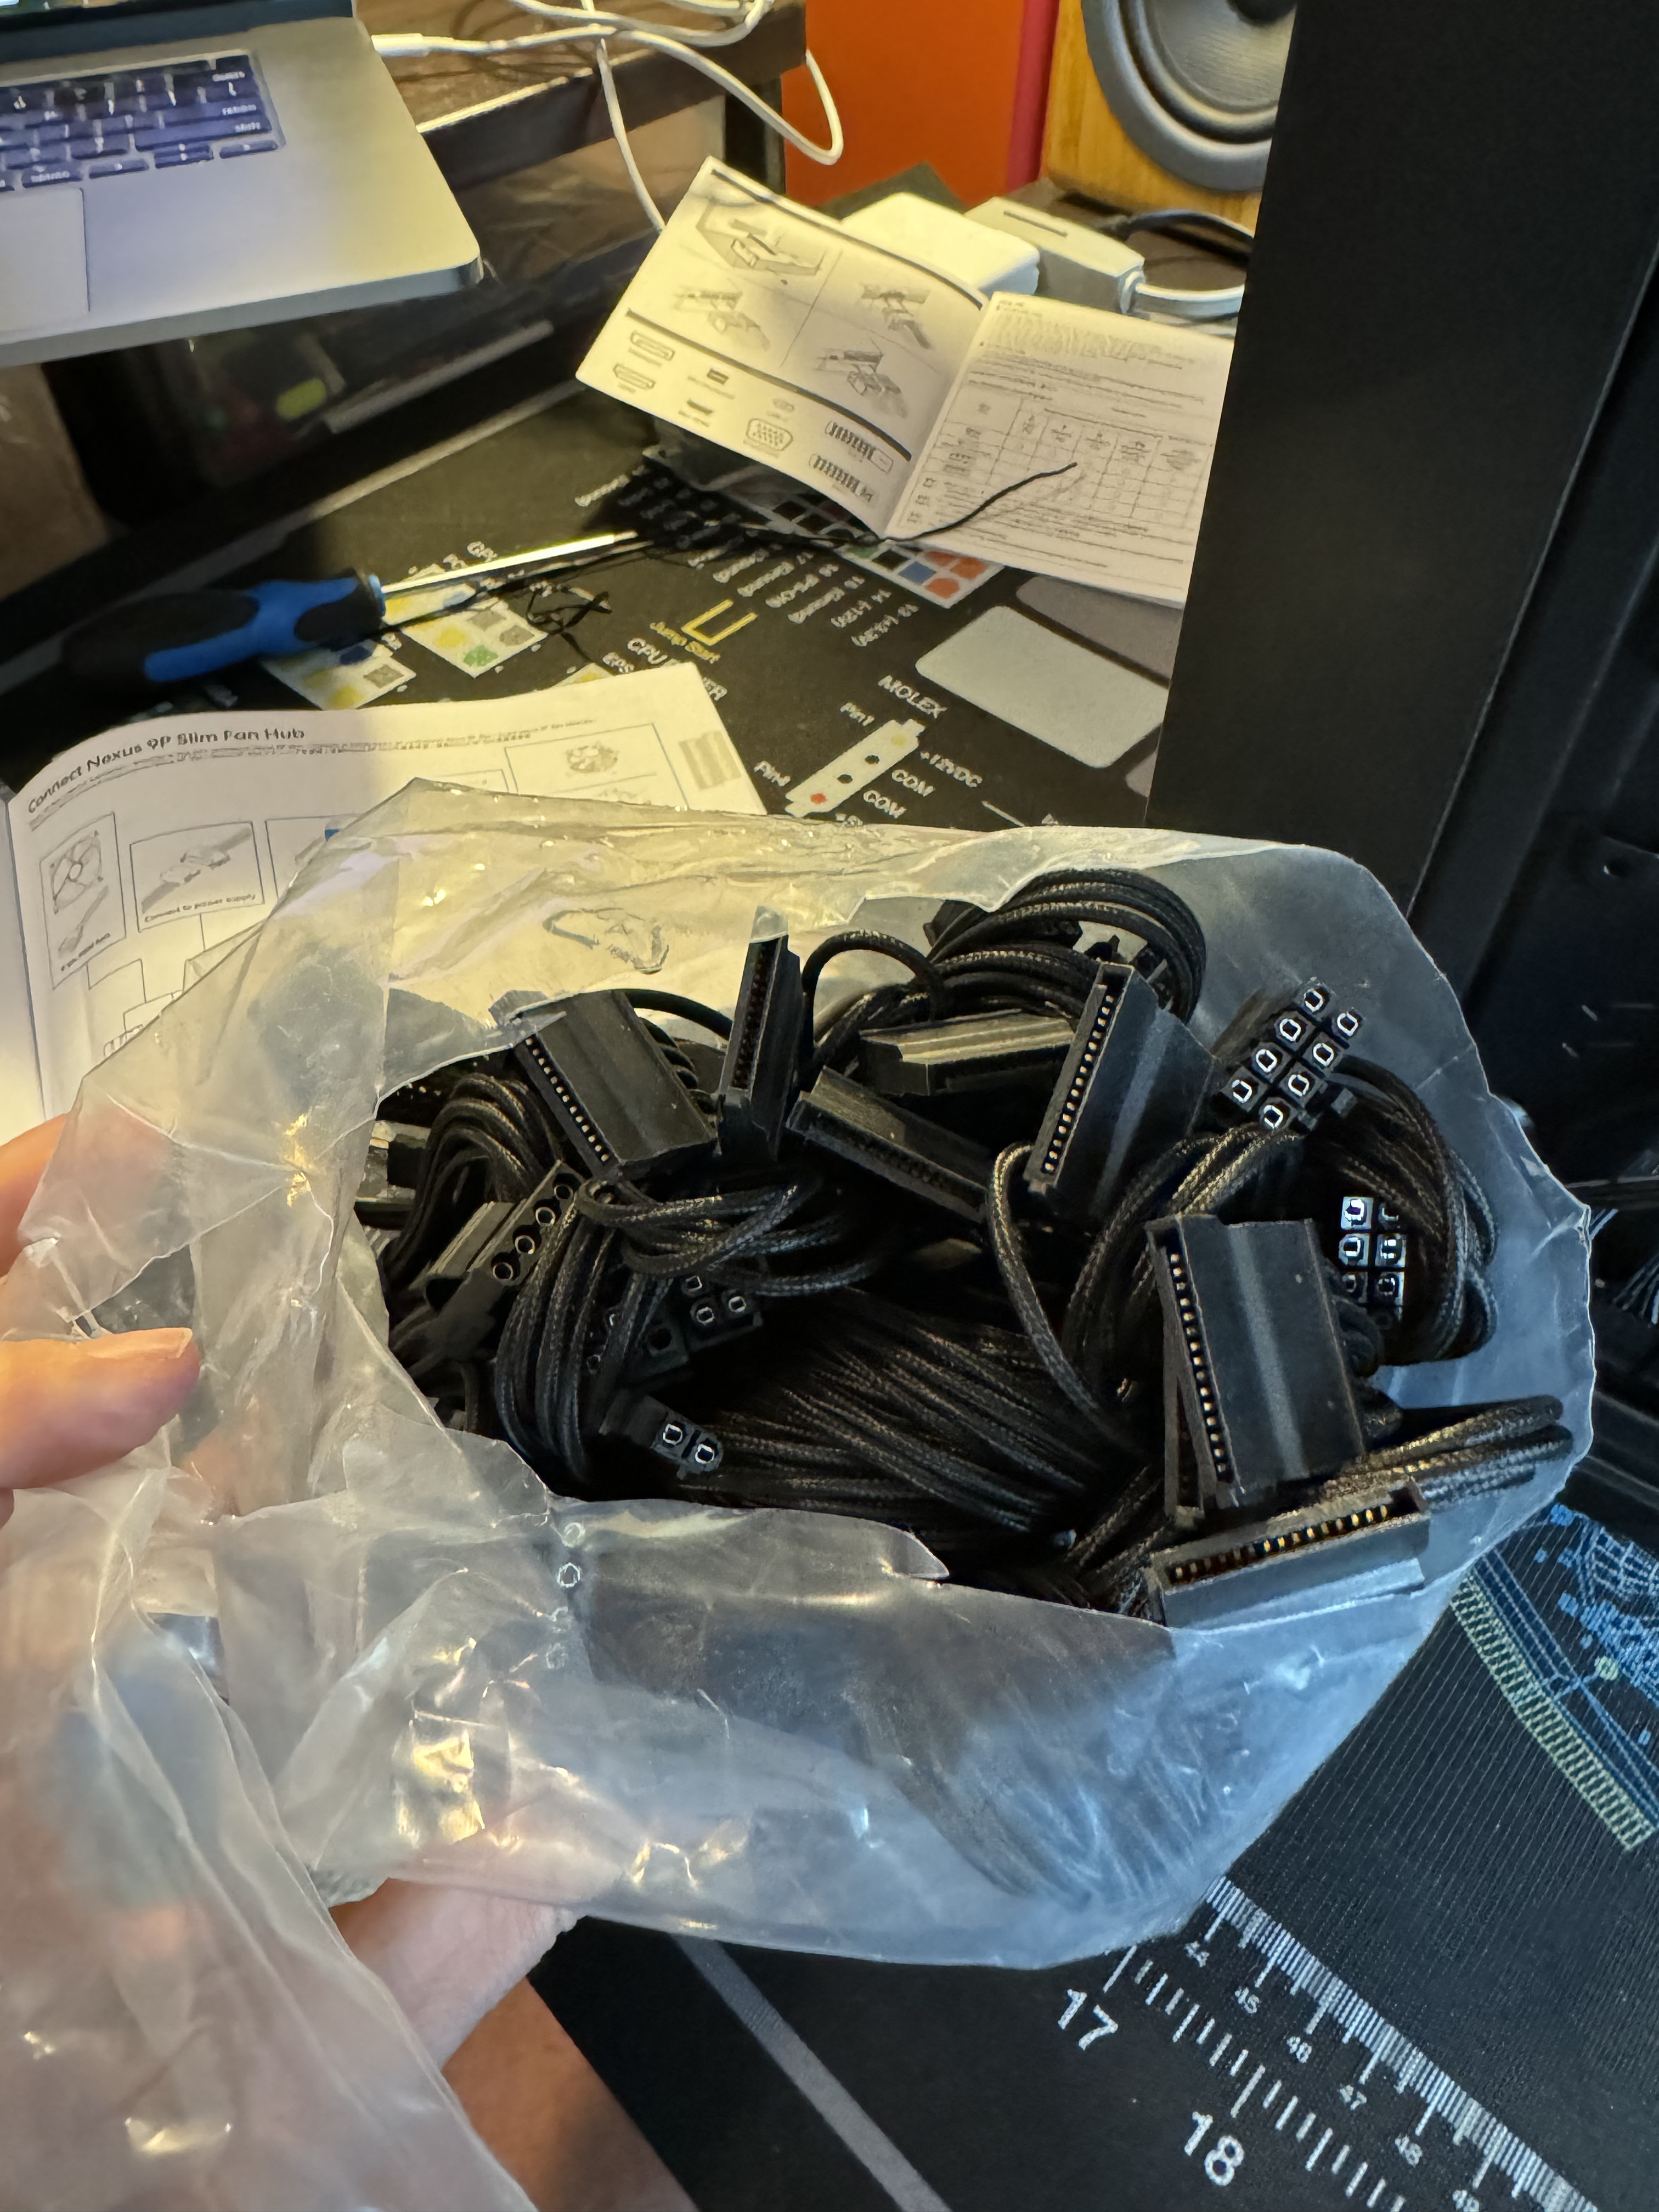
For one final diversion before the monstrosity that is the GPU, I installed the PSU, aka the power supply. Given that wholly half the power supply’s capacity is going to the GPU, I knew I needed something relatively beefy, hence the 1300W monster PSU. But I also knew I wouldn’t have very many other components that needed direct power.
So a modular PSU was key: one with lots of outlets for potential devices, but whose cords could be disconnected and removed when not needed so as not to clog up the inside of the case with unplugged power cables.
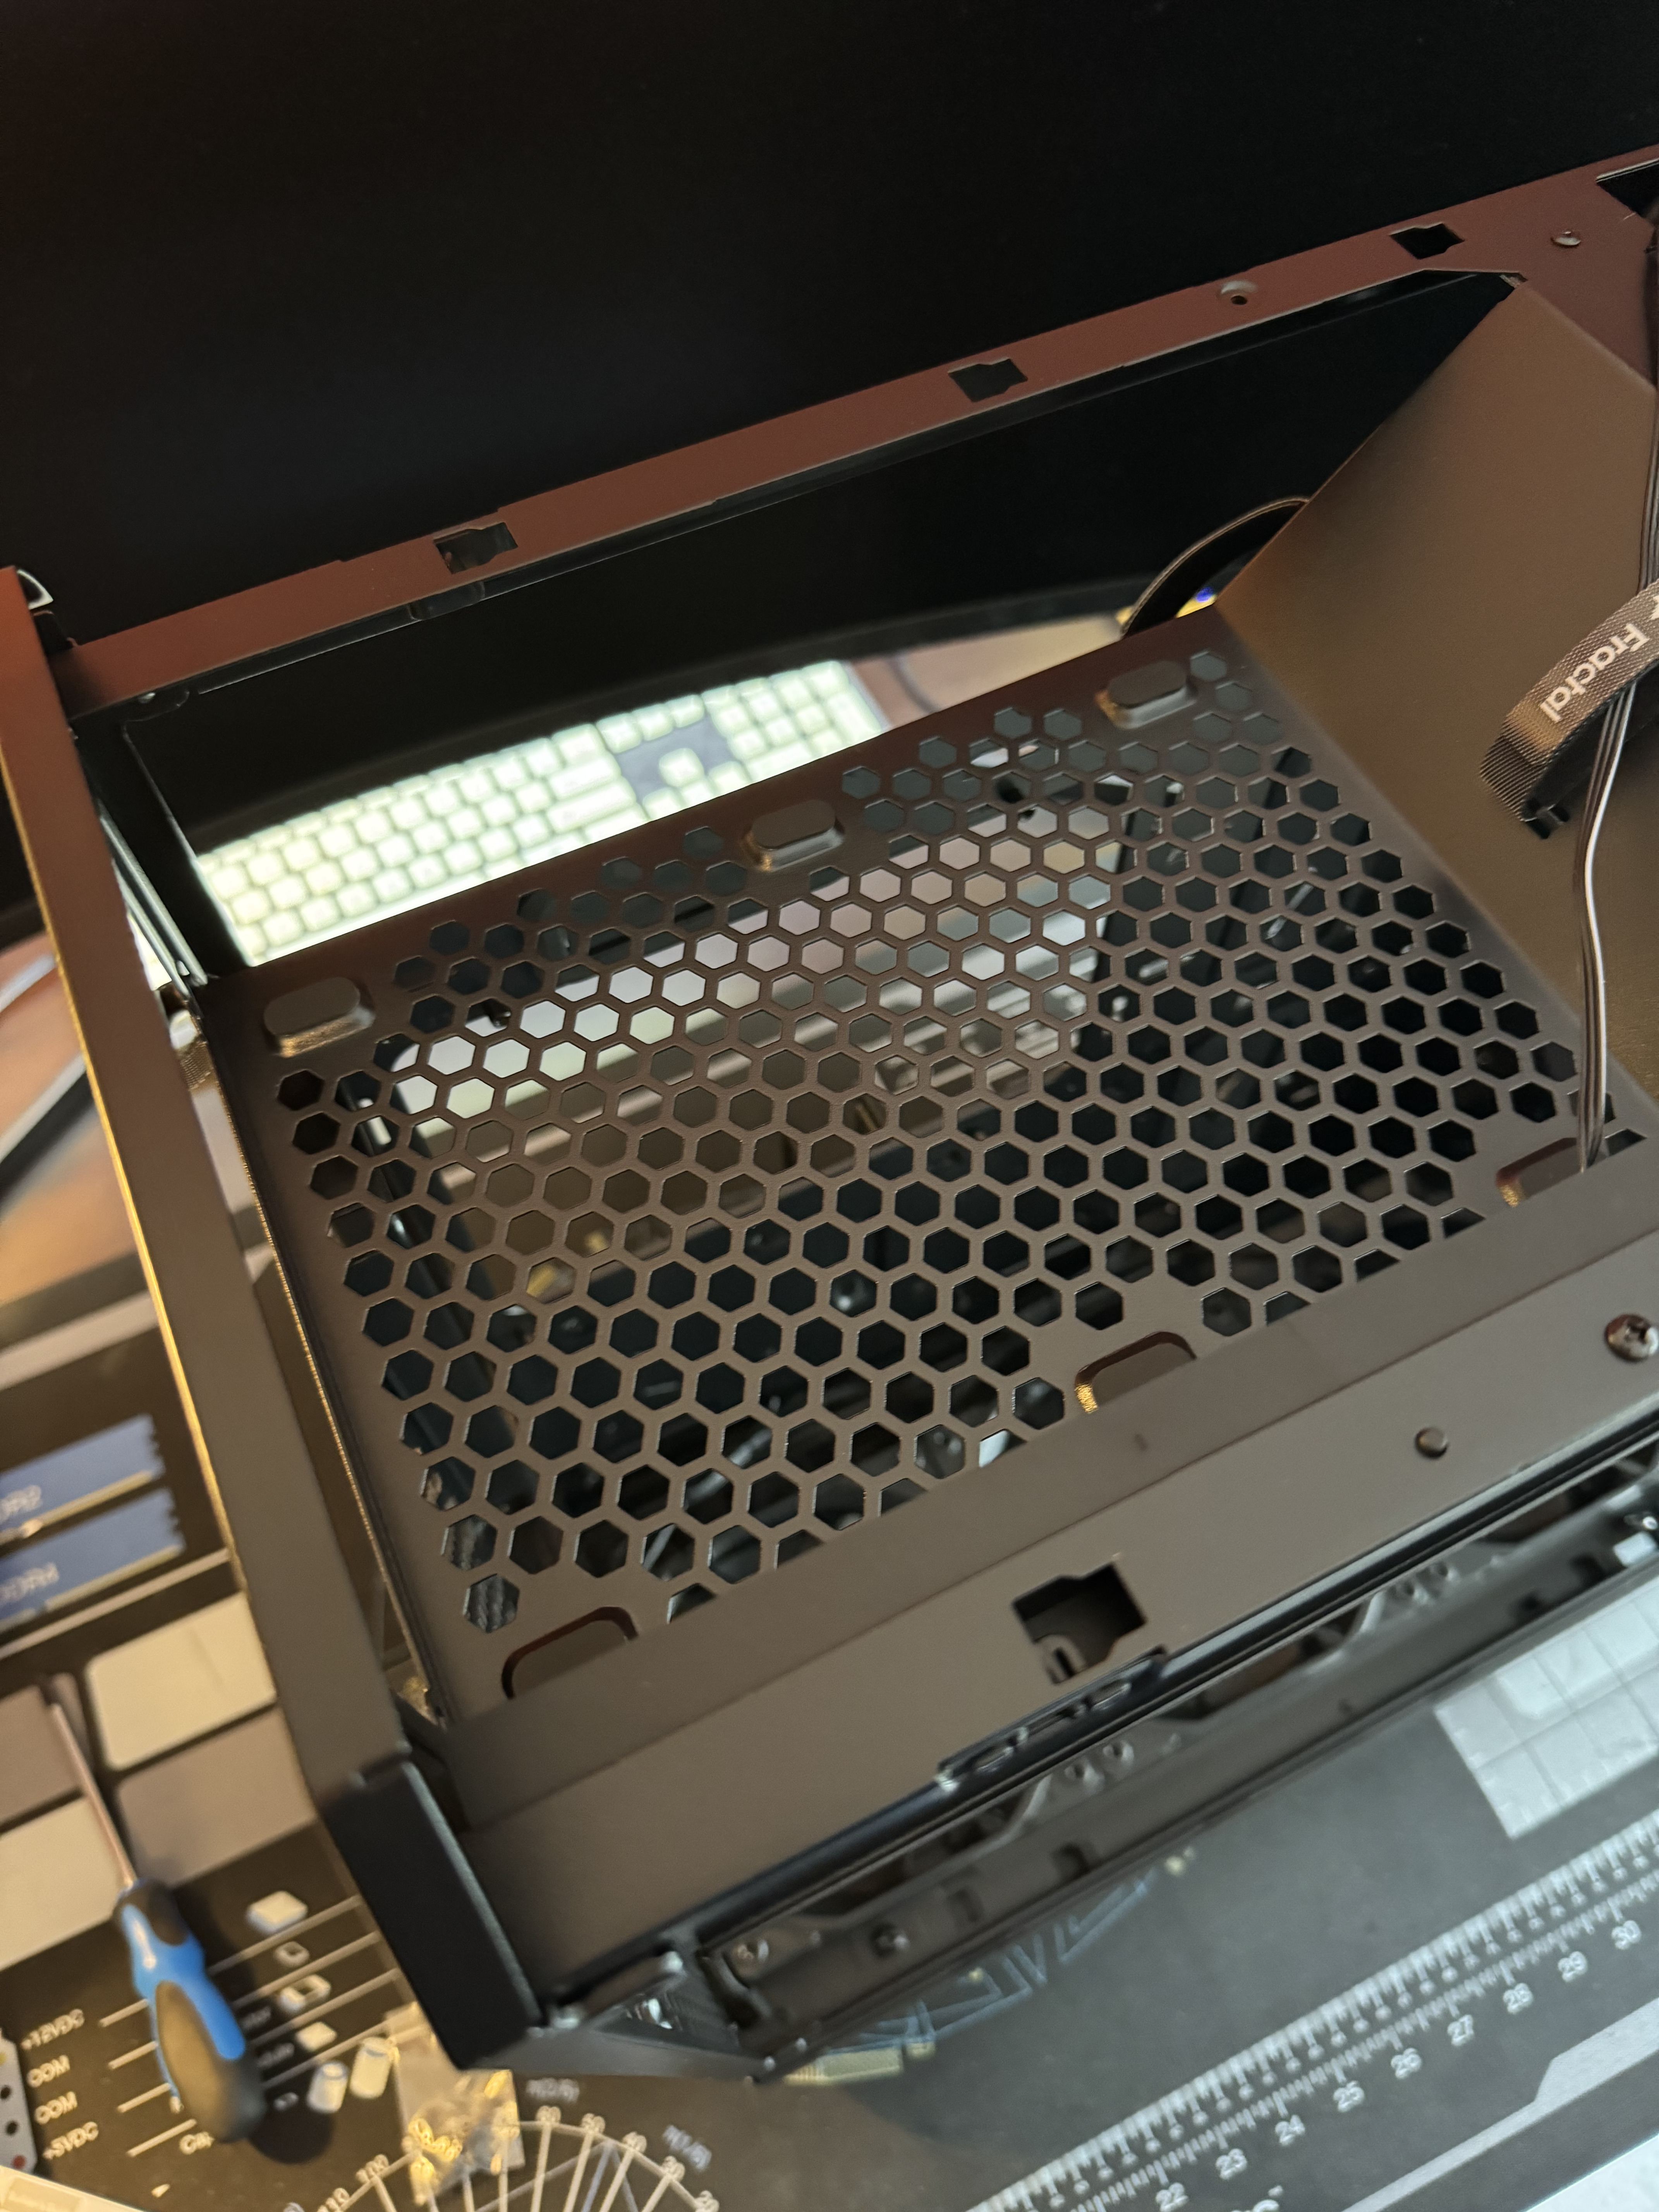
Another reason I love this case is because, at a time when most cases now put the PSU somewhere in the bottom, this case puts the PSU at the top, and even “slightly outside” the case itself! There’s a panel that pops off where the PSU sits, and the cables are then snaked through an opening to the rest of the case for added compartmentalization. It’s quite nice.
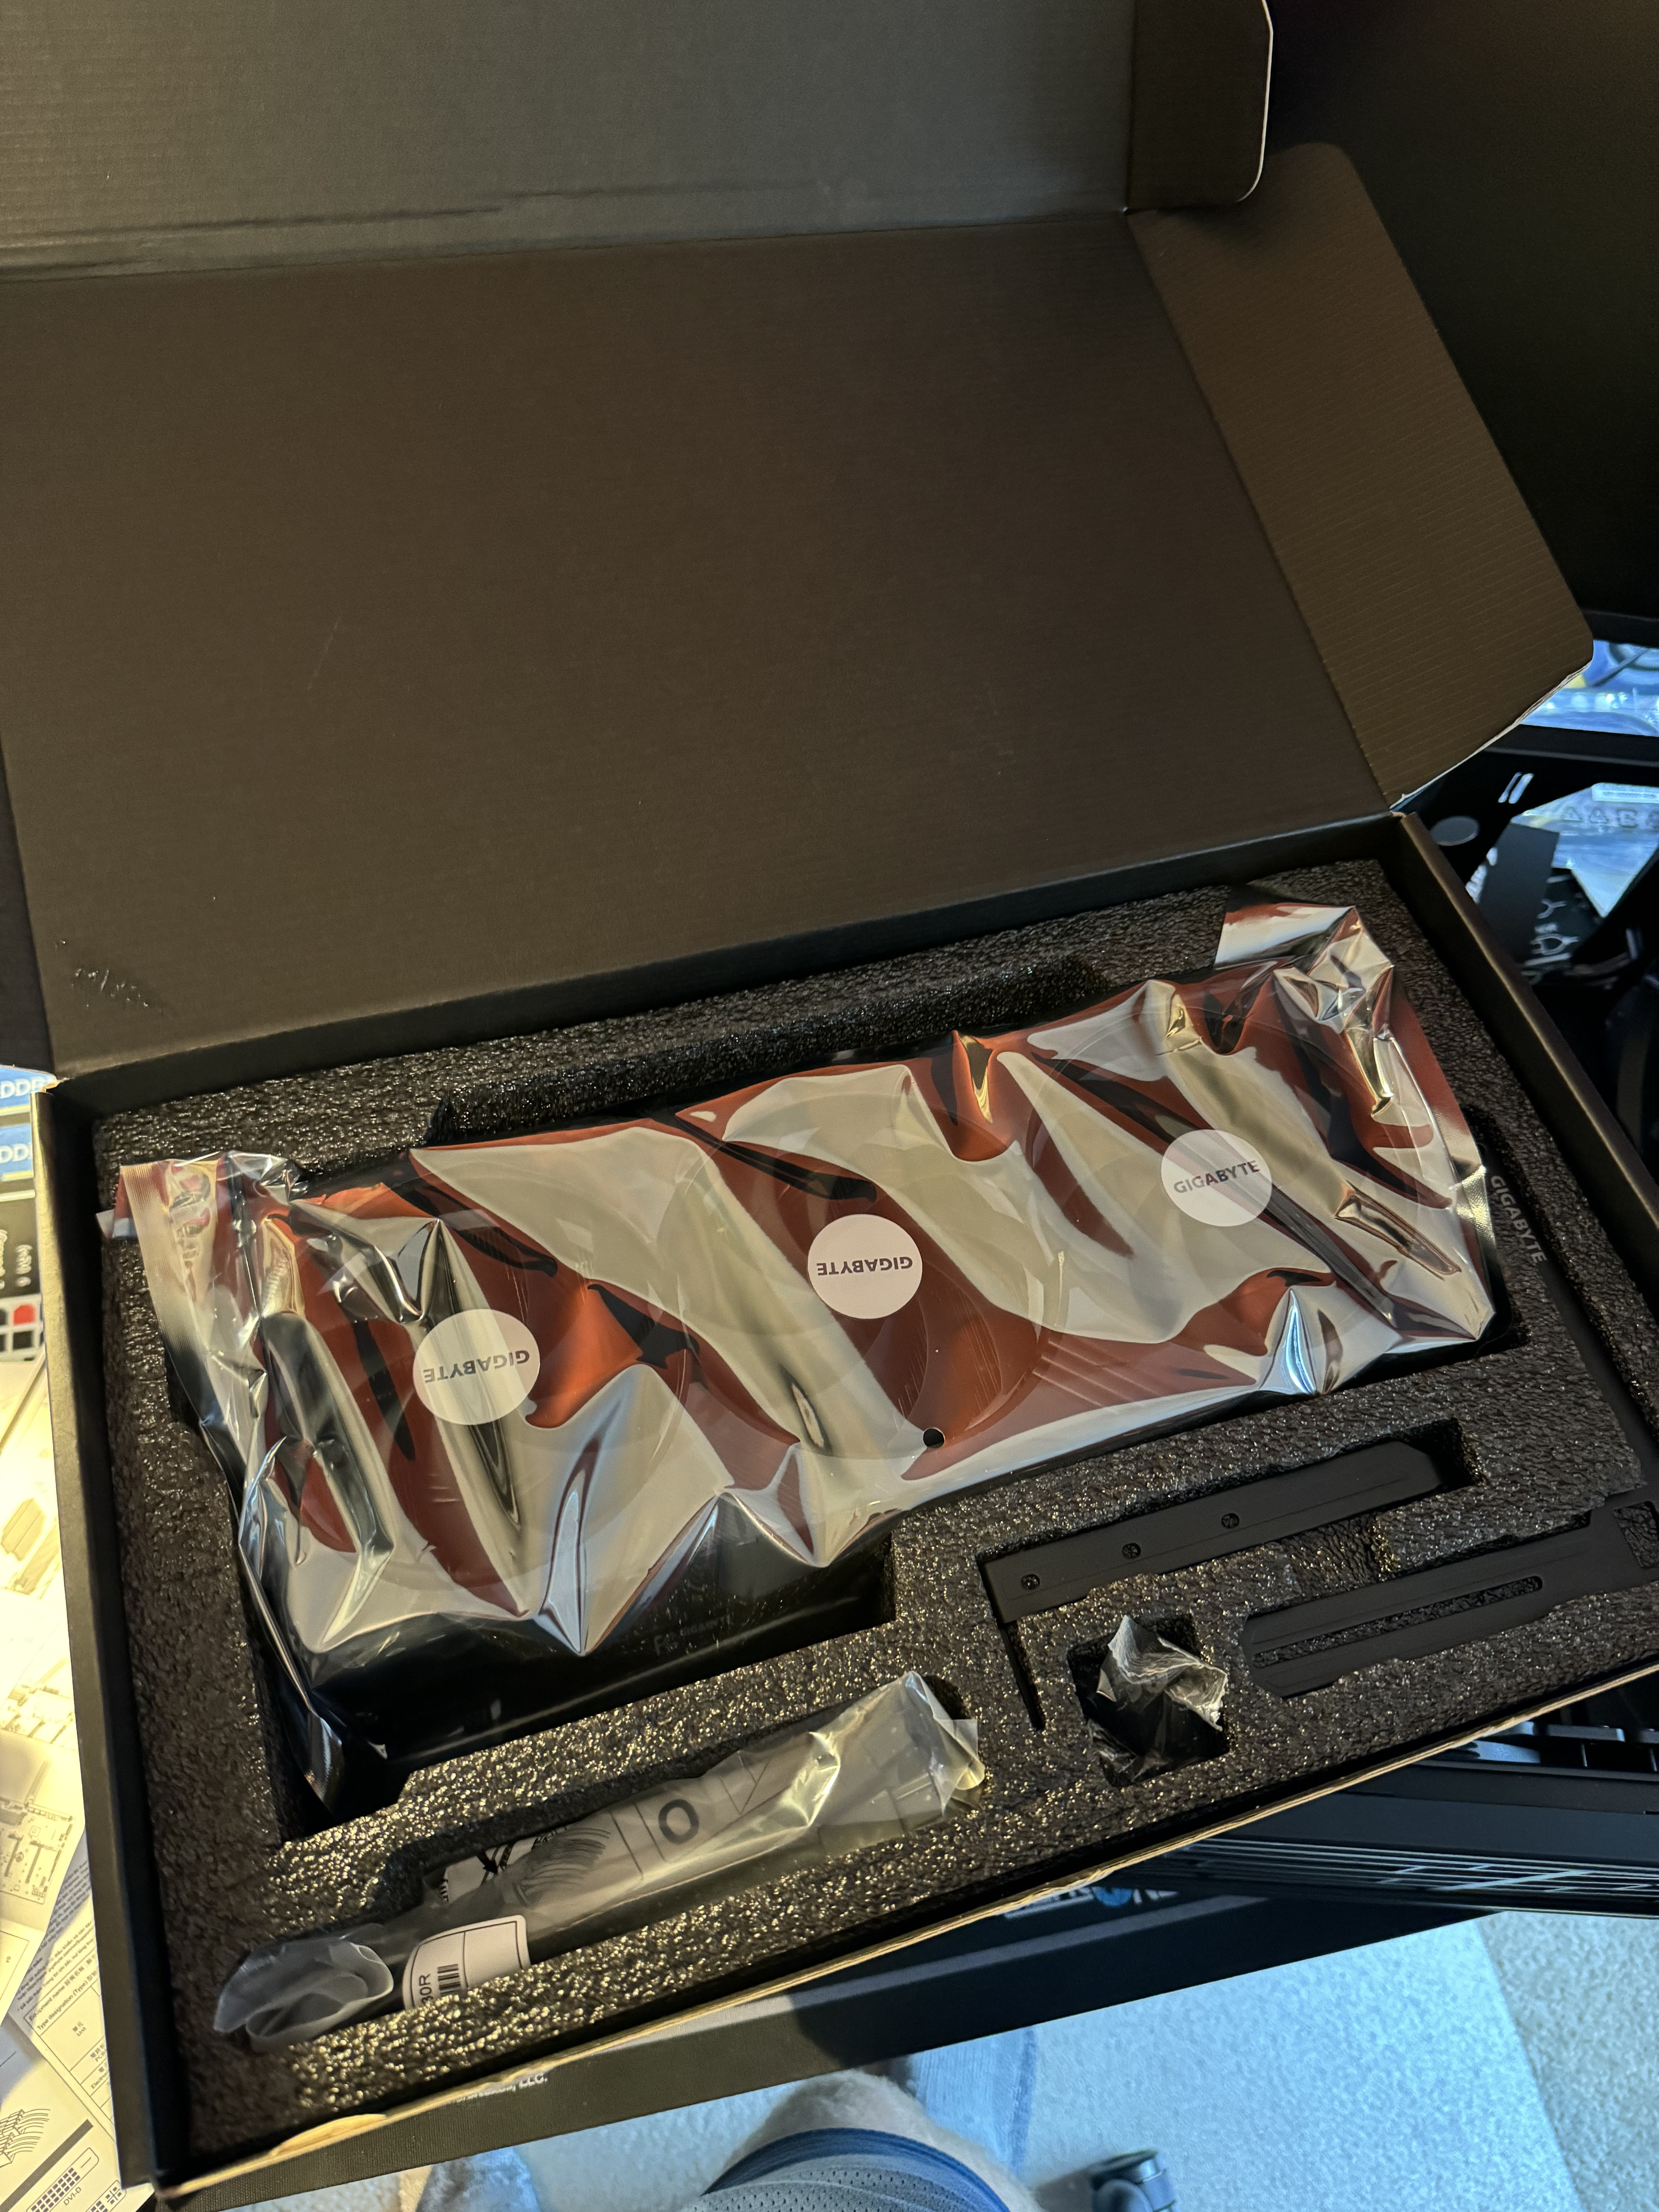
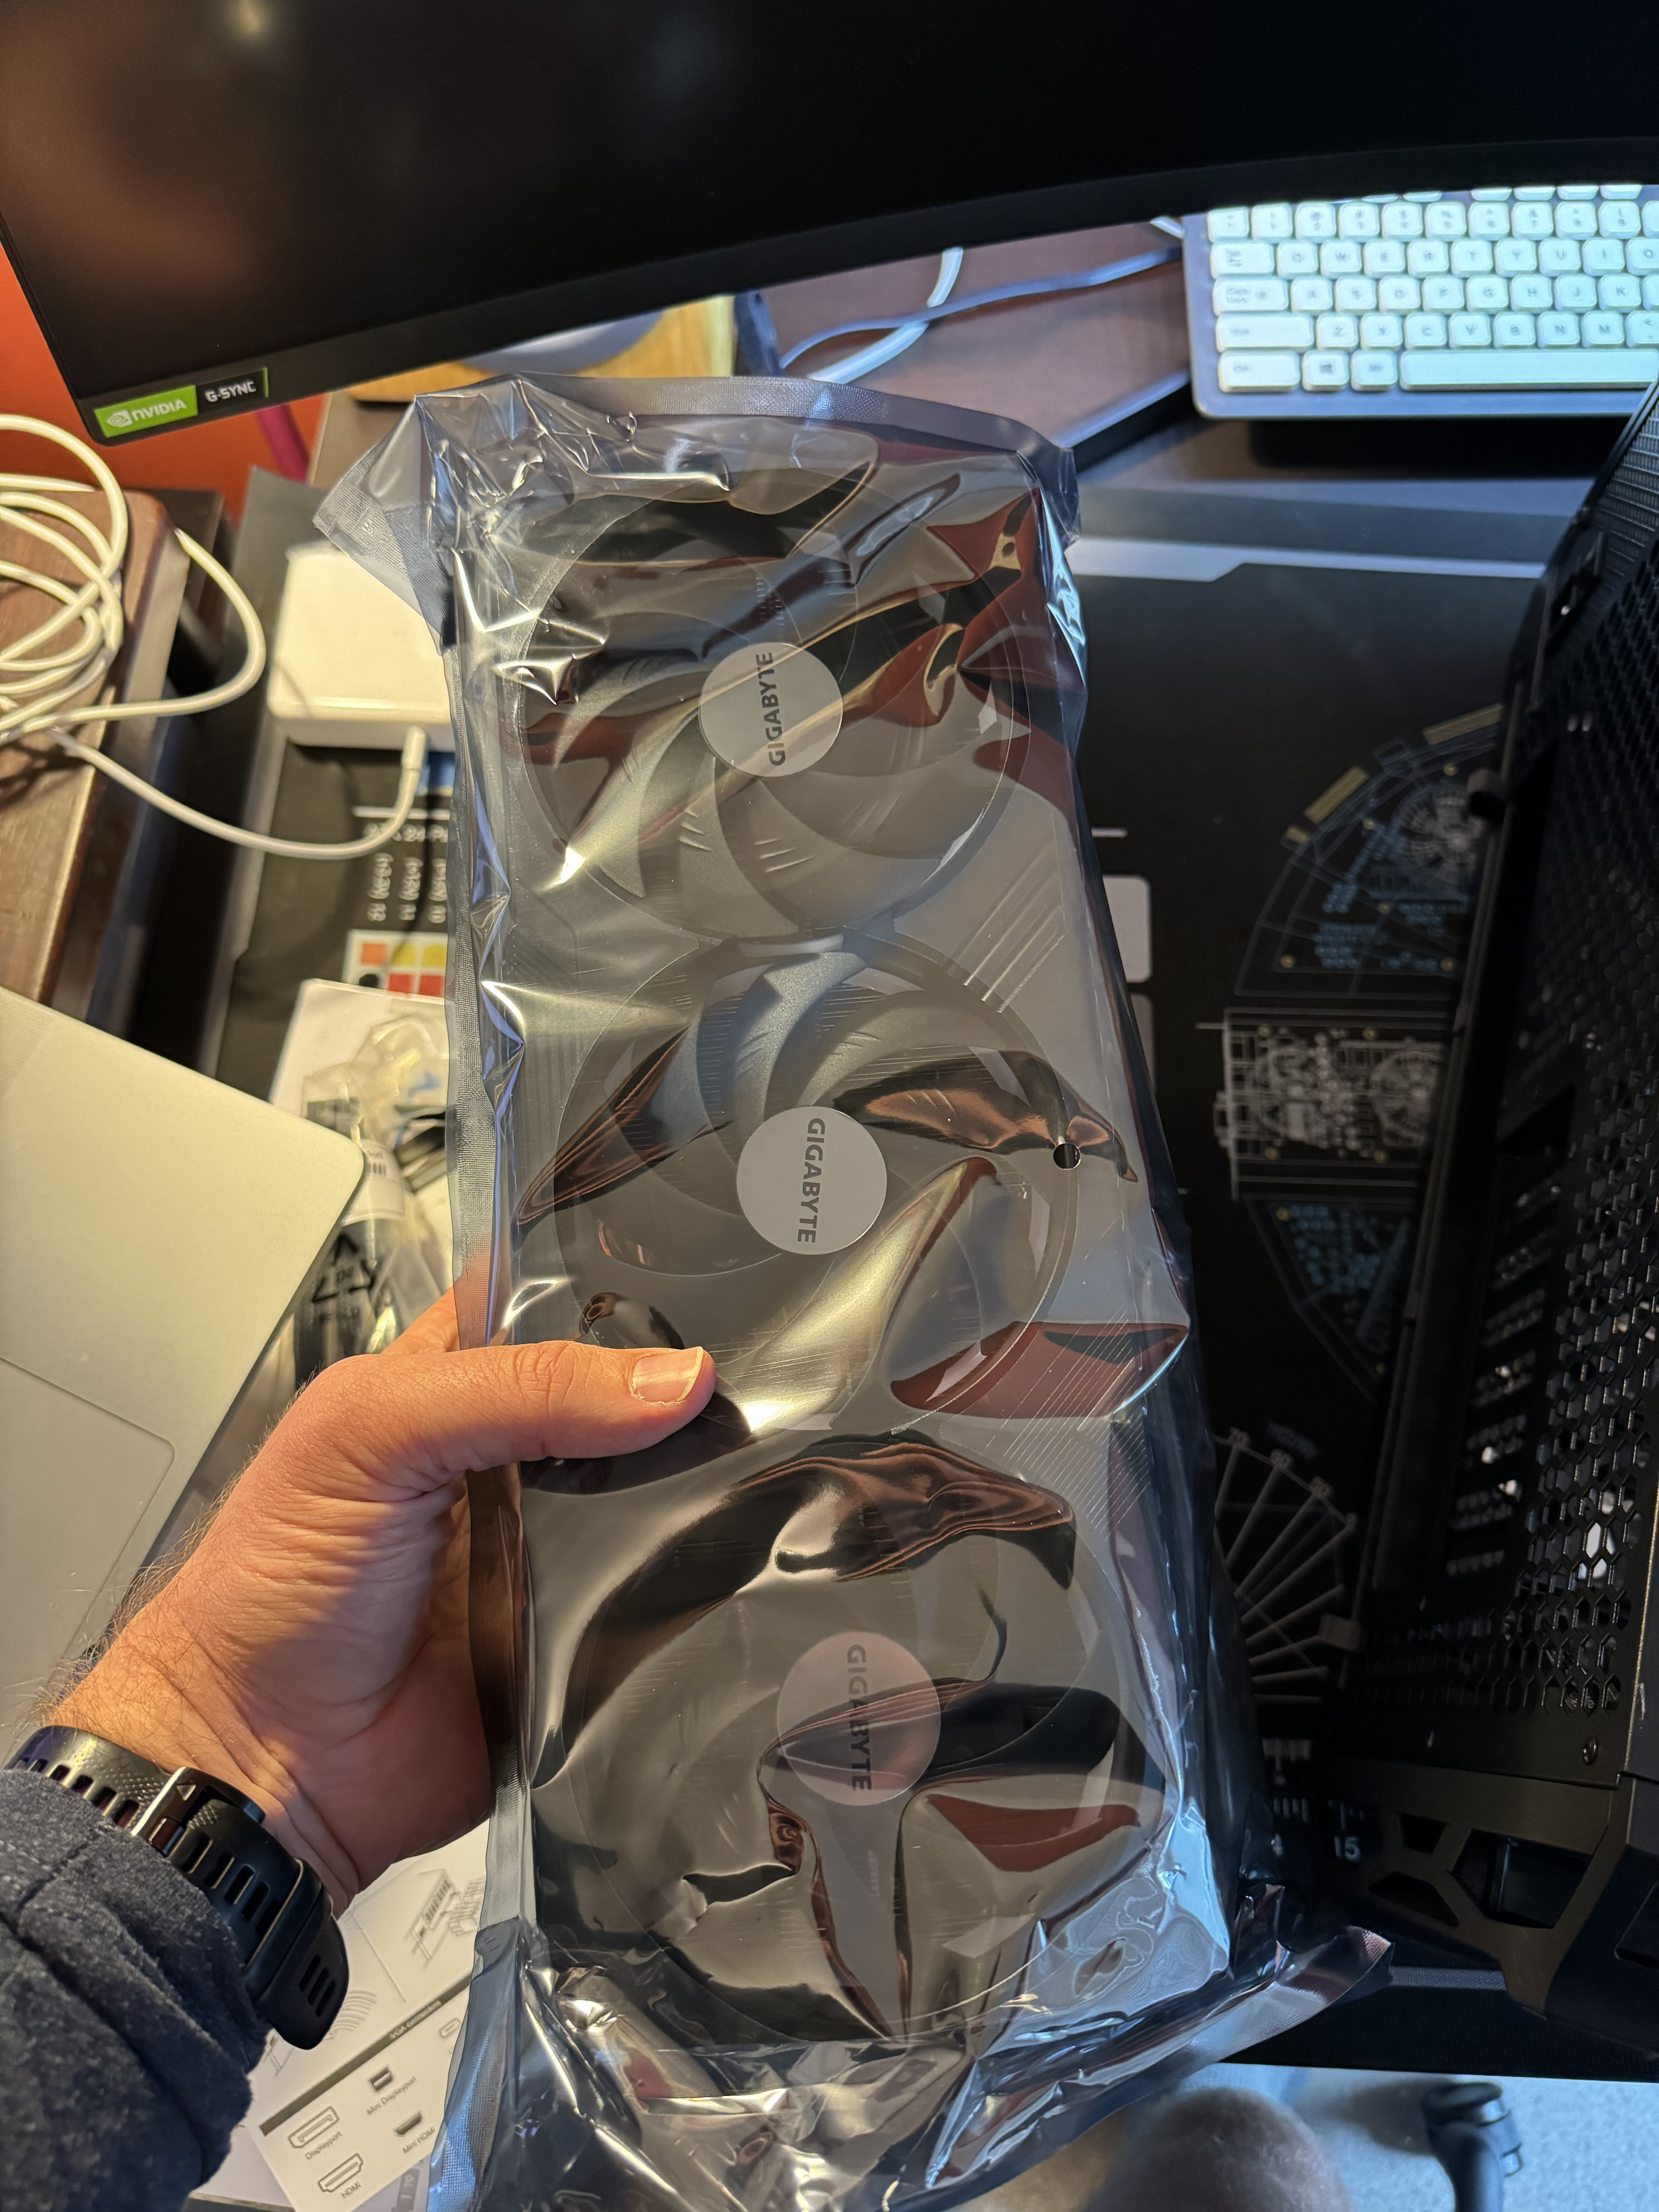
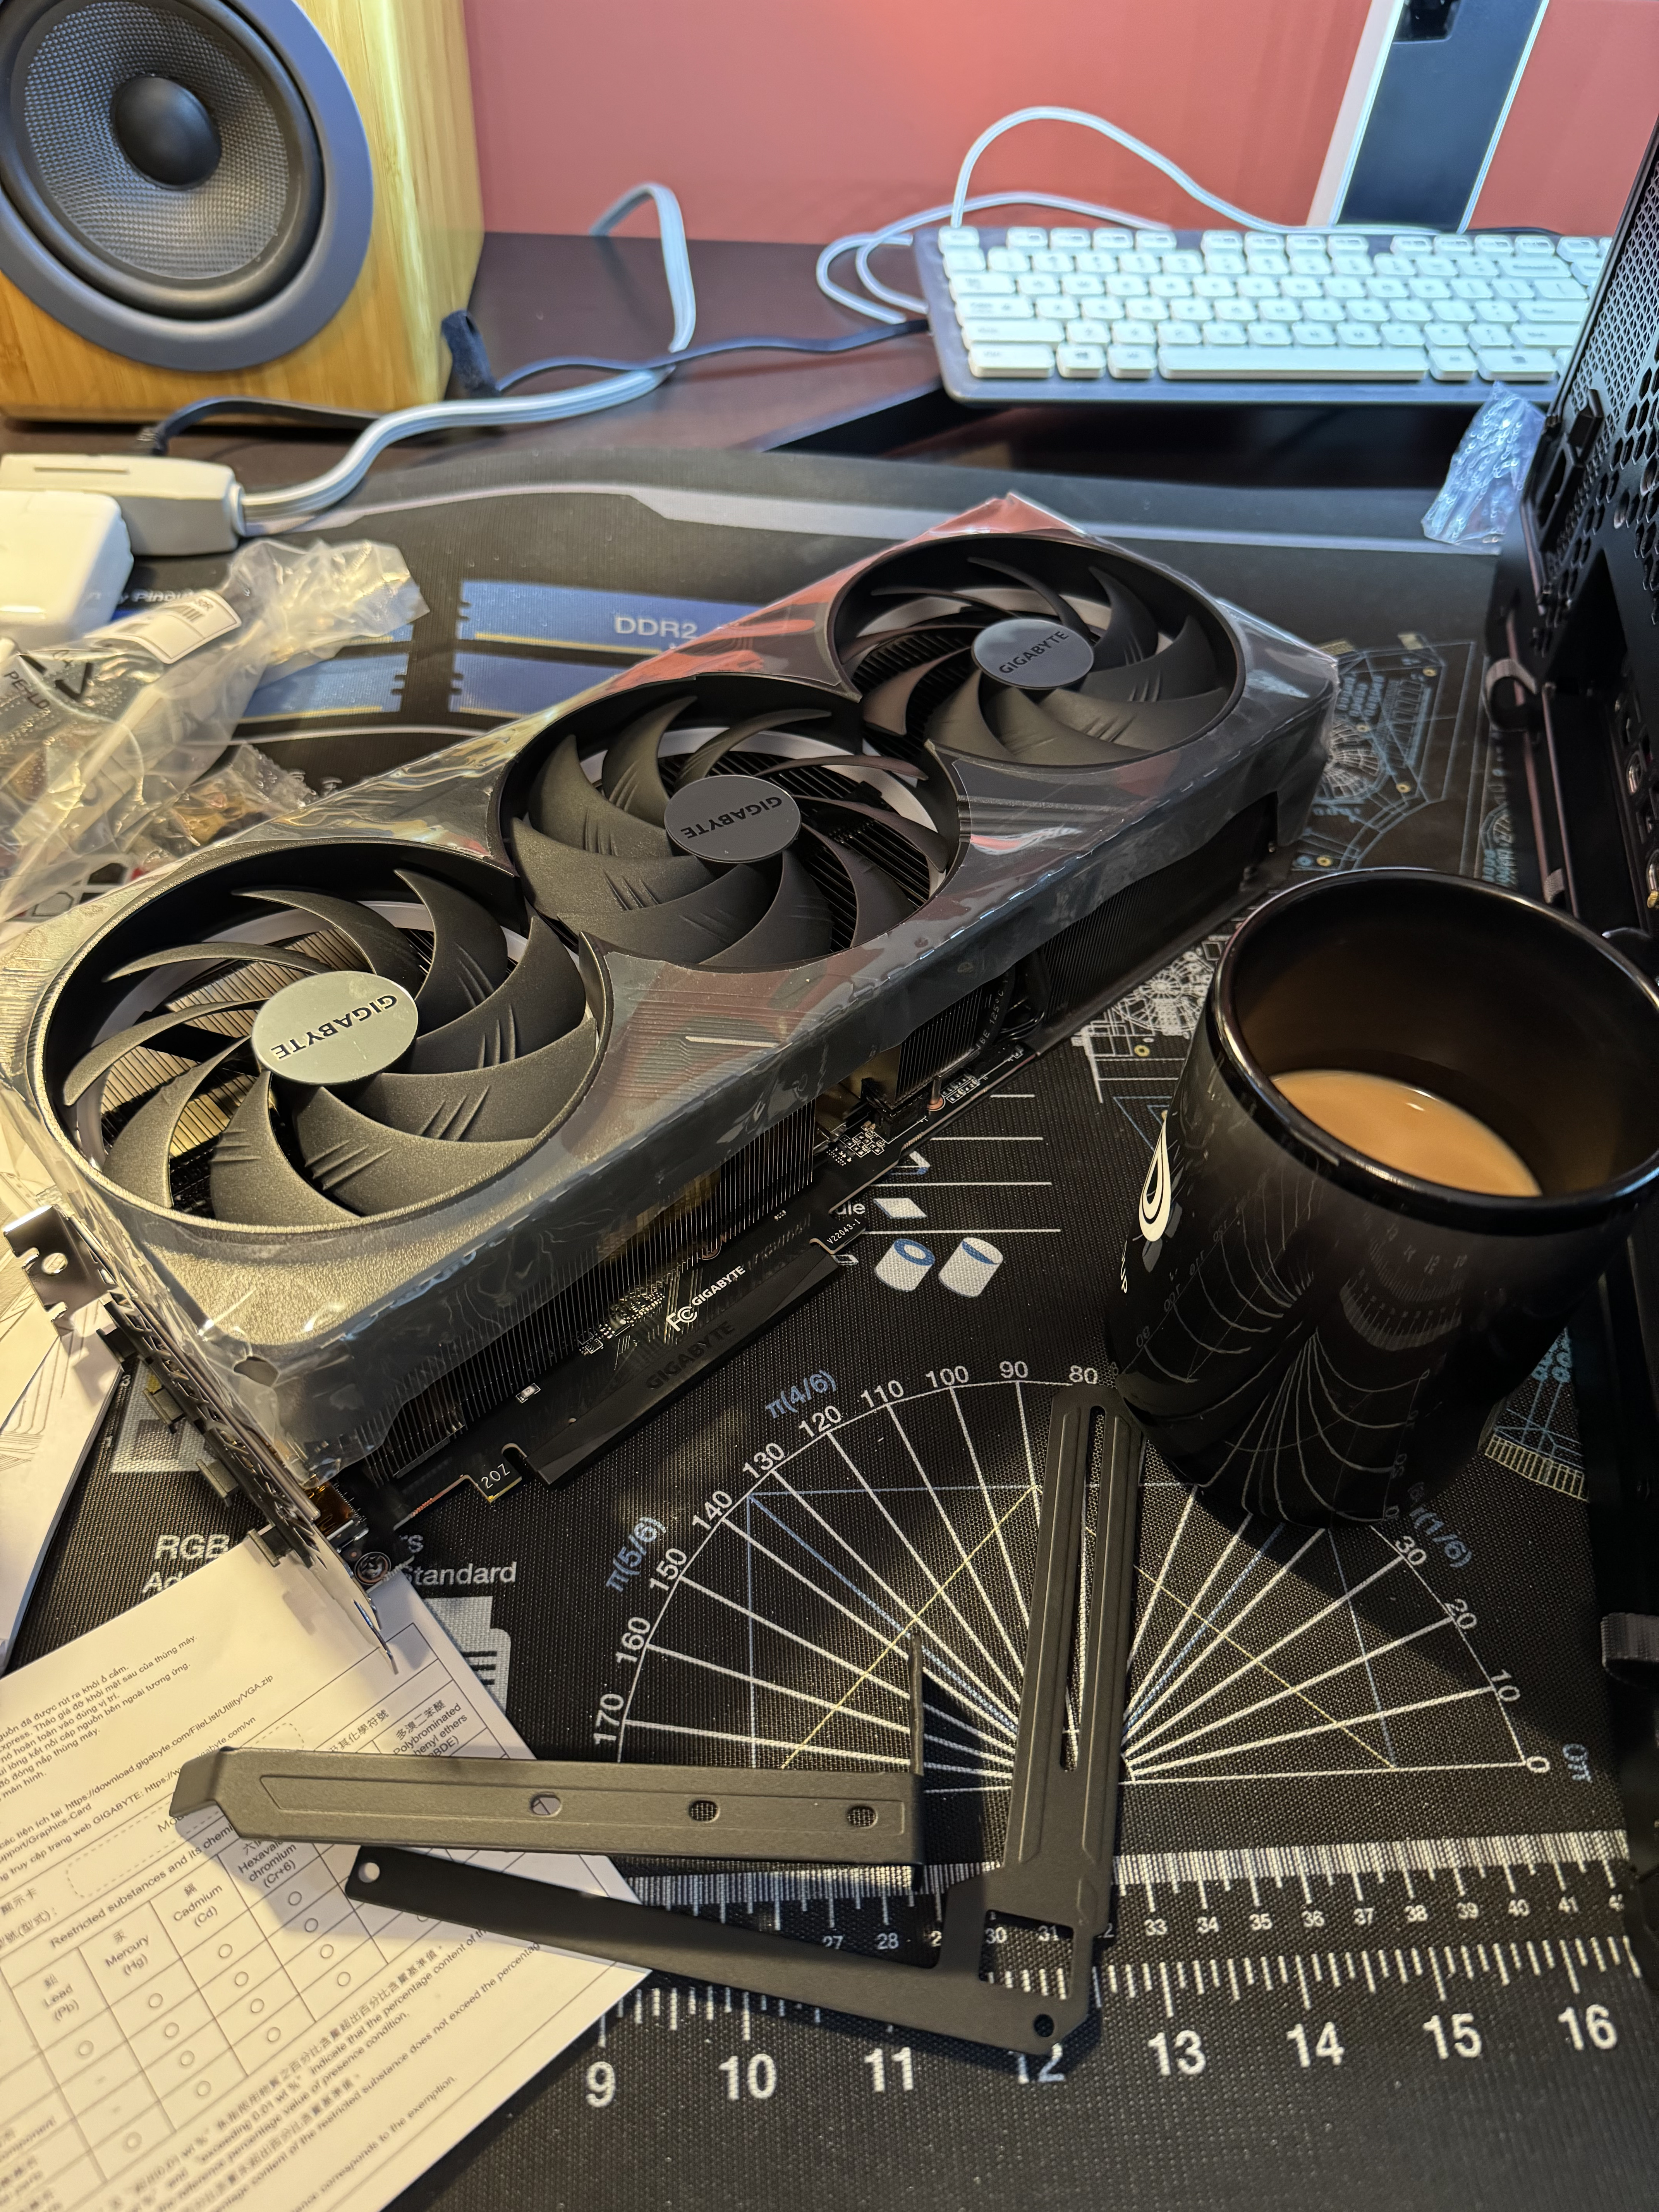
Alright. Couldn’t ignore the Demon King in the Depths any longer. Time to install the GPU.
I knew this thing would be huge going in, but I was still shocked, and I say this as a still-owner of a venerable 1080 Ti. This thing spans the volume of nearly 3x 1080s. It’s absolutely insane. And yet, still technically only takes the space of 2 PCI devices.
Suffice to say, I made absolutely certain before purchasing that all the measurements fit what I had to work with. For a component that was almost half the entire monetary AND eletrical budgets of this build, this was the one I wanted to get right the first time.
Actual installation was a snap, as it has been ever since the advent of separate GPUs. But it seriously felt like plugging an Apollo command module into a 120V home garage outlet.
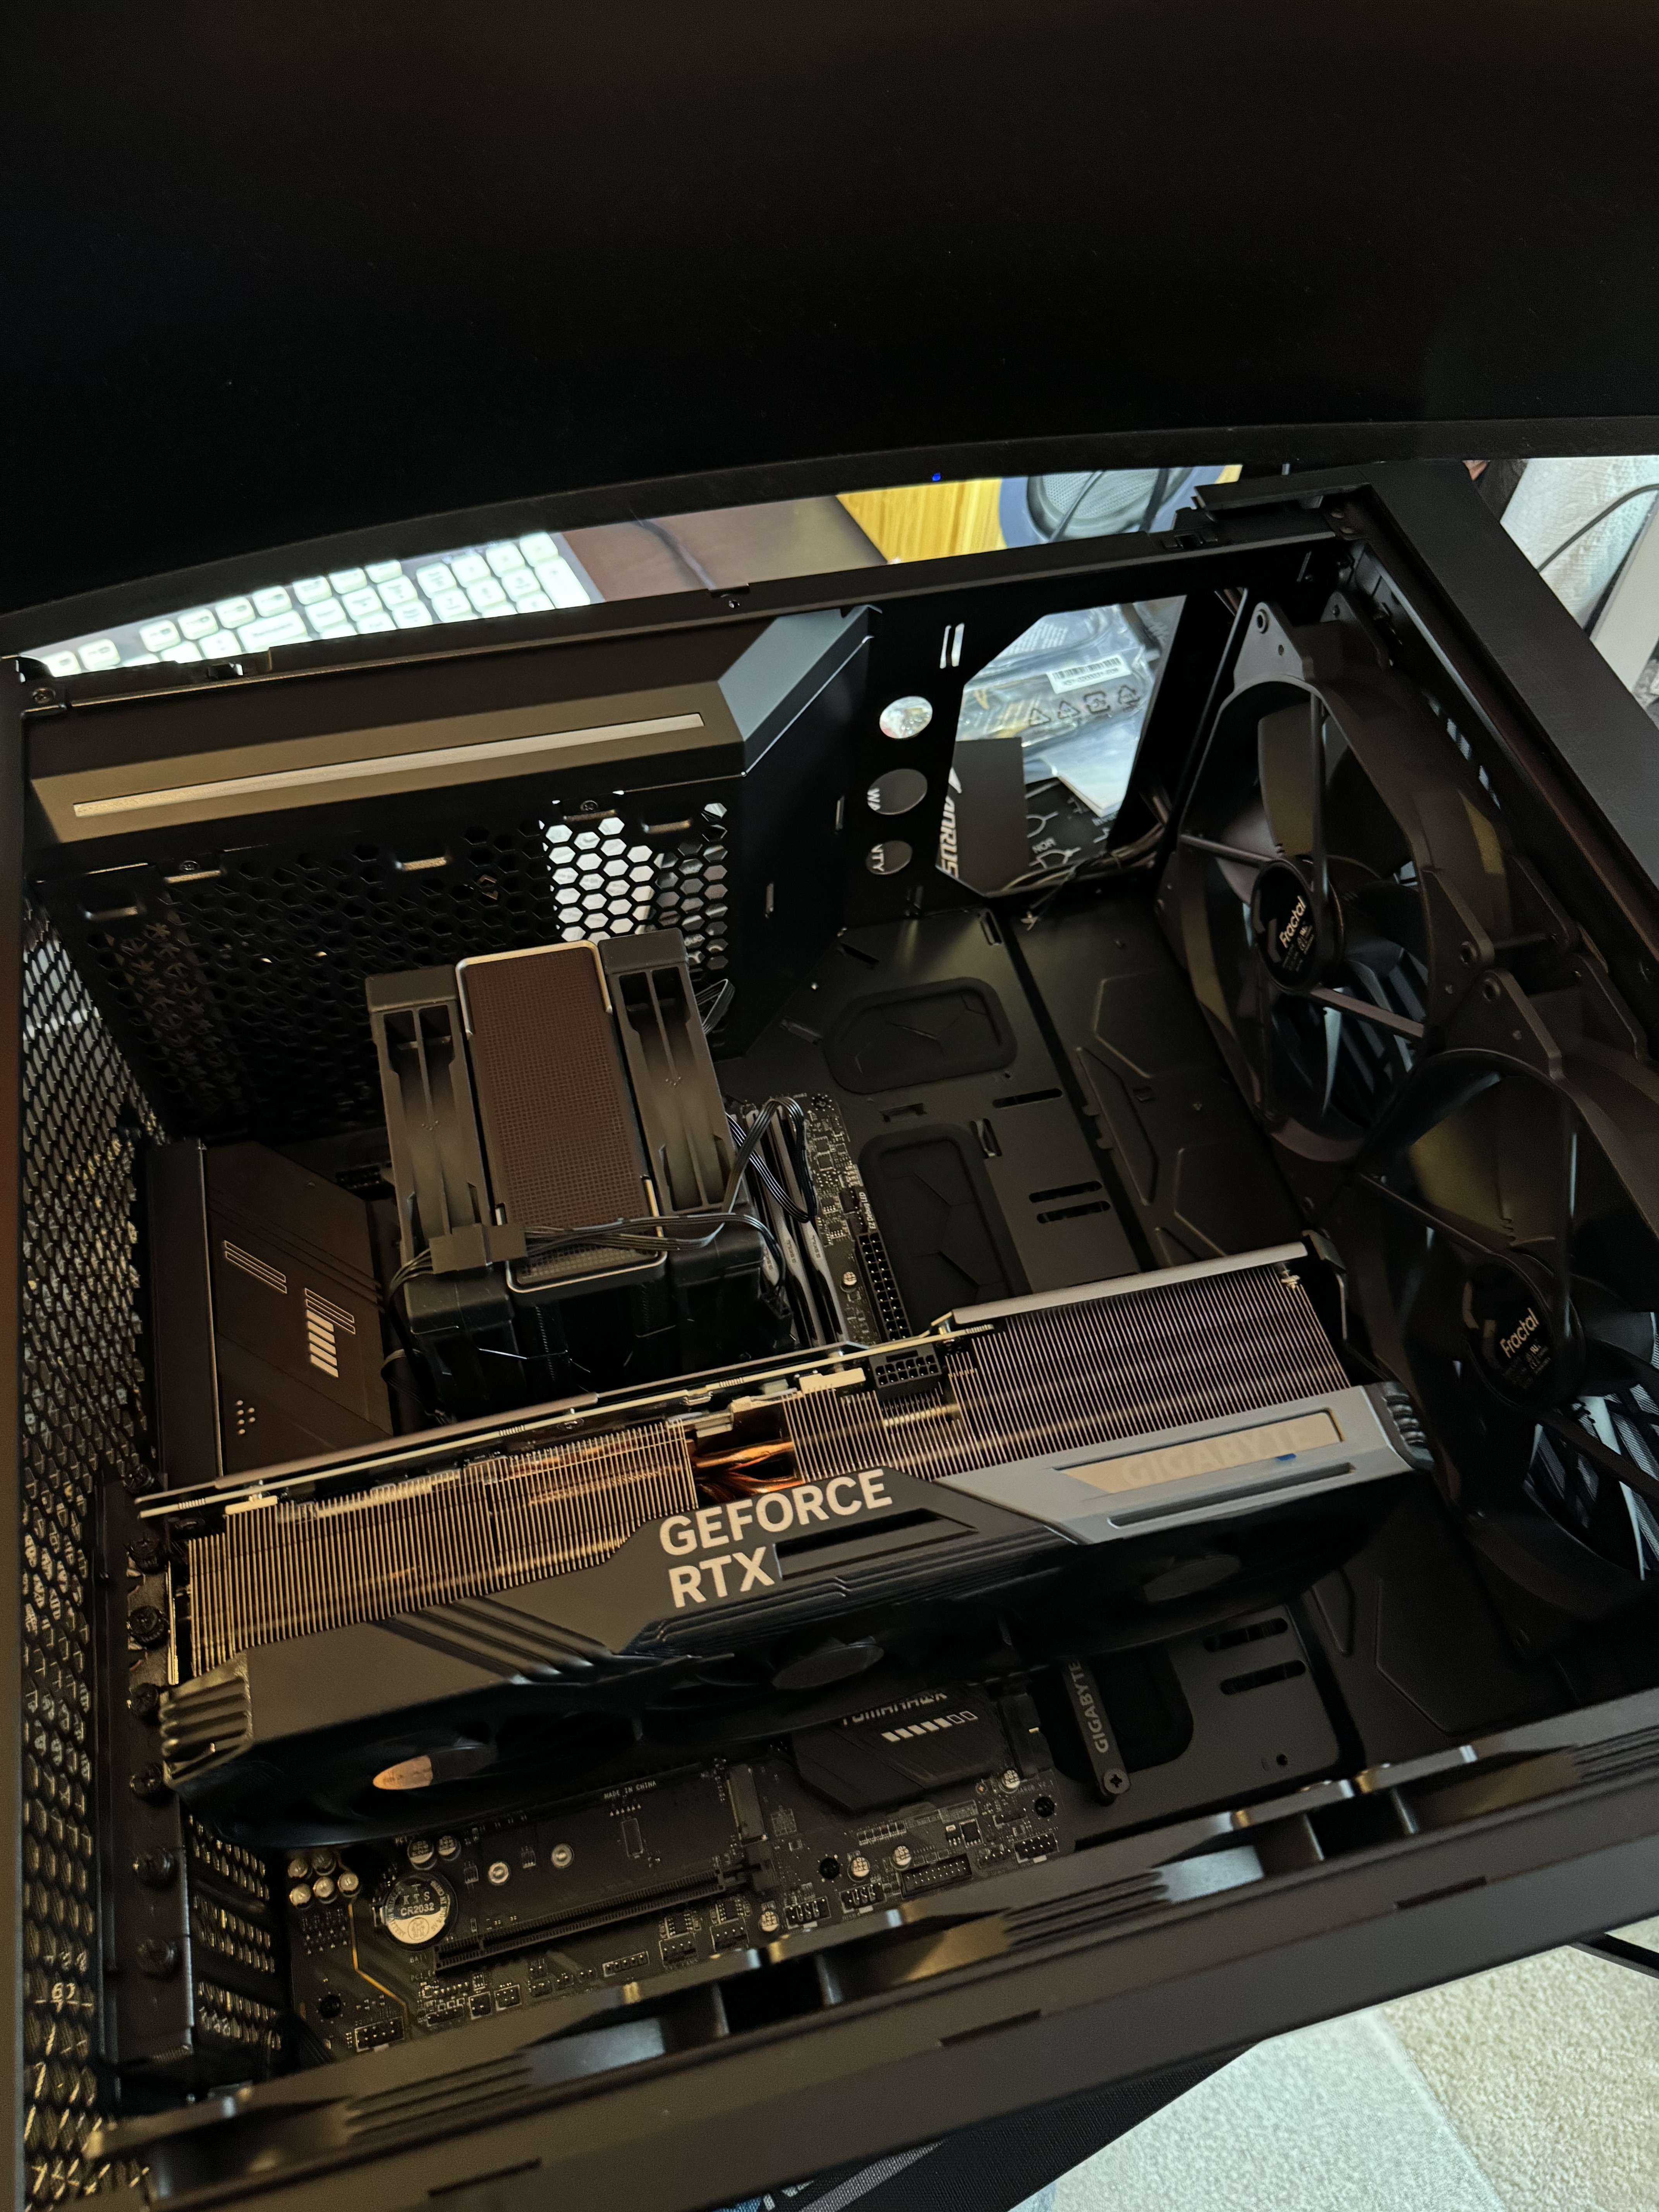

Whew.
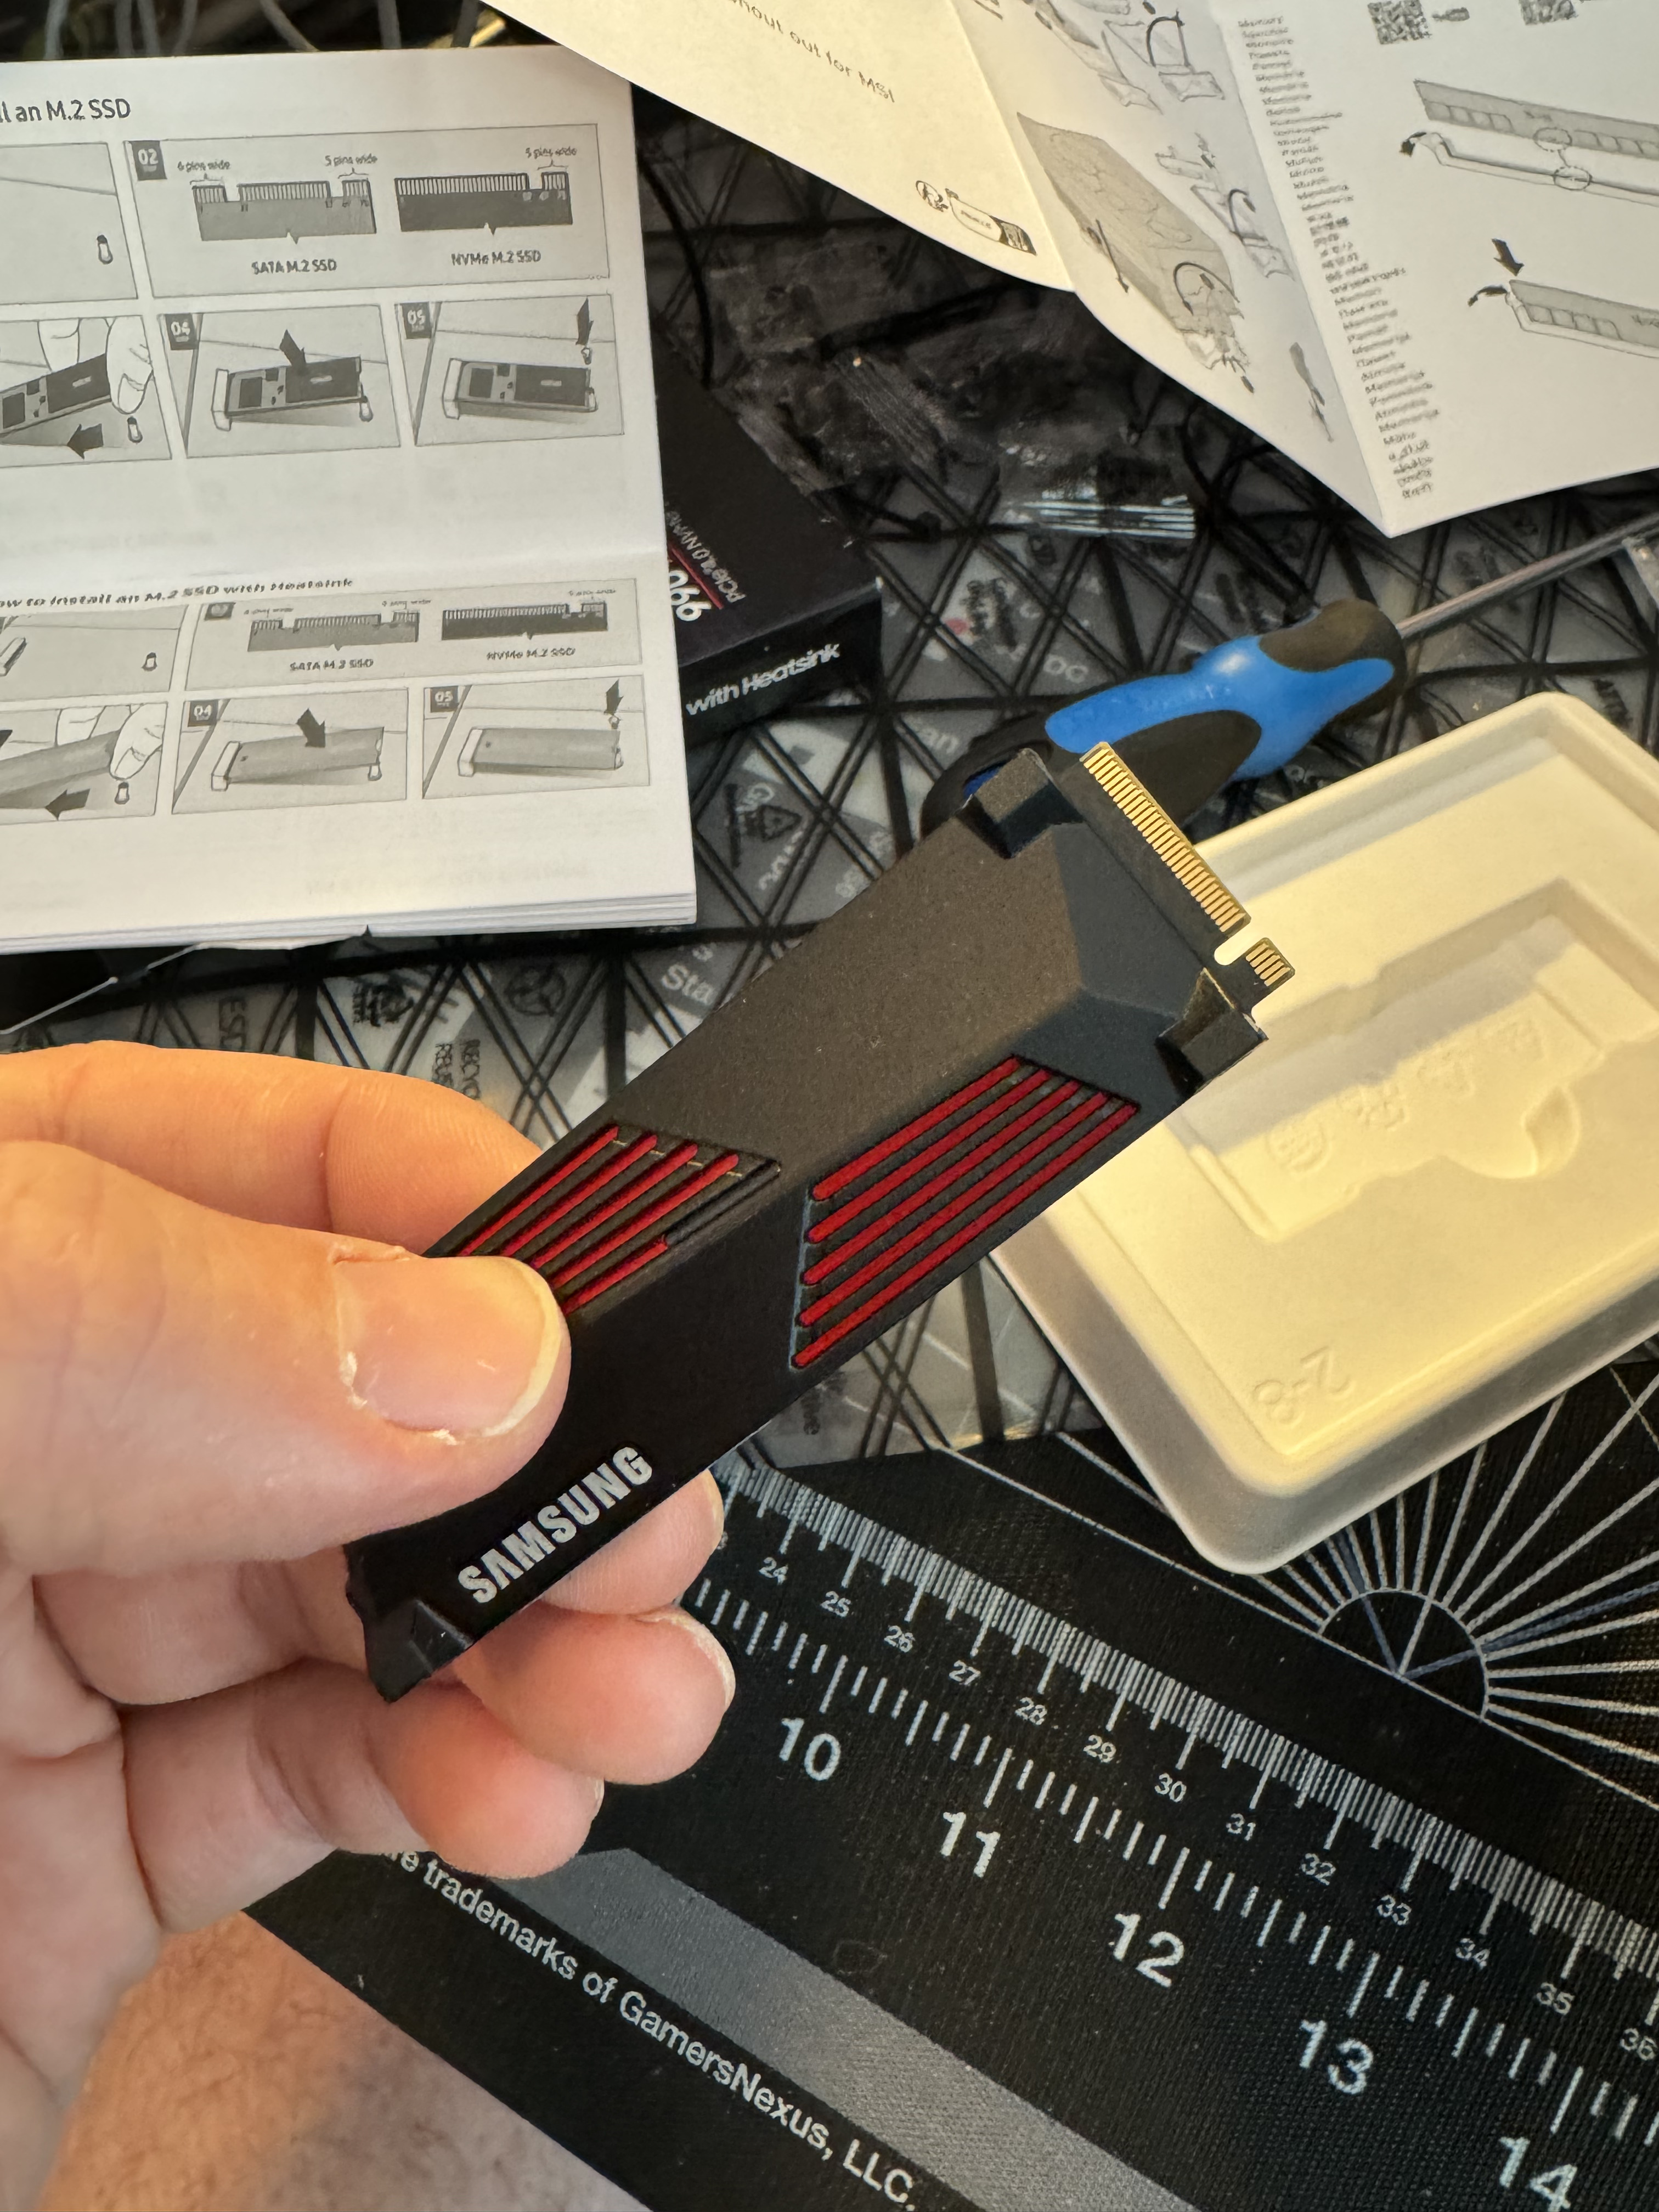
The penultimate hardware step was the two M.2 SSDs. These are the latest in long-term flash storage (NVMe drives) that plug directly into the motherboard for absolutely insane transfer speeds. They’re ideal for—you guessed it—data-intensive computing.
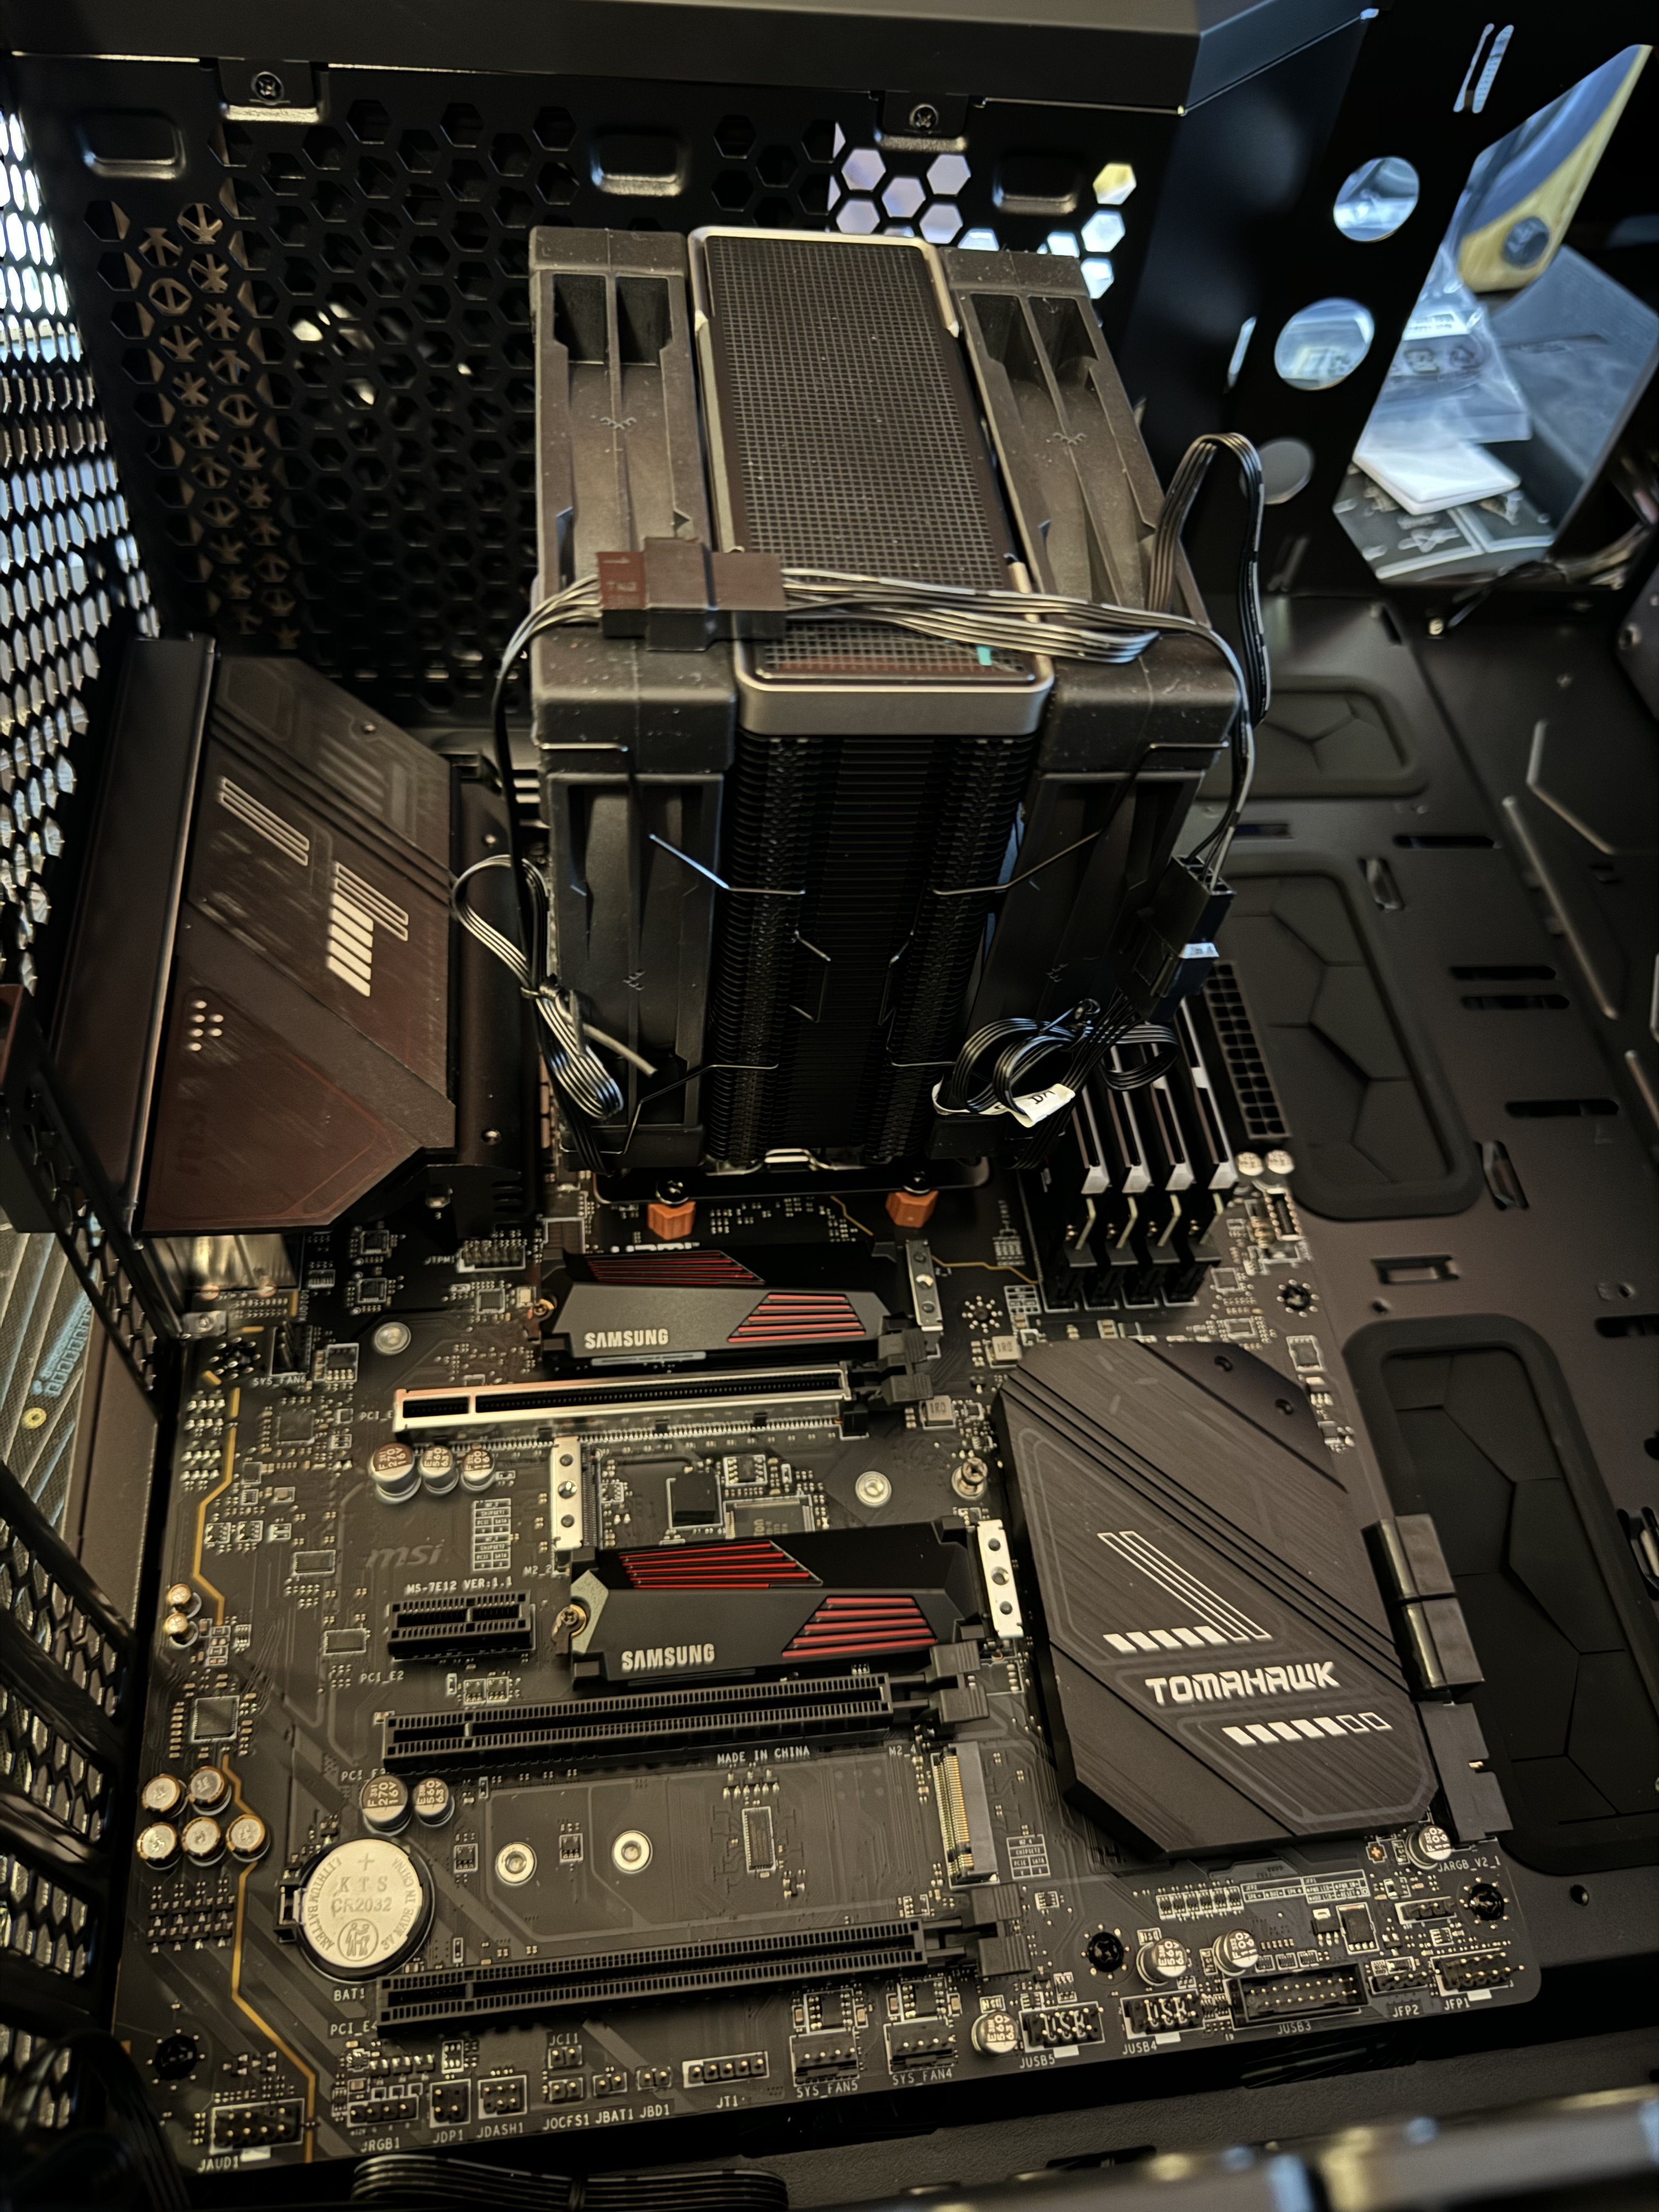
But their positioning wasn’t ideal: two of the motherboard’s four slots were directly under the GPU, and I wasn’t certain the GPU would fit properly if I installed an M.2 under it.
The short version is: the GPU actually fit just fine, but the M.2s themselves didn’t play nice with the arrangement of the motherboard’s southbridge. Fortunately I found a configuration that worked, but this part took a ton of swearing and over an hour of trial-and-error before I finally got everything seated.
The next hard drive will be a standard 2.5” SSD, mmk thx bai.
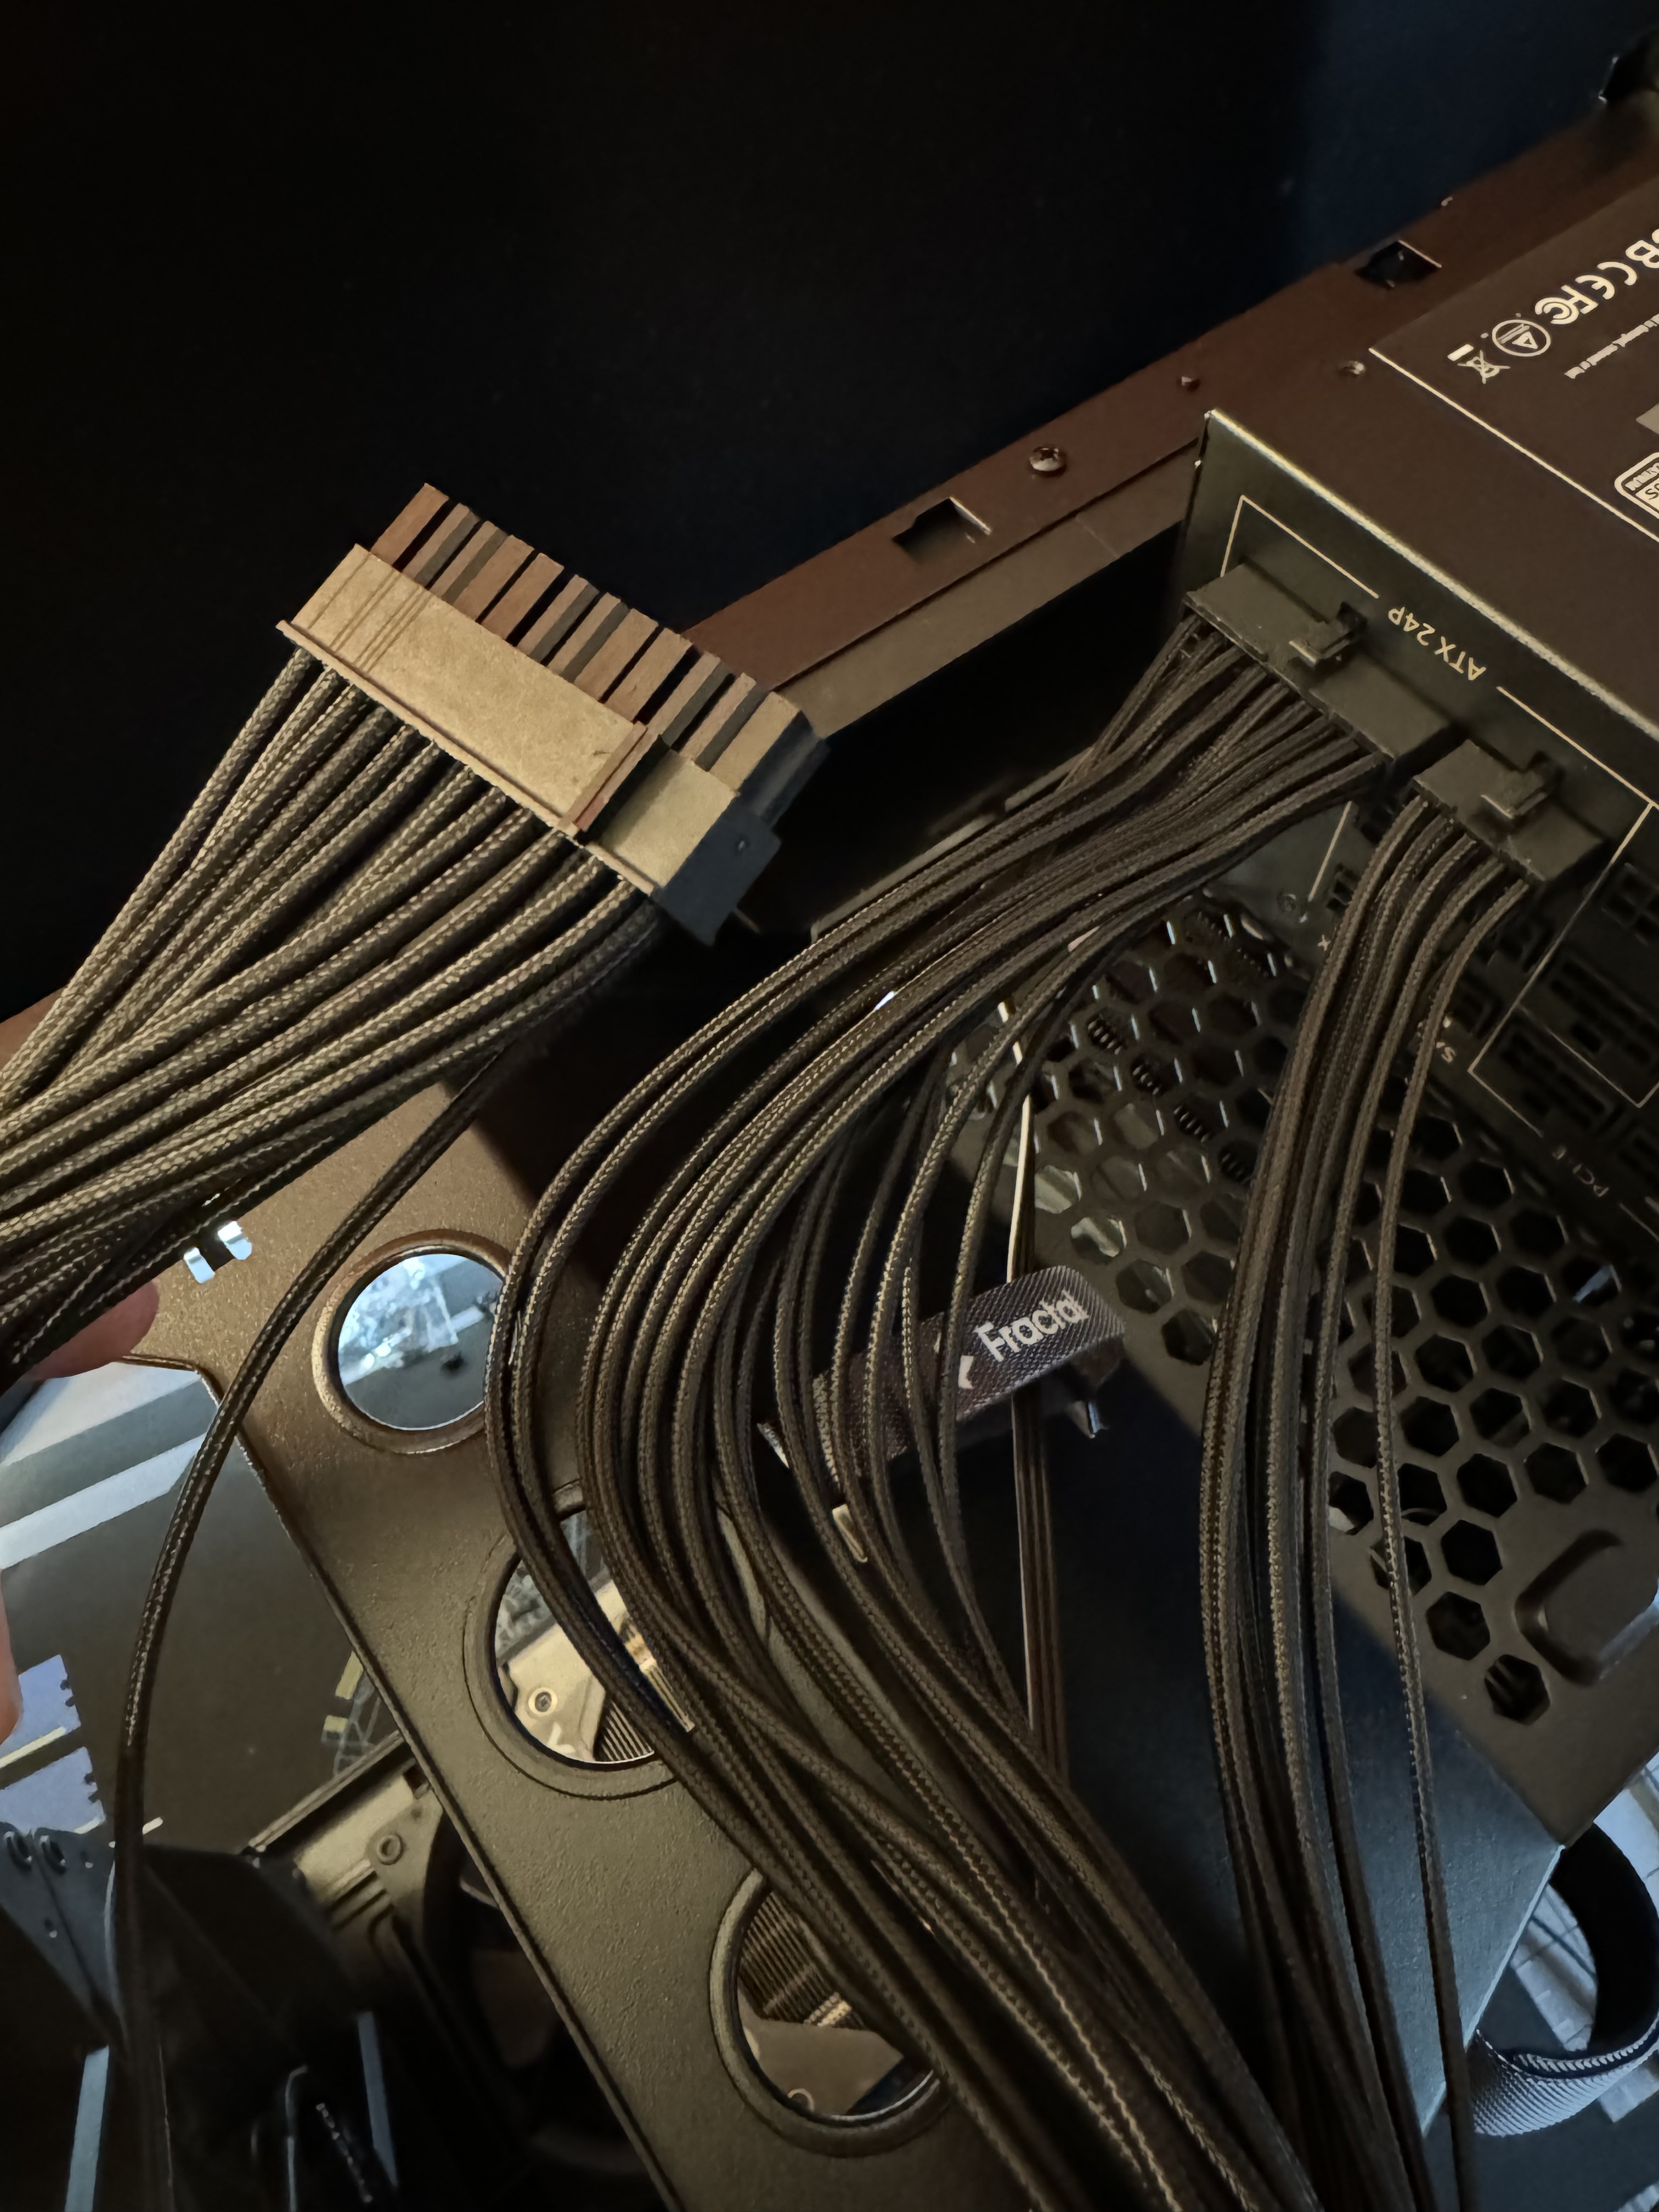
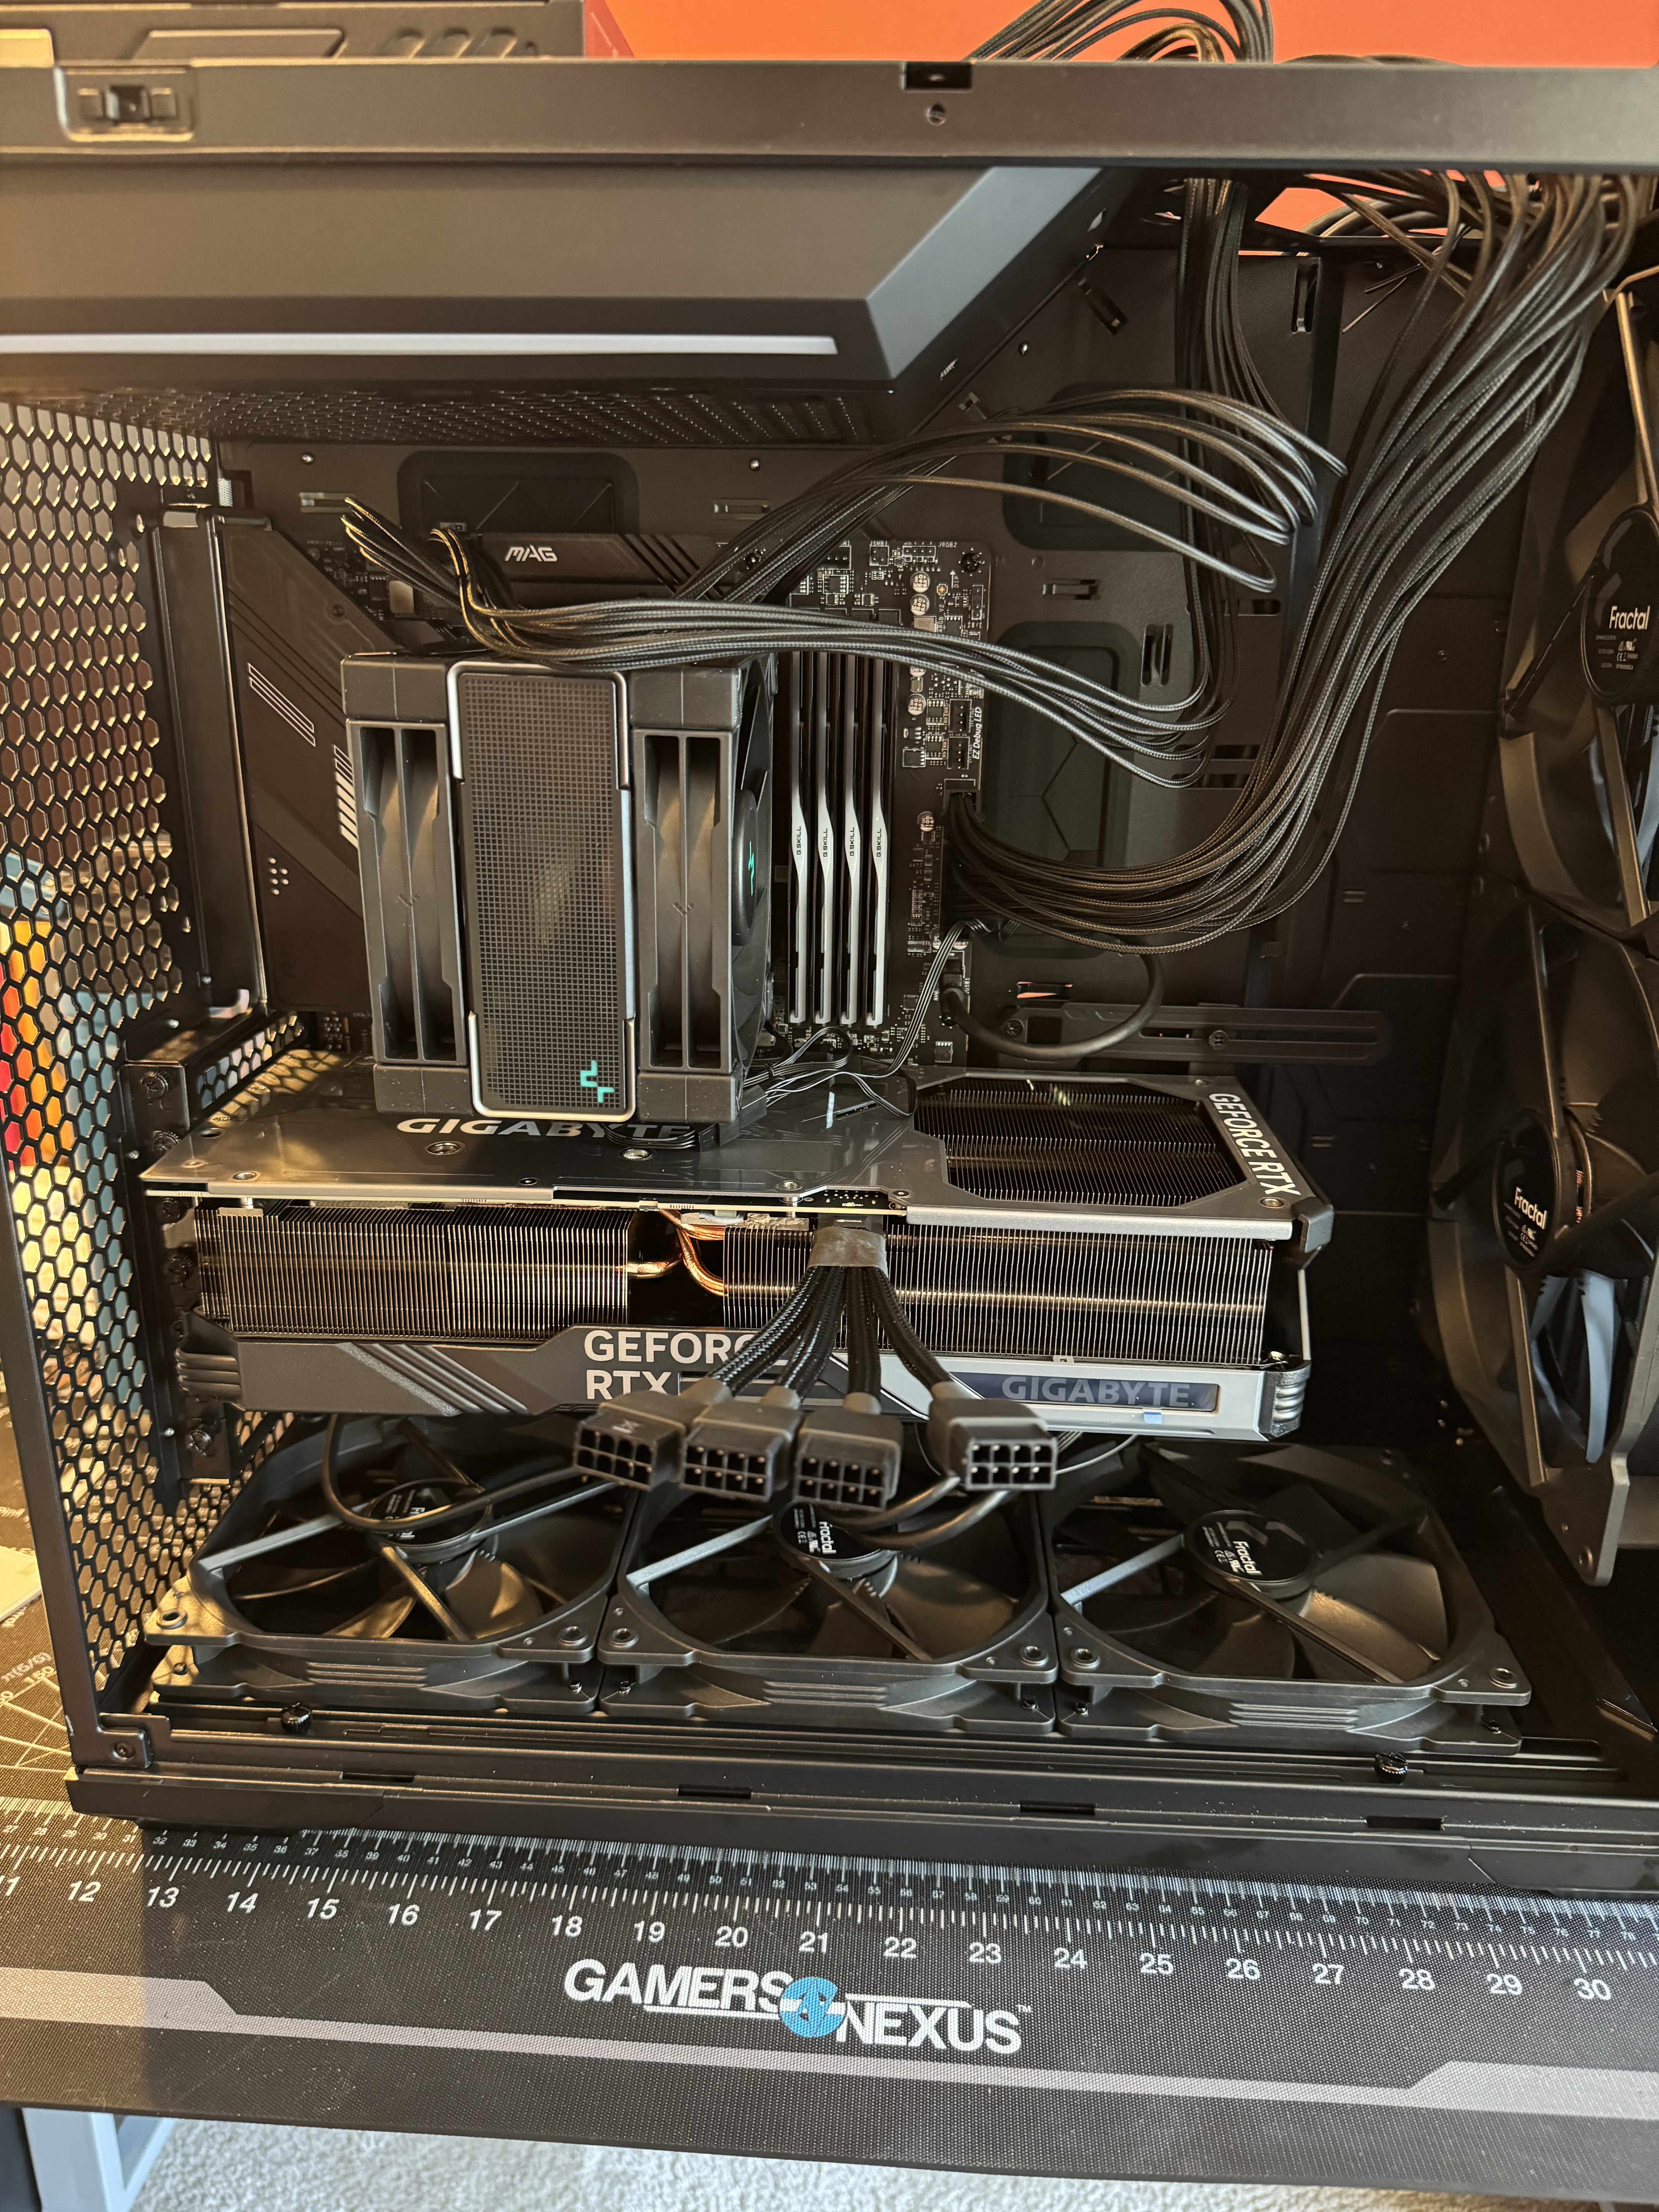
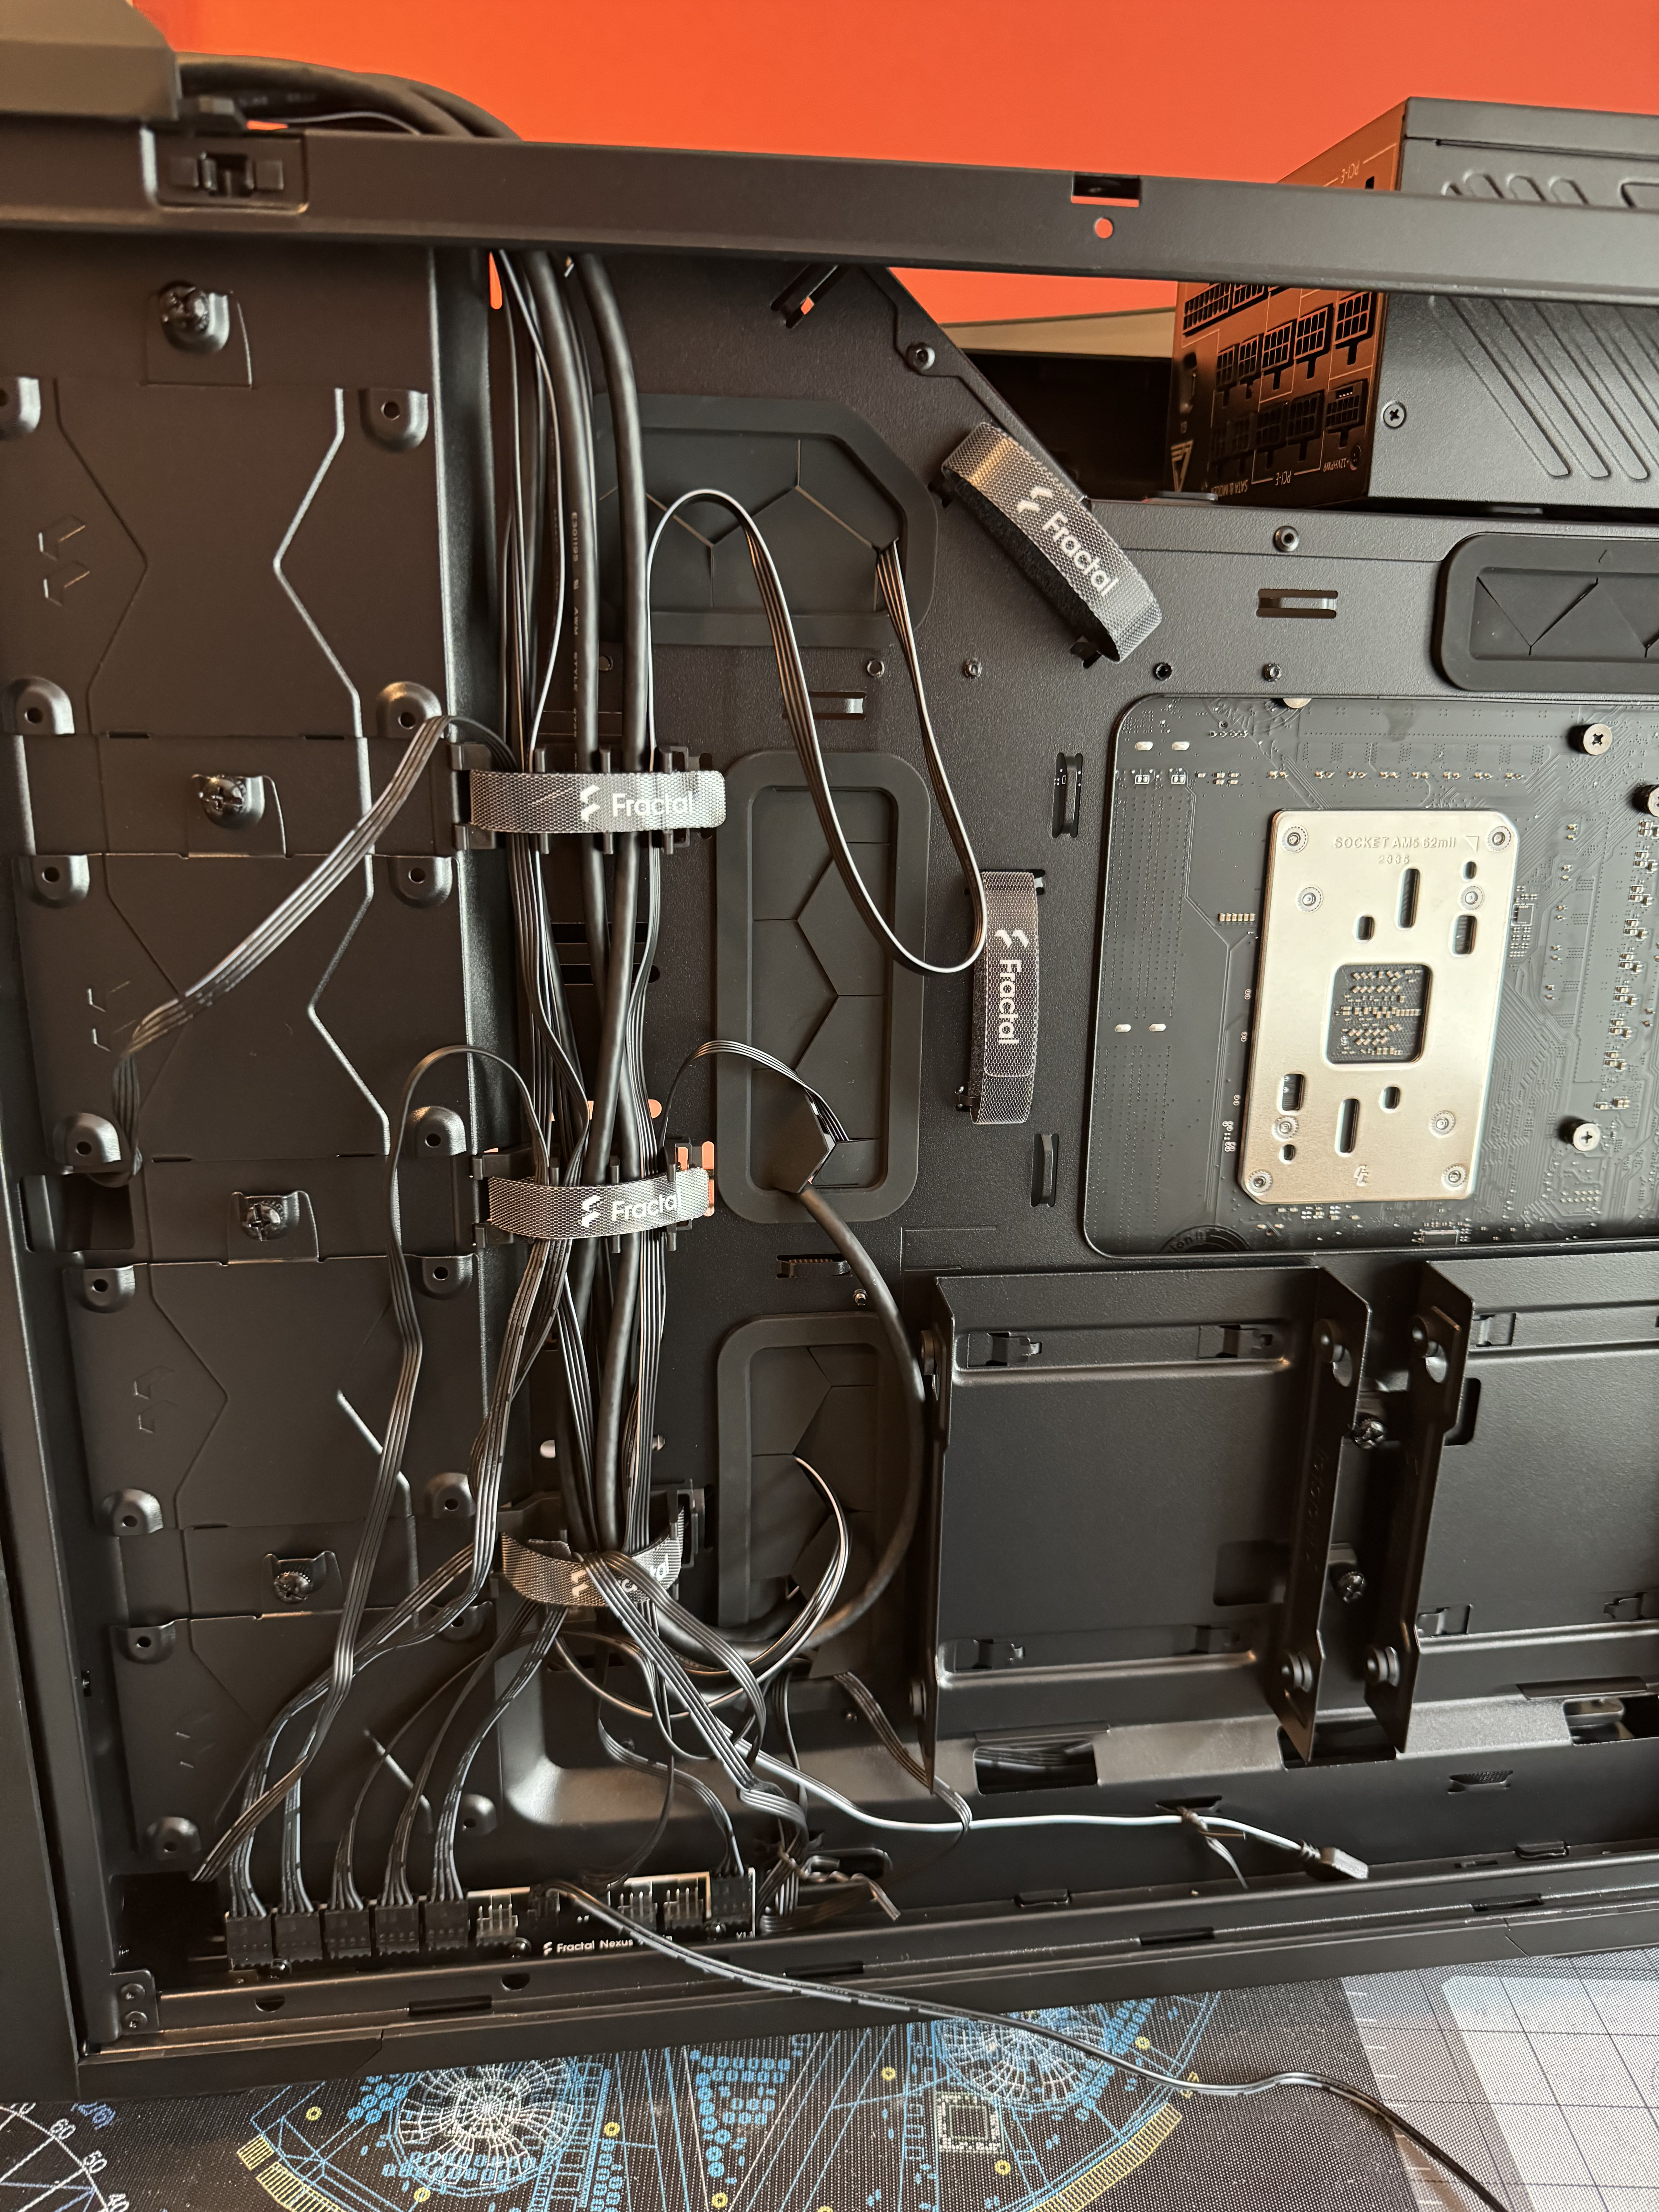
The last bit of the hardware was to wire everything up! In particular: the motherboard, CPU cooler, case fans, and GPU all needed to be connected directly to the PSU for power.
This is always, in my opinion, the most tedious part of any build. Snaking wires throughout the inside of the case always results in snarls and makes any future work (fixing problems, upgrading hardware) tricky at best. Many cases in the last decade have “cable management” pathways built-in to help with this, but it still comes down to the human to make it happen. And it’s annoying at best.
In this case, I did… ok. Well enough.
Ok! Everything is installed! What happens next?!
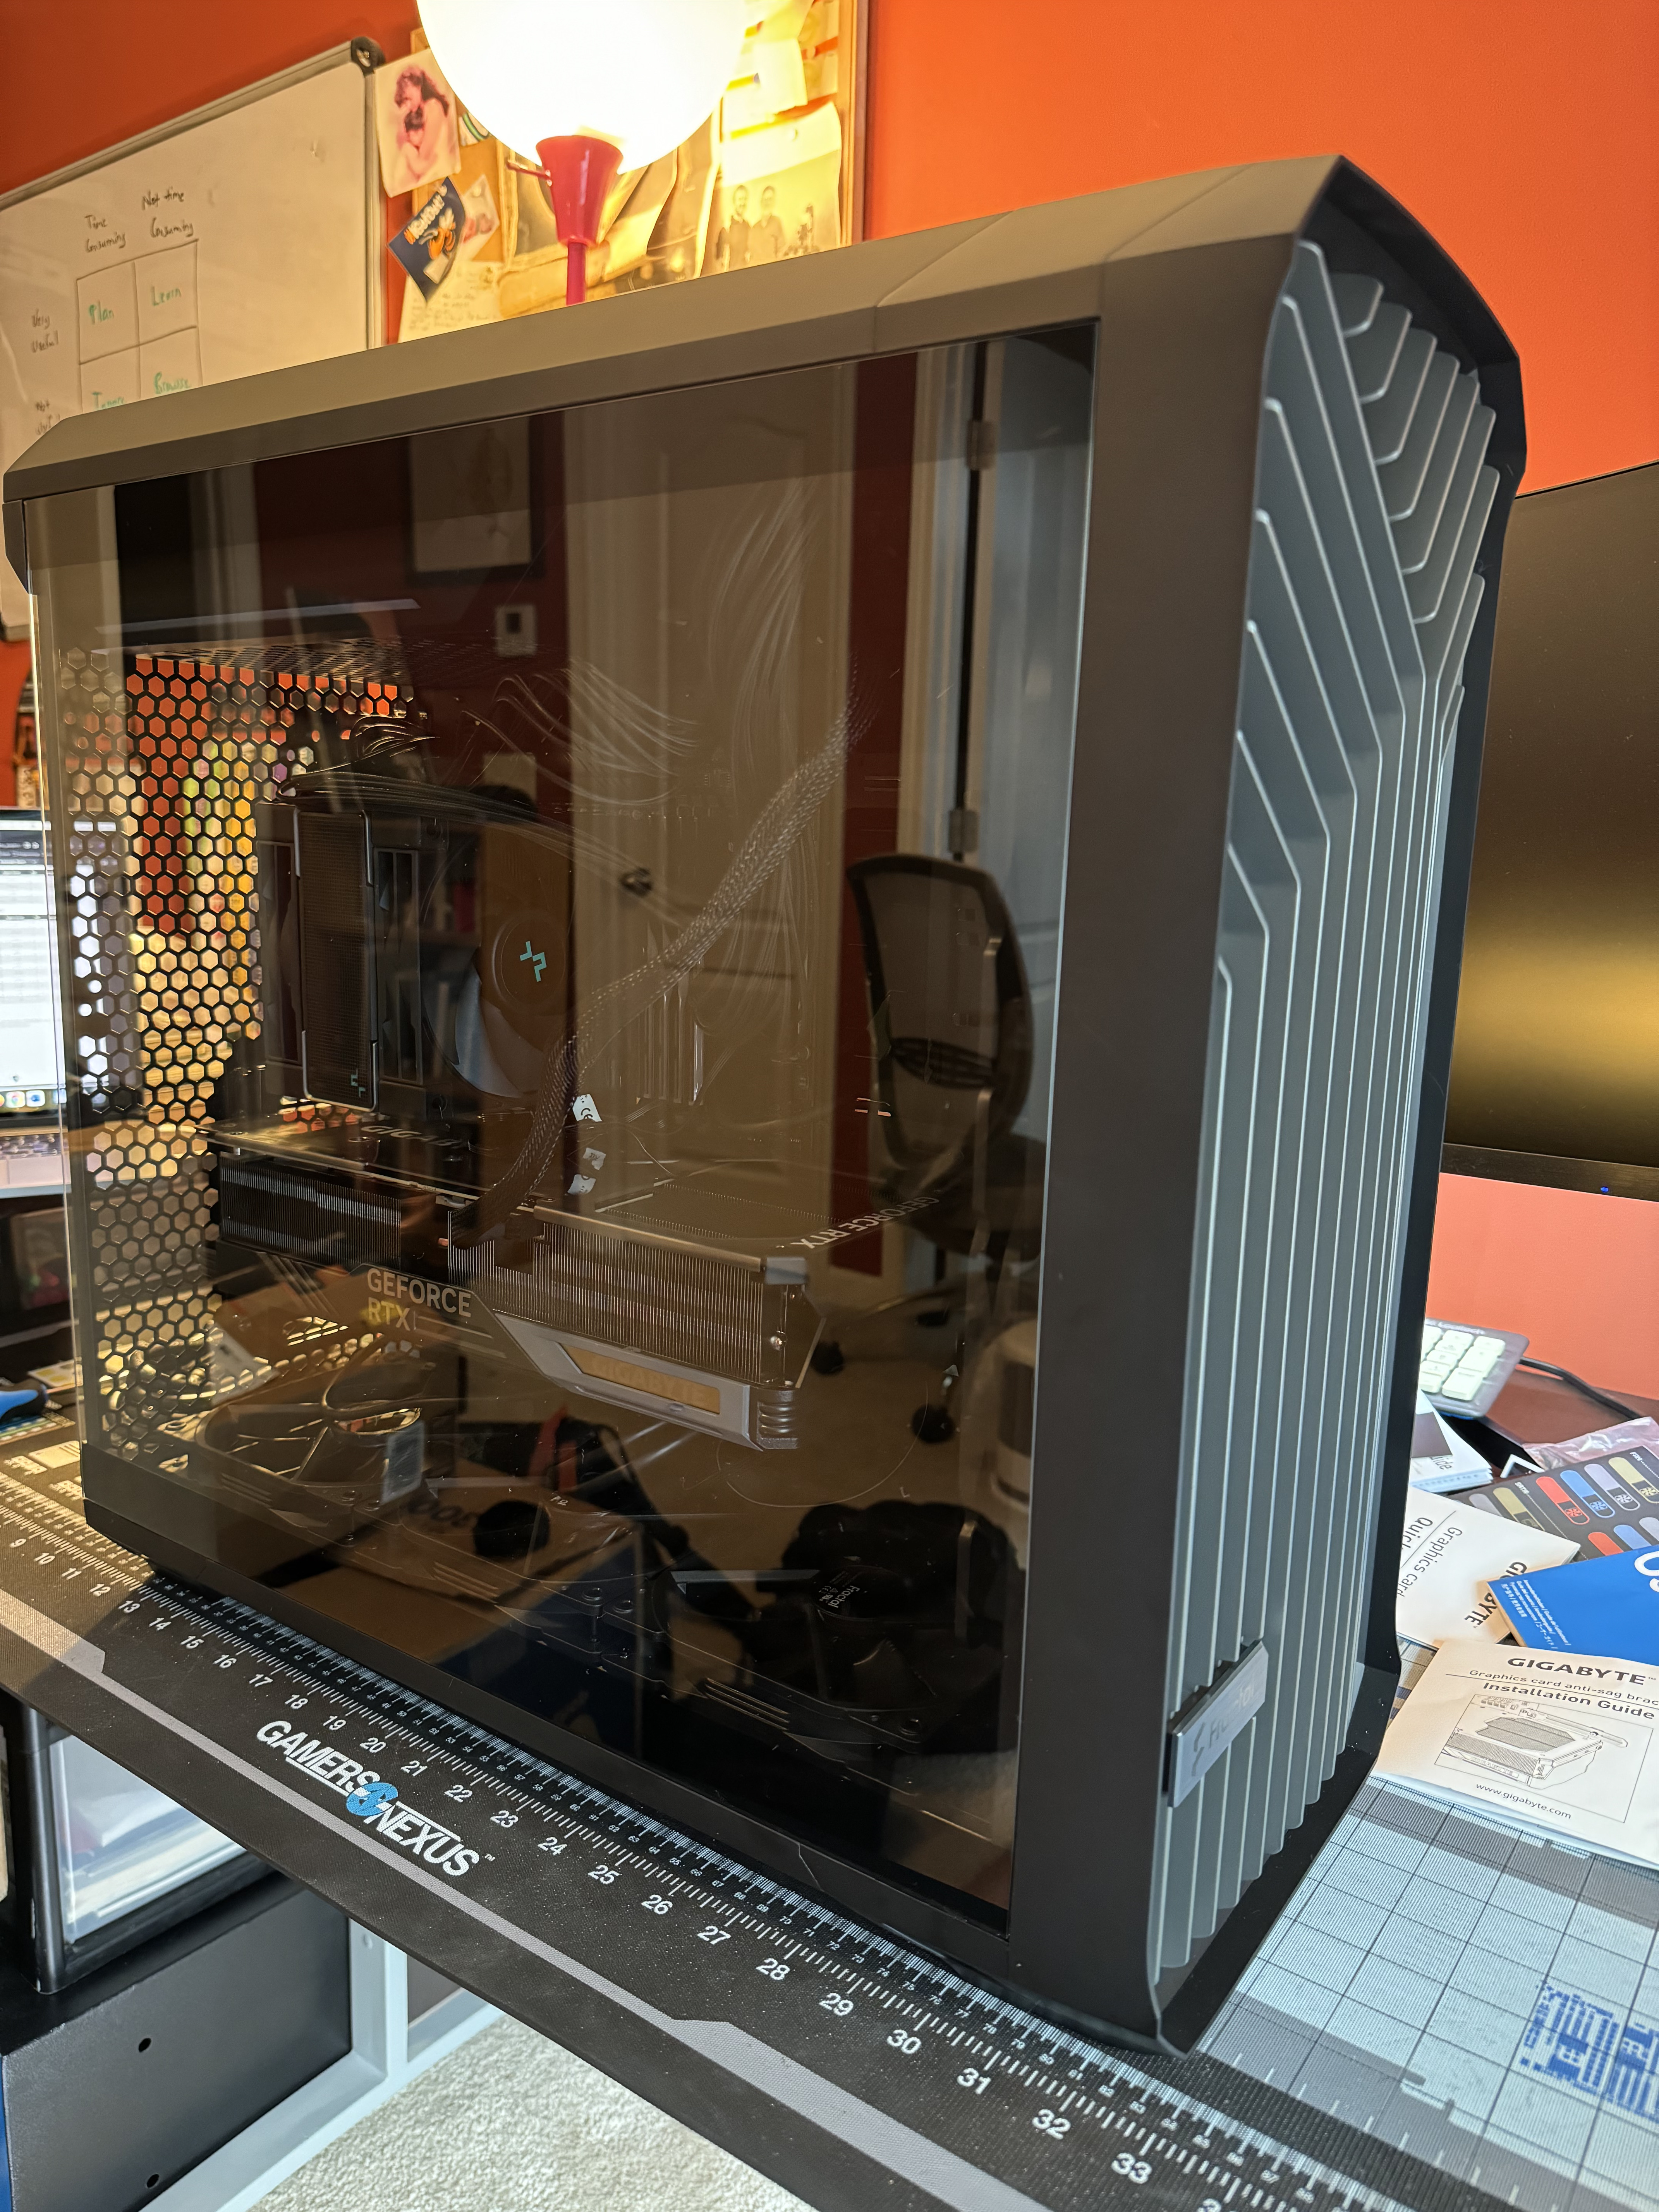
Boot-up and Software
We’ve got our build! And she’s gorgeous 😍
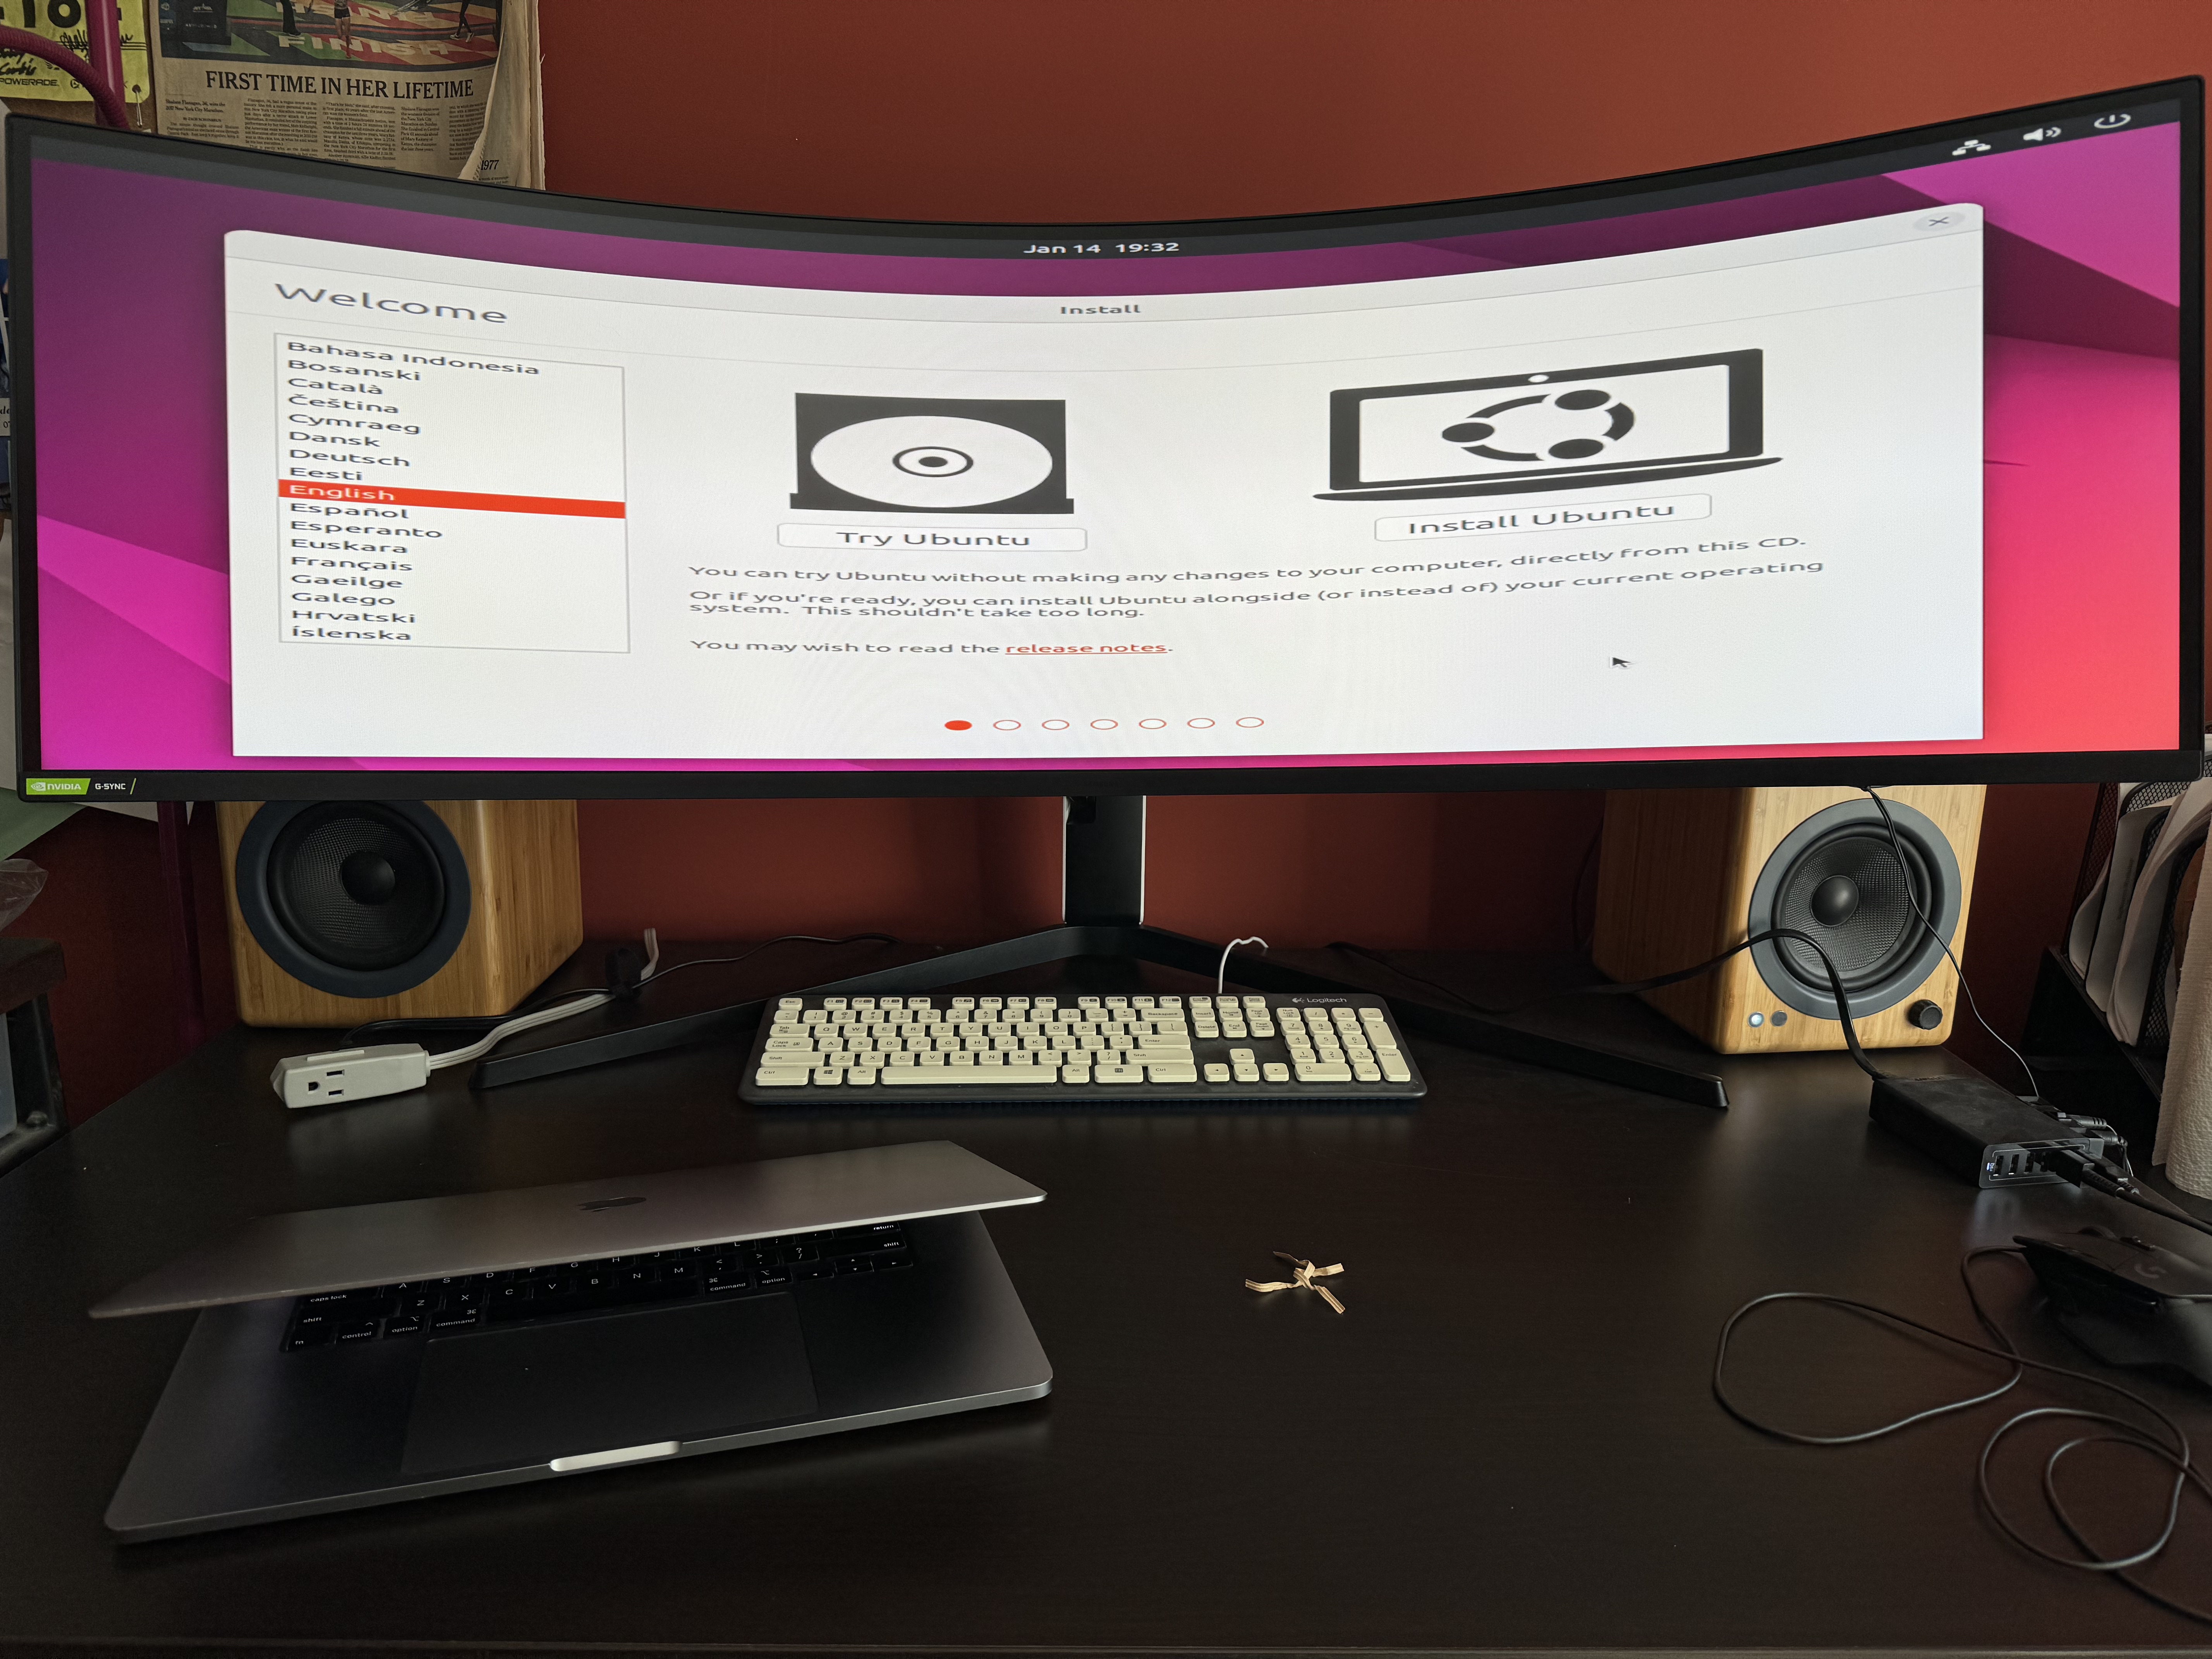
Now, the moment of truth: booting up and installing an operating system. Or, in this case, two: I wanted to install Ubuntu (22.04 at time of post) on one of the M.2s, and Windows (11) on the other.
I started with Ubuntu.
I don’t know about other linux distributions—I’ve been on the Ubuntu train ever since Red Hat went corporate, and frankly haven’t had a reason to look back or sideways—but Ubuntu has always been relatively straightforward when it comes to install:
- Create a boot disk (usually a USB disk).
- Boot off the disk
- Profit!
Step 2 is always the tricky part, especially on a new build: I never know which function key brings up the boot order 🥴 (spoiler alert: it’s F11)
Once I hit the right sequence of keys, the rest of the process was pretty much point and click. Boom! I had Ubuntu installed!

Next up: Windows.
Getting Windows 11 installed, relative to Ubuntu, was a giant pain. In the intervening years, Mircrosoft seems to have gone the route of “install now, license later”—which, honestly, I appreciate—and has provided multiple pathways for creating an installer.
Unfortunately, only one of those pathways seems to actually work. I initially went the ISO route, since that’s pretty much equivalent to how I installed Ubuntu.
But that didn’t work. And, weirdly, the internet doesn’t seem to know why. The best hint I found came from this forum post, which seems to suggest that AMD-specific drivers aren’t included in the ISO installer, thereby making install via ISO on an AMD system… well, impossible.
There were no details on this “include AMD drivers during the install” procedure, and by this point I’d run out of patience (I’d tried multiple sub-pathways, even and including installing Windows 10 instead; all the same result).
So I went with the one procedure the internet seemed to agree would always work: “get a friend with a Windows PC and run the media installer that only works on Windows.” Yes this is an actual piece of advice on an actual Microsoft forum. Since the media installer option only runs on Windows, you’re in this weird Twilight Zone of needing a Windows computer in order to install Windows on a computer.
Mmk.
This worked, finally. Of course, that was just the warm-up; the install process itself is “a disaster from stem to stern.” Thankfully, following that guide helped to minimize the worst of the creeping Windows enshittification. A few important points:
- Definitely create a local account. It requires pulling out your ethernet cable and running a shell command, but it’s reasonably straightforward.
- For my US readers: you may also want to select “Global English” rather than “US English” in the language selection step, as this apparently eliminates some awfulness in the start-up screen.
- The guide mentions widgets in the traditional “Start” button location. That was the case for me too, but I don’t think I actually flipped any “Personalization” switches before realizing the Start menu was back where it should be. Not sure what I did, but at least initially that was definitely the case for me, so watch out.
At this point, we picked up a Windows license and a couple Office licenses from a friend of the family for some steep discounts (that was awfully nice), so I could unlock the power of this fully armed and operational Windows 11.
What’s next?
That’s about it—a complete build from components, up to installing two operating systems. So what’s next?
Well, the first thing was to give it a name! I struggled with this for a bit. On one hand, I’d only just finished Tears of the Kingdom in late December (yeah, I intentionally sandbagged, savoring the final stages). But on the other hand, most of the devices in my house already have Zelda-themed names.
(Devices that have a Zelda-themed name: 1 of 2 laptops, 2 of 2 smartphones, 1 of 2 iPads, 7 of 8 Raspberry Pis, 1 NAS, and now 1 desktop. WOW, y’all.)
But! In a conversation over Mastodon, I was reminded that this isn’t really a bad thing.
So I took the first name that came to mind that seemed incredibly appropriate: Makar, the ancient Sage of Wind.

From there, it’s been a matter of configuring two full-blown operating systems. Ubuntu is pretty much the workhorse: that’s where I’ll make heavy use of the GPU. I’ve already installed all the CUDA dependencies and a Python environment with the basic setup, and thanks to the M.2 drives I have plenty of speedy storage for large datasets. On the Windows side, this is indeed for gaming, but also for office productivity (especially if I don’t have my laptop handy). Most of these basics are in place, but it’ll be an ongoing process.
In the meantime, I have some n@zis to mow down in Wolfenstein and some segmentation models to run on spatial omics data. Until next time!
Footnotes
I swear, there’s a post coming about this. Sometime.↩︎
I built this in my second week of sabbatical. The first week was a veritable fire hose from which I was struggling to surface. That, plus the general post-holiday malaise, plus university stuff still demanding my attention… yeah this is probably the best answer.↩︎
Citation
@online{quinn2024,
  author = {Quinn, Shannon},
  title = {The {Legend} of {Makar}},
  date = {2024-01-25},
  url = {https://magsol.github.io/2024-01-25-the-legend-of-makar},
  langid = {en}
}